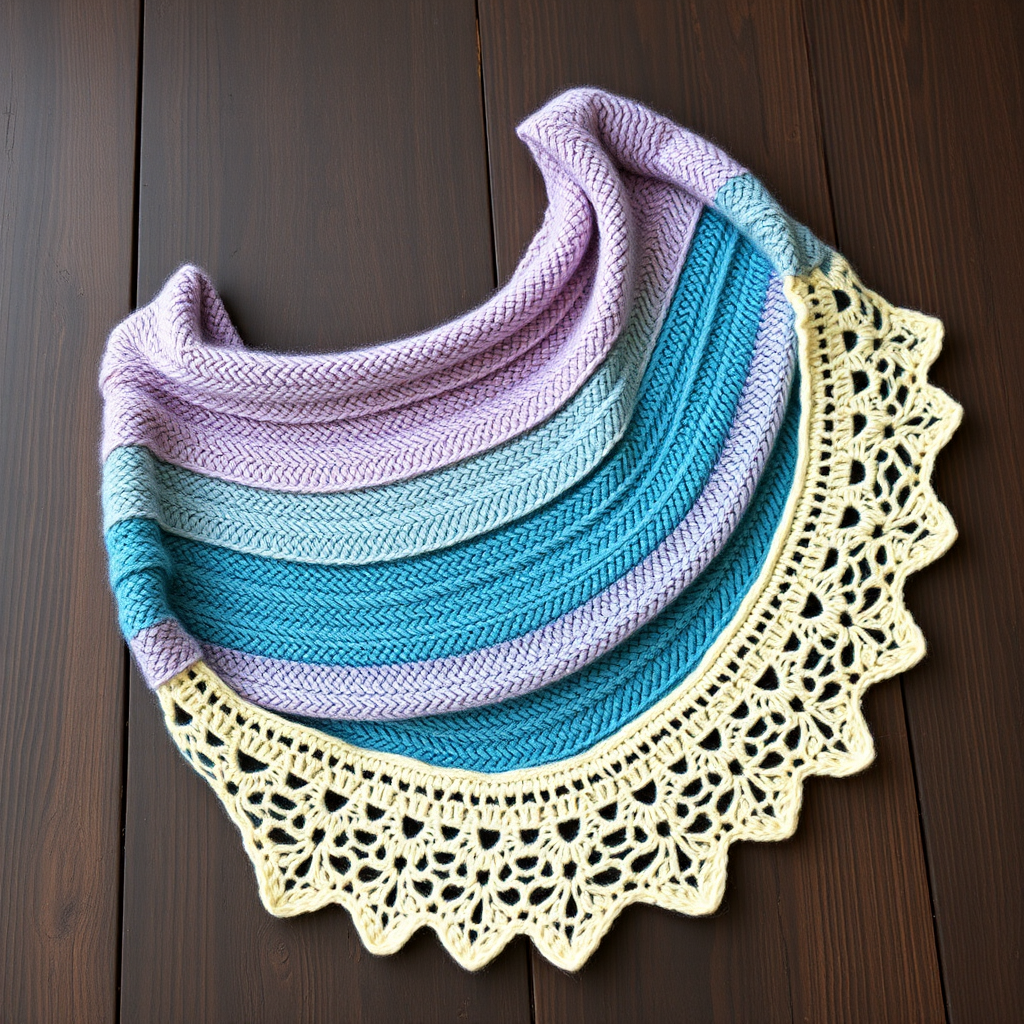
The Ember & Ash Triangle Shawl: A Free Knitting Pattern for a Textured, Gradient Wrap

Wrap Yourself in Warmth: The Ember & Ash Triangle Shawl
There’s something magical about a knitting project that feels both meditative and rewarding. The Ember & Ash Triangle Shawl is exactly that—a cozy, modern wrap that combines the soothing rhythm of garter stitch with the subtle intrigue of slipped stitches. Worked from the top center point down, this shawl grows gracefully as you knit, creating a beautiful gradient effect with alternating stripes of dark charcoal and a vibrant, variegated green-yellow. The result is a hand-dyed look that’s perfect for adding a touch of warmth and texture to any outfit. Whether you’re a seasoned knitter or a confident beginner, this pattern will guide you through every step to create a stunning accessory you’ll love to wear.
Materials Needed
Before you begin, gather the following supplies. Using the exact materials will help you achieve the look shown, but feel free to substitute with similar worsted weight yarns for your own color story.
- Yarn: Worsted weight yarn (Category 4). Shown in Malabrigo Rios (100% Superwash Merino, 210 yds / 192 m per 100g skein): 1 skein each of 'Piedras' (Color A - dark grey) and 'Lettuce' (Color B - variegated green/yellow). Approximately 400 yds total.
- Needle: US Size 8 (5.0 mm) 32-inch circular knitting needle (or longer), or size needed to obtain gauge.
- Gauge: 18 stitches and 32 rows = 4 inches (10 cm) in Garter Stitch, after blocking. Tip: Always check your gauge to ensure your shawl matches the intended size and drape.
- Notions: Stitch markers (optional, for marking center stitch), tapestry needle for weaving in ends, blocking pins and mats.
Step-by-Step Instructions
This shawl is worked from the top center point down, increasing at the edges and center. The slipped stitch pattern creates a beautiful, textured column that runs down the center. Follow each row carefully, and you’ll see your shawl take shape.
Notes Before You Start
- The shawl is worked from the top center point down, increasing at the edges and center.
- Slip stitches purlwise with yarn in back (wyib) unless otherwise stated.
- The slipped stitch pattern creates a beautiful, textured column.
Abbreviations
- k = knit
- p = purl
- sl1 wyib = slip 1 stitch purlwise with yarn in back
- yo = yarn over
- k2tog = knit 2 together
- ssk = slip, slip, knit (decrease)
- st(s) = stitch(es)
- RS = right side
- WS = wrong side
Setup
With Color A, cast on 3 stitches.
- Row 1 (RS): k1, yo, k1, yo, k1. (5 sts)
- Row 2 (WS): k2, p1, k2. (5 sts)
- Row 3 (RS): k2, yo, k1, yo, k2. (7 sts)
- Row 4 (WS): k2, p3, k2. (7 sts)
Begin Slipped Stitch Pattern
Now you’ll start the slipped stitch column that gives the shawl its texture. The pattern repeats every 2 rows, and the number of stitches increases with each RS row.
- Row 5 (RS): k2, yo, sl1 wyib, k1, sl1 wyib, yo, k2. (9 sts)
- Row 6 (WS): k2, p1, sl1 wyib, p1, sl1 wyib, p1, k2. (9 sts)
- Row 7 (RS): k2, yo, k1, sl1 wyib, k1, sl1 wyib, k1, yo, k2. (11 sts)
- Row 8 (WS): k2, p2, sl1 wyib, p1, sl1 wyib, p2, k2. (11 sts)
- Row 9 (RS): k2, yo, k2, sl1 wyib, k1, sl1 wyib, k2, yo, k2. (13 sts)
- Row 10 (WS): k2, p3, sl1 wyib, p1, sl1 wyib, p3, k2. (13 sts)
- Row 11 (RS): k2, yo, k3, sl1 wyib, k1, sl1 wyib, k3, yo, k2. (15 sts)
- Row 12 (WS): k2, p4, sl1 wyib, p1, sl1 wyib, p4, k2. (15 sts)
Continue the Pattern
After Row 12, you’ll continue in this manner, working the slipped stitch pattern as established. The pattern is easy to memorize:
- On RS rows: k2, yo, knit to center stitch, sl1 wyib, k1 (center), sl1 wyib, knit to last 2 sts, yo, k2.
- On WS rows: k2, purl to center slipped stitches, sl1 wyib, p1 (center), sl1 wyib, purl to last 2 sts, k2.
Tip: The center stitch is always the stitch between the two slipped stitches. On RS rows, it’s a knit; on WS rows, it’s a purl. The slipped stitches create a raised column that runs down the center of the shawl.
Color Changes
To create the gradient effect, you’ll alternate colors every 12 rows (6 RS rows).
- Work 12 rows (6 RS rows) with Color A.
- Switch to Color B. Work 12 rows.
- Continue alternating colors every 12 rows until shawl reaches desired size, ending with a WS row. For a generous shawl, work 6-8 stripes of each color.
Tip: When changing colors, simply drop the old color and start the new one. Weave in ends later. To avoid loose tension, twist the yarns together on the first stitch of the new color.
Final Row and Bind Off
When you’ve reached your desired size (e.g., after completing a full stripe), work one final increase row to keep the edge consistent.
- Final Row (RS): k2, yo, knit to last 2 sts, yo, k2. (2 sts increased)
- Bind Off (WS): Knit all stitches loosely. Bind off knitwise. Tip: Use a larger needle or a loose tension to ensure the bind-off edge is stretchy and doesn’t pucker.
Finishing
Weave in all ends using a tapestry needle. Block shawl to shape—pin out the points to open up the lace edges and even out the stitches. Allow to dry completely. Blocking is essential for this shawl to achieve its beautiful drape and stitch definition.
Your Ember & Ash Triangle Shawl is now complete! Wrap it around your shoulders and enjoy the cozy, modern elegance you’ve created. Happy knitting!