The Crinkled Ribbon Scarf: A Quick Knit Free Pattern

Introducing the Crinkled Ribbon Scarf
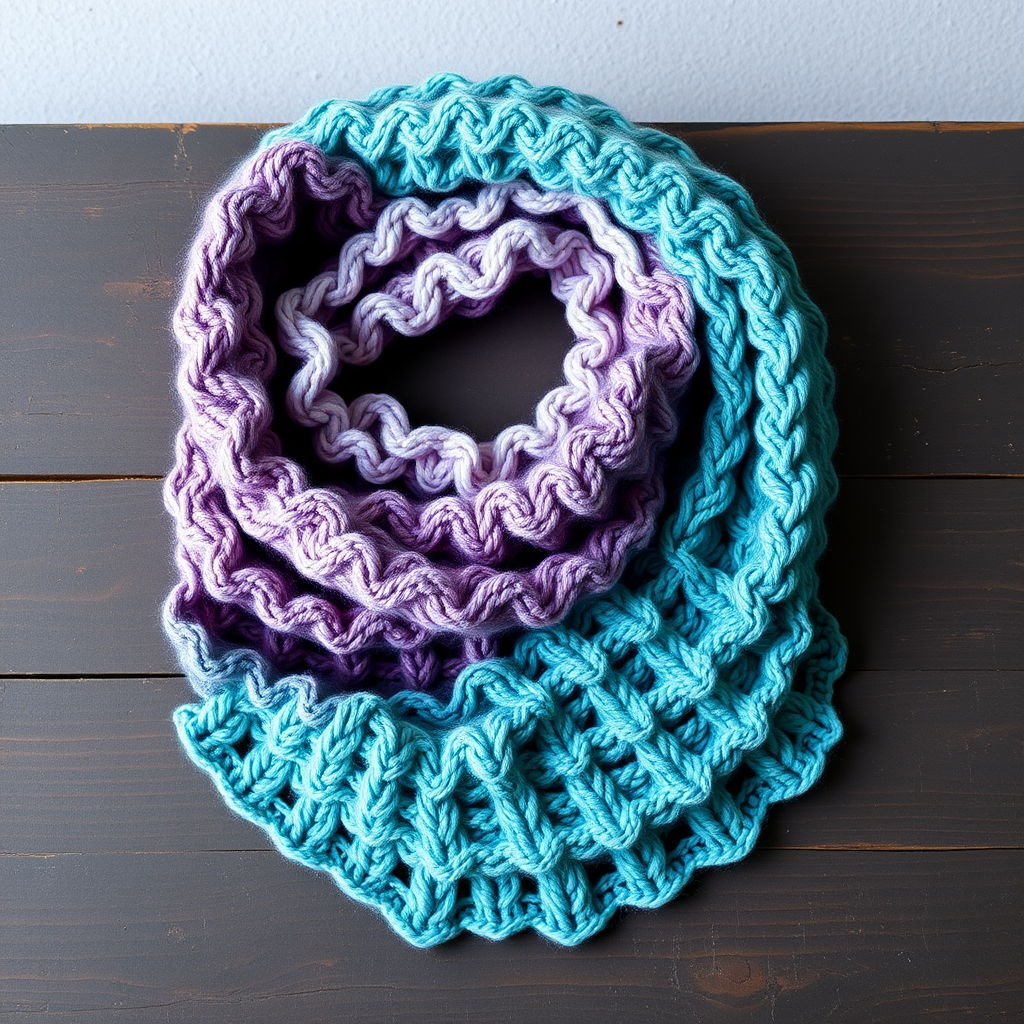
This isn't your average scarf; it's a squishy, textured marvel that mimics the look of a crinkled ribbon, using a simple slipped-stitch technique for a stunning, modern effect. Knit up in a flash with super bulky yarn, it's the perfect last-minute gift or a cozy treat for yourself. The tonal hand-dyed merino wool in 'Stormy Sky' (a mix of deep charcoal, soft heather, and silver) adds depth and sophistication, making this scarf a true statement piece. Whether you're a seasoned knitter or a beginner looking for a quick win, this pattern delivers a beautiful, sculptural accessory that feels as good as it looks.
Materials Needed
To create your own Crinkled Ribbon Scarf, gather the following materials:
- Yarn: Super Bulky weight yarn (Size 6), approximately 150-200 yards. The sample uses a tonal hand-dyed merino wool in 'Stormy Sky' (a mix of deep charcoal, soft heather, and silver). Any super bulky yarn will work beautifully.
- Needles: US 15 (10.0 mm) knitting needles. Straight or circular needles are fine; you will be working flat.
- Other: Tapestry needle for weaving in ends, scissors, and a tape measure or ruler.
Step-by-Step Instructions
Pattern Notes
- The scarf is worked flat, back and forth.
- The slipped stitches create the crinkled, ribbon-like texture.
- The pattern is a multiple of 3 + 2 stitches.
- Finished Dimensions: Approximately 6 inches wide and 60 inches long (adjustable by working more or fewer pattern repeats).
Abbreviations
- K = Knit
- P = Purl
- Sl = Slip stitch purlwise with yarn in back (wyib)
- Rep = Repeat
Gauge
8 stitches and 12 rows = 4 inches in pattern stitch (lightly blocked). Gauge is not critical for this project, but matching it will ensure similar dimensions.
Instructions
Cast On
Loosely cast on 14 stitches. Use a long-tail cast-on or any method you prefer, but ensure it is not too tight to maintain the scarf's drape.
Setup Row (Wrong Side)
Purl all stitches across the row. This creates a smooth base for the texture to pop.
Pattern Rows
Repeat the following 4-row sequence until the scarf measures approximately 60 inches from the cast-on edge, or until you have used almost all of your yarn, ending after a Row 4.
- Pattern Row 1 (Right Side): K2, *Sl 1 wyib, K2; rep from * to end. (You will end with K2 after the last slip stitch.)
- Pattern Row 2 (Wrong Side): Purl all stitches.
- Pattern Row 3 (Right Side): K1, *Sl 1 wyib, K2; rep from * to last stitch, K1. (This offsets the slipped stitches from Row 1, creating the crinkled effect.)
- Pattern Row 4 (Wrong Side): Purl all stitches.
Bind Off
Loosely bind off all stitches on the next row (knitwise). To bind off loosely, use a needle one or two sizes larger if needed, or work the bind-off stitches with a very gentle tension. Cut yarn, leaving a 6-inch tail, and pull through the last loop.
Finishing
Weave in all ends using a tapestry needle. Lightly steam block or wet block to relax the yarn and even out the stitches. To wet block, soak the scarf in lukewarm water for 15 minutes, gently squeeze out excess water (do not wring), lay flat on a towel, roll up to remove more moisture, then unroll and shape to desired dimensions. Let dry completely. The slipped stitches will naturally curl, creating the signature crinkled ribbon effect. Do not press flat—the texture is the star.
Your Crinkled Ribbon Scarf is now ready to wear or gift. Enjoy the squishy, modern texture and the compliments that will surely follow!