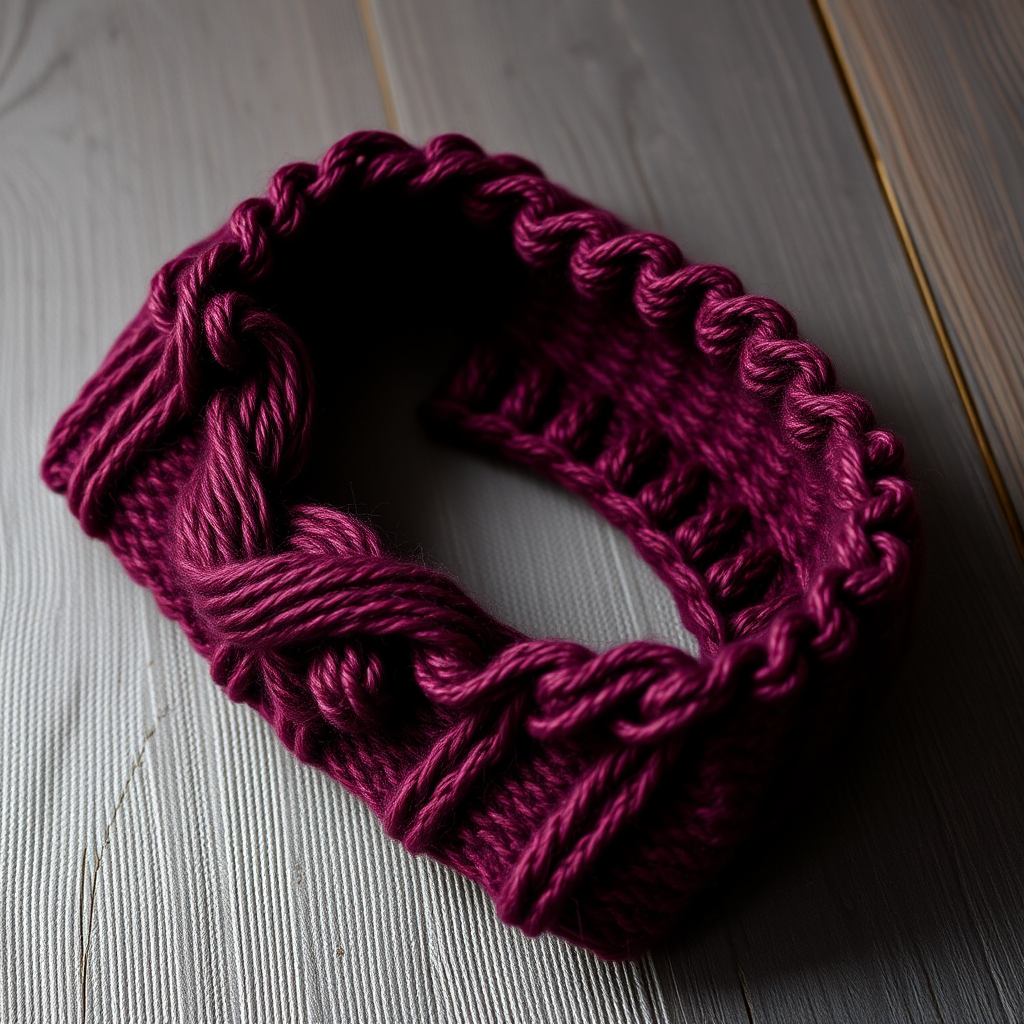
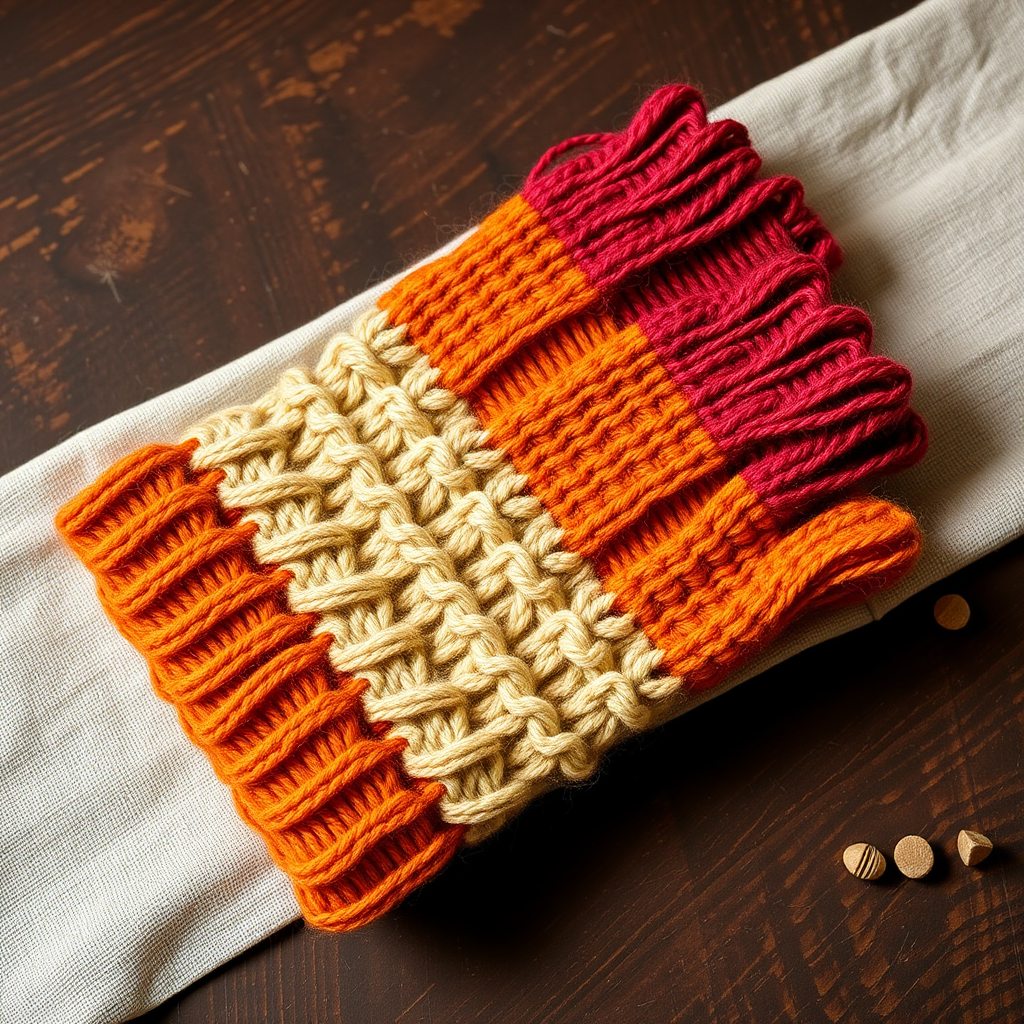
The Celestial Drift Phone Cocoon Free Pattern – A Starry Knitted Pouch with I-Cord Constellation

The Celestial Drift Phone Cocoon: A Free Knitted Pattern for Your Starry-Eyed Everyday Carry
Imagine tucking your phone into a tiny, hand-knitted galaxy. That's the magic of the Celestial Drift Phone Cocoon—a cozy, chunky-yarn pouch that blends modern minimalism with a whimsical nod to the night sky. Featuring a delicate I-cord constellation and a drawstring closure, this pattern is as practical as it is beautiful. Whether you're a seasoned knitter looking for a quick weekend project or a beginner ready to try intarsia for the first time, this celestial cocoon is your ticket to a stylish, protective accessory that's out of this world.
This free pattern is designed to be approachable, with clear instructions for the main body, a star motif, and a crocheted or knitted drawstring. Let's dive into the cosmos and create something truly unique for your everyday carry.
Materials Needed: Gathering Your Cosmic Toolkit
Before we cast on, let's assemble everything you'll need to bring this celestial vision to life. The materials are simple, and most are staples in any yarn lover's stash.
- Yarn: Worsted weight yarn in two colors:
- Main Color (MC): Deep navy blue (approx. 100 yards)
- Accent Color (AC): Gold or silver (approx. 20 yards)
- Knitting Needles: US 7 (4.5 mm) straight or circular needles for the main body.
- Crochet Hook: US G/6 (4.0 mm) for the I-cord drawstring (or use double-pointed needles if you prefer to knit it).
- Tapestry Needle: For seaming and weaving in ends.
- Stitch Markers: To help track your rows, especially for the star motif.
- Scissors: For cutting yarn.
Gauge: 20 stitches and 28 rows = 4 inches in stockinette stitch (knit one row, purl one row). Getting the right gauge ensures your cocoon fits your phone perfectly.
Finished Size: This pattern is designed to fit most smartphones (approx. 3.5" wide x 6.5" tall), but it's easily adjustable. Just measure your phone's width and multiply by 5 stitches per inch to get your cast-on number.
Step-by-Step Instructions: Weaving Your Celestial Cocoon
Let's break this down into manageable steps. We'll start with the main body, add the star, create the drawstring casing, and finish with the I-cord. Follow along carefully, and you'll have a stunning phone cocoon in no time.
Abbreviations
- CO: Cast on
- K: Knit
- P: Purl
- K2tog: Knit two stitches together (decrease)
- Yo: Yarn over (increase, creates a hole)
- St(s): Stitch(es)
- Rep: Repeat
- MC: Main color (navy)
- AC: Accent color (gold/silver)
- RS: Right side
- WS: Wrong side
Part 1: Knitting the Main Body
We'll work the body flat from the bottom up, then seam it together. This is a simple stockinette stitch, so it's perfect for practicing your knit and purl.
- Cast On: With your MC yarn, CO 40 sts. (Adjust for your phone: measure the width, multiply by 5 sts per inch, and round to an even number.)
- Row 1 (RS): K all sts.
- Row 2 (WS): P all sts.
- Repeat Rows 1-2 until your piece measures 1.5 inches from the cast-on edge. End with a WS row. This creates the solid base of your cocoon.
Part 2: Creating the Star Motif
Now for the fun part—the constellation! You have two options: intarsia (knitting the star directly into the fabric) or duplicate stitch (embroidering it on afterward). Both are beautiful; choose the one you're most comfortable with.
Option A: Intarsia (Knitting the Star In)
If you're using intarsia, you'll work in stockinette stitch and switch to your AC yarn for the star stitches, carrying the MC along the back. Follow this chart carefully. The star is centered over 20 stitches and 20 rows.
- Rows 1-4: Work in stockinette with MC only.
- Row 5 (RS): K10 MC, K1 AC, K9 MC.
- Row 6 (WS): P9 MC, P3 AC, P8 MC.
- Row 7 (RS): K8 MC, K5 AC, K7 MC.
- Row 8 (WS): P7 MC, P7 AC, P6 MC.
- Row 9 (RS): K6 MC, K9 AC, K5 MC.
- Row 10 (WS): P5 MC, K11 AC, P4 MC. (Note: On WS rows, purl with MC and knit with AC if using intarsia to keep the texture consistent.)
- Row 11 (RS): K4 MC, K13 AC, K3 MC.
- Row 12 (WS): P3 MC, P15 AC, P2 MC.
- Row 13 (RS): K2 MC, K17 AC, K1 MC.
- Row 14 (WS): P1 MC, P19 AC, P0 MC. (All AC in the center.)
- Row 15 (RS): K0 MC, K20 AC, K0 MC. (All AC.)
- Row 16 (WS): P1 MC, P18 AC, P1 MC.
- Row 17 (RS): K2 MC, K16 AC, K2 MC.
- Row 18 (WS): P3 MC, P14 AC, P3 MC.
- Row 19 (RS): K4 MC, K12 AC, K4 MC.
- Row 20 (WS): P5 MC, P10 AC, P5 MC.
- Rows 21-24: Work in stockinette with MC only.
Option B: Duplicate Stitch (Embroidering the Star)
If you prefer a simpler knit, simply knit the entire body in MC. Once you've finished and seamed the cocoon, use a tapestry needle and AC yarn to embroider the star onto the front. Follow the same chart above, but instead of knitting, you'll trace the shape of each "knit" stitch with your yarn. This is a great option for beginners and creates a slightly raised, textured star.
Part 3: Shaping the Drawstring Casing
Once your star is complete (or your body is the desired height), it's time to create the eyelet holes for your drawstring.
- Continue in stockinette stitch with MC until your piece measures 6 inches from the cast-on edge, or your desired height minus 1 inch for the casing.
- Next Row (RS): K1, *K2tog, yo*; rep from * to last st, K1. This creates a row of neat little holes.
- Next Row (WS): P all sts.
- Continue in stockinette stitch for 4 more rows.
- Bind Off: Bind off all stitches loosely. This will be the top edge of your cocoon.
Part 4: Seaming and Finishing
Now we'll turn your flat piece into a pouch.
- Fold the piece in half with right sides together, aligning the cast-on edge and the bound-off edge.
- Using a tapestry needle and MC yarn, sew the side seams from the bottom up to the drawstring casing. Important: Leave the casing open—do not sew through the eyelet holes.
- Turn the cocoon right side out. The seam will be on the inside, and your star will be front and center.
Part 5: Crafting the I-Cord Drawstring
Your drawstring can be crocheted or knitted. Both methods are quick and easy.
Crochet Method (Recommended):
- With your AC yarn and crochet hook, make a chain of 60 inches (or your desired length).
- Slip stitch into the second chain from the hook and into each chain across. This creates a sturdy, slightly textured cord.
- Fasten off and weave in the ends.
Knitted I-Cord Method:
- CO 4 sts onto a double-pointed needle.
- Knit across.
- Slide the stitches to the other end of the needle (do not turn your work).
- Knit across again, pulling the yarn tightly behind the work.
- Repeat until the cord reaches your desired length.
Part 6: Final Assembly
- Thread the I-cord through the eyelet holes, starting and ending at the front center of the cocoon.
- Pull the ends to gather the top of the cocoon, creating a cozy, cinched closure.
- Tie a neat bow with the cord ends.
- Weave in all remaining ends with your tapestry needle.
Optional Embellishment: For extra dimension, knit a small star appliqué using the same chart and sew it onto the front of the cocoon. This adds a lovely, tactile element to your design.
Your Celestial Companion Awaits
And there you have it—your very own Celestial Drift Phone Cocoon! This project is a beautiful way to practice new techniques like intarsia or duplicate stitch, and the result is a stunning, handcrafted accessory that protects your phone in style. The deep navy and metallic gold or silver combination is timeless, and the drawstring closure ensures your device stays snug and secure.
We'd love to see your finished cocoons! Share your photos and tag us in your celestial creations. Happy knitting, and may your days be filled with cozy, starry skies.