The Aurora Bloom Shawl Free Pattern – A Knitted Gradient Wrap with Woven Petal Edging

The Aurora Bloom Shawl: A Free Knitted Gradient Wrap with Woven Petal Edging
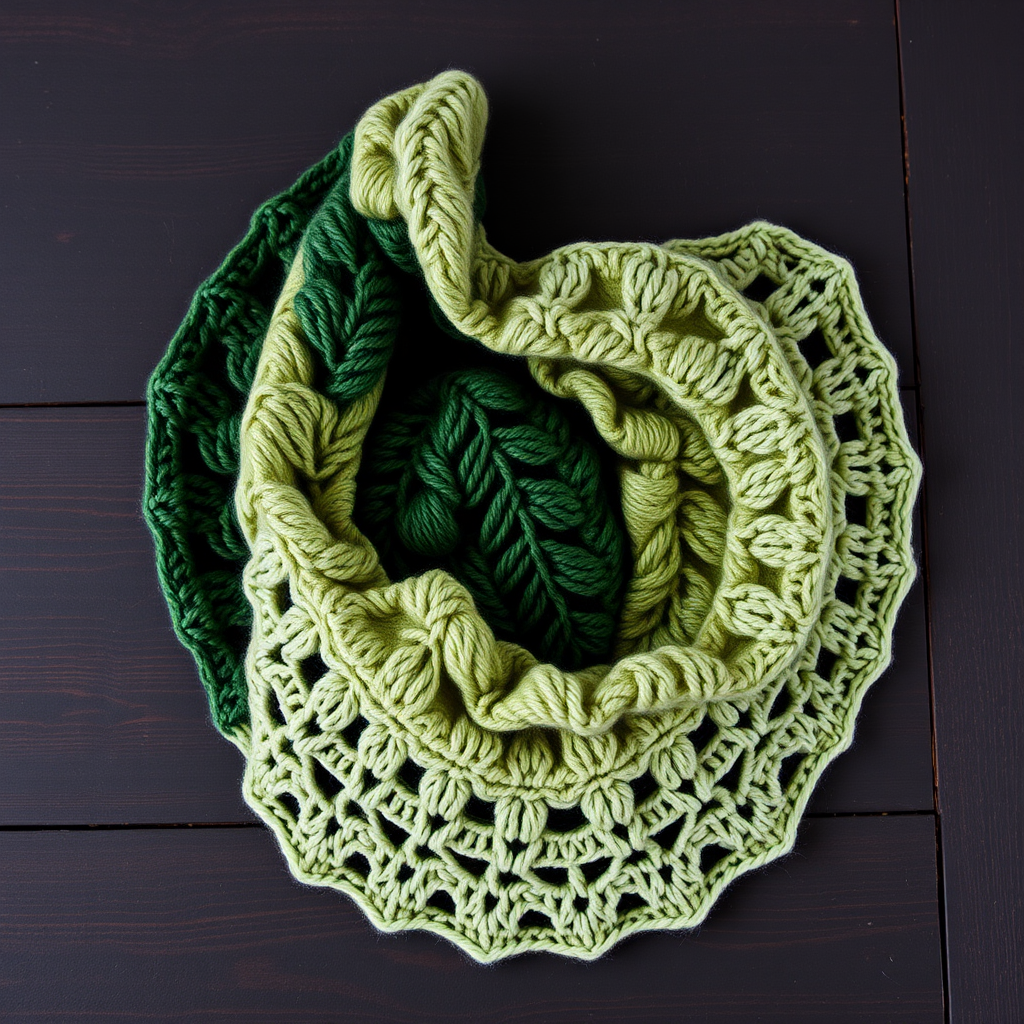
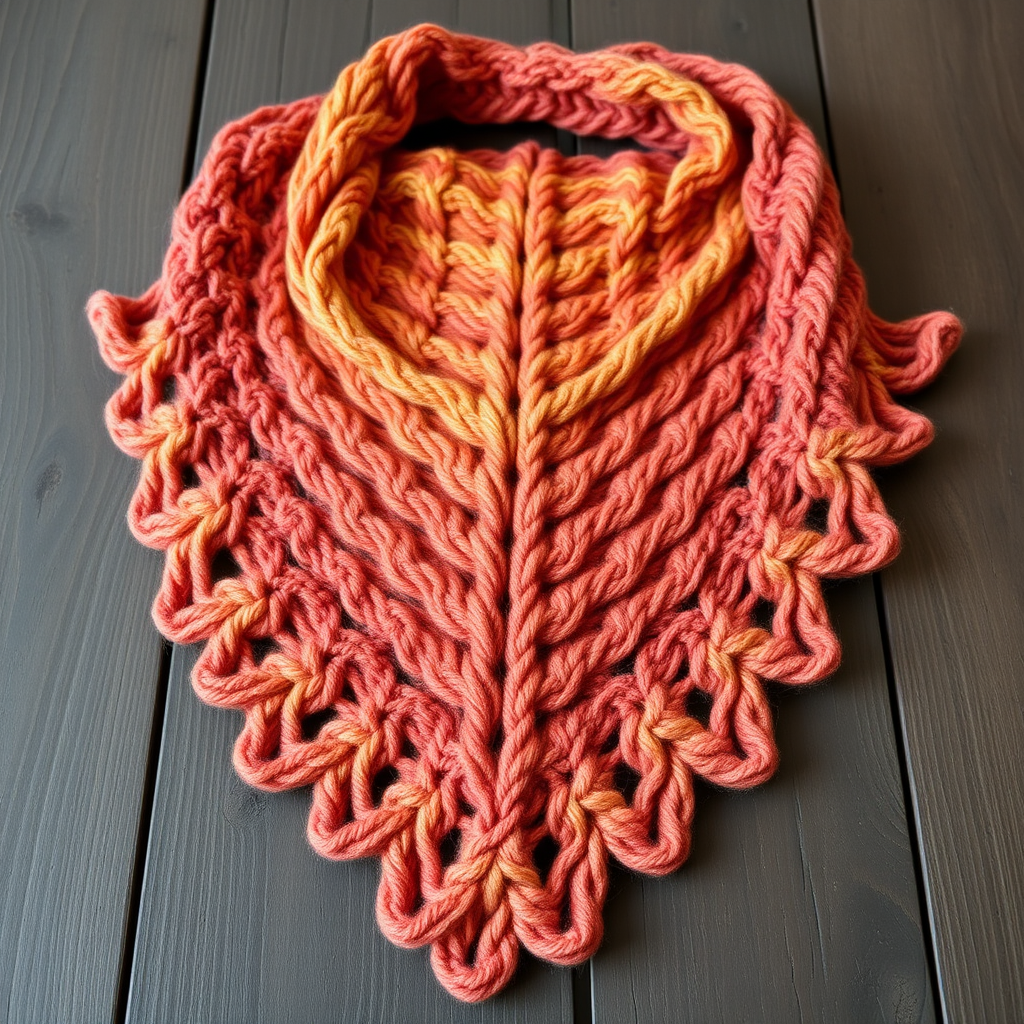
Wrap yourself in the ethereal beauty of the northern lights with this stunning gradient knitted shawl. The Aurora Bloom Shawl features a delicate woven petal border that catches the light and adds a touch of magic to any outfit. This pattern is a meditative knit, perfect for showcasing hand-dyed yarns and creating a statement piece that transitions seamlessly from deep teal through soft lavender to blush pink—mimicking the aurora borealis itself.
Whether you're a seasoned knitter looking for a new challenge or an adventurous beginner ready to expand your skills, this crescent-shaped wrap offers a rewarding project with breathtaking results. The smooth stockinette body lets the gradient yarn shine, while the three-dimensional petal edging adds texture, depth, and a luxurious finish that will have everyone asking where you bought it.
Materials Needed
Before you begin your Aurora Bloom Shawl journey, gather the following materials:
- Yarn: Fingering weight yarn in 3 gradient shades (e.g., deep teal, soft lavender, and blush pink), approximately 400g total. Choose hand-dyed or variegated yarns to enhance the aurora effect.
- Needle: US 6 (4.0 mm) circular knitting needle with a 32-inch cable. The long cable is essential for accommodating the growing number of stitches.
- Notions: Tapestry needle for weaving in ends, stitch markers (at least 4), and blocking pins for the finishing process.
- Gauge: 20 stitches and 28 rows = 4 inches in stockinette stitch (after blocking). Gauge is important for achieving the correct drape and size, though this shawl is forgiving if your gauge is slightly off.
Step-by-Step Instructions
This shawl is knitted from the top center down, increasing on each side to form a crescent shape. The woven petal edging is added at the end. Follow these detailed instructions carefully, and you'll create a stunning heirloom piece.
Abbreviations
Before we begin, familiarize yourself with these standard knitting abbreviations:
- k = knit
- p = purl
- yo = yarn over
- k2tog = knit two together
- ssk = slip slip knit
- pm = place marker
- sm = slip marker
- st(s) = stitch(es)
- RS = right side
- WS = wrong side
Setup: Casting On and Placing Markers
With your deep teal yarn, follow these steps to create the foundation of your shawl:
- Cast on 3 stitches using your preferred method.
- Knit 6 rows (this creates a small garter stitch tab).
- Turn your work 90 degrees and pick up and knit 3 stitches along the side edge of the tab.
- Turn your work 90 degrees again and pick up and knit 3 stitches from the cast-on edge.
- You should now have 9 stitches total on your needle.
- Place markers as follows: k3, pm, k3, pm, k3. You now have three sections: two edge panels of 3 stitches each and a center panel of 3 stitches.
Increase Section (Rows 1-100)
Now we'll begin the main body of the shawl. The increases create the crescent shape by adding stitches at each edge and on both sides of the center panel.
Row 1 (RS): k3, yo, sm, k1, yo, k1, yo, sm, k3, yo, sm, k1, yo, k1, yo, sm, k3. This row increases 4 stitches—one on each side of the center and one at each edge.
Row 2 (WS): k3, p to last 3 sts, k3. The garter stitch edges (k3 at each end) create a neat, non-curling border.
Repeat Rows 1-2, but on each RS row, work the increases as follows:
- After the first k3, yo, sm.
- Knit to 1 stitch before the next marker, yo, k1, yo, sm.
- Knit to 1 stitch before the next marker, yo, k1, yo, sm.
- Knit to last 3 stitches, yo, k3.
This creates a central panel and two side panels, with the increases forming decorative eyelet lines that radiate from the center. Continue this pattern, switching to the lavender yarn after 30 rows, and to the blush pink yarn after 60 rows. Work until the shawl measures approximately 20 inches from the center cast-on, ending with a WS row.
Pro tip: Count your stitches periodically to ensure you haven't missed an increase. Each RS row should add 4 stitches to your total.
Woven Petal Edging
This is where the magic happens! The woven petal edging is worked across the bottom edge of the shawl, from one corner to the other. With RS facing, do not bind off. Instead, you will work the edging directly onto the live stitches.
Row 1 (RS): k3, *yo, k2tog, repeat from * to last 3 sts, k3. This creates a row of eyelets that will form the base for your petals.
Row 2 (WS): k3, p to last 3 sts, k3.
Row 3 (RS): k3, *yo, k2tog, repeat from * to last 3 sts, k3.
Row 4 (WS): k3, p to last 3 sts, k3.
Now, you will create the woven petals. Work across the row as follows:
- *k1, yo, k1 into the same stitch (this increases 1 stitch to 3).
- Turn work, p3.
- Turn work, k3.
- Turn work, p3.
- Turn work, k3.
- Pass the 2nd and 3rd stitches over the 1st stitch (this forms a petal shape).
- Repeat from * across the entire edge.
Bind off all stitches loosely to maintain the stretch and drape of the edging.
Finishing and Blocking
The final steps are crucial for transforming your knitted piece into the stunning Aurora Bloom Shawl:
- Weave in all ends using your tapestry needle. Take care to weave them in securely along the wrong side of the work.
- Block the shawl aggressively to open up the lace and define the petals. Soak the shawl in lukewarm water with a gentle wool wash for 20-30 minutes.
- Gently squeeze out excess water (never wring!) and roll in a towel to remove additional moisture.
- Lay the shawl on a blocking mat and pin it out to its full dimensions. Pin out the petals individually to create a beautiful scalloped edge.
- Allow to dry completely before unpinning. This may take 24-48 hours depending on humidity.
Once dry, your Aurora Bloom Shawl is ready to wear! The gradient colors will blend seamlessly, and the three-dimensional petals will catch the light beautifully, creating an airy, ethereal, and luxurious accessory that drapes elegantly over any outfit.
This pattern is perfect for showcasing hand-dyed yarns and makes a thoughtful handmade gift for someone special—or a well-deserved treat for yourself. Happy knitting!