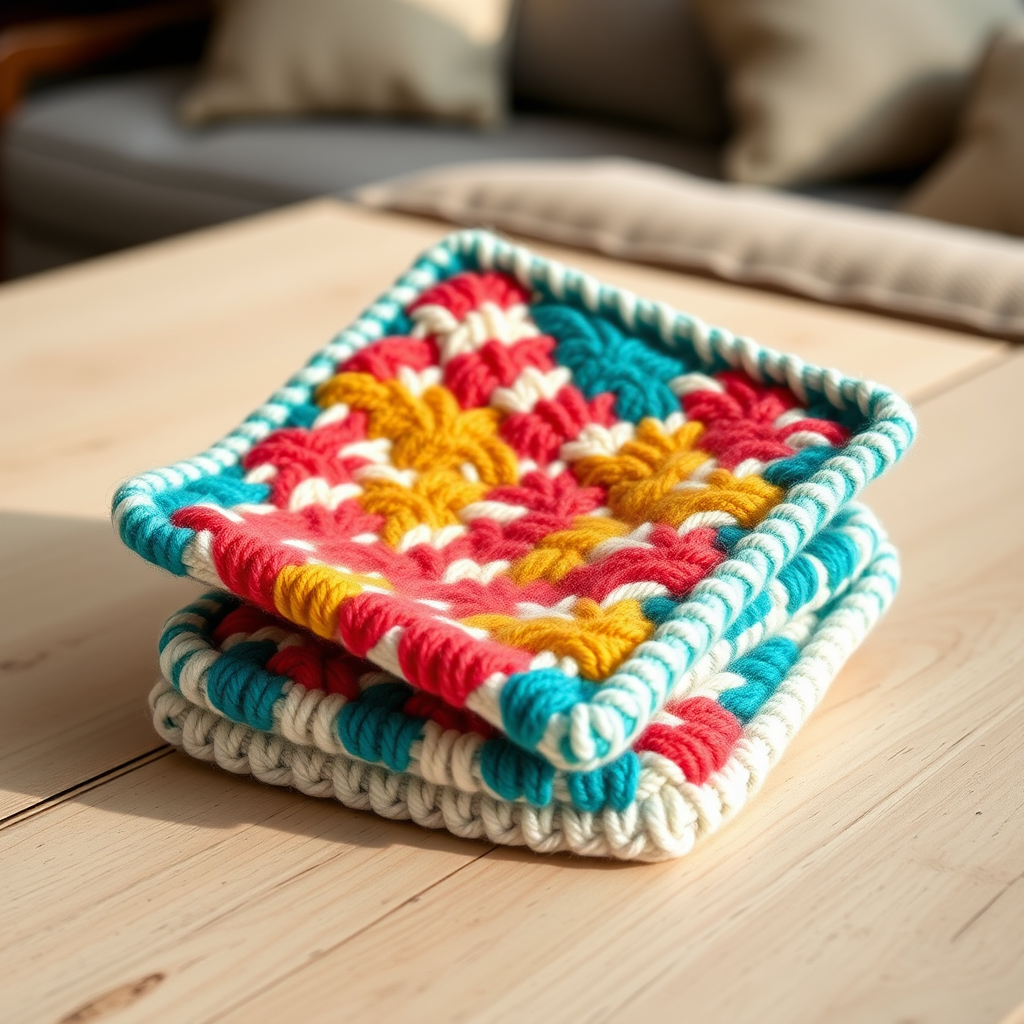
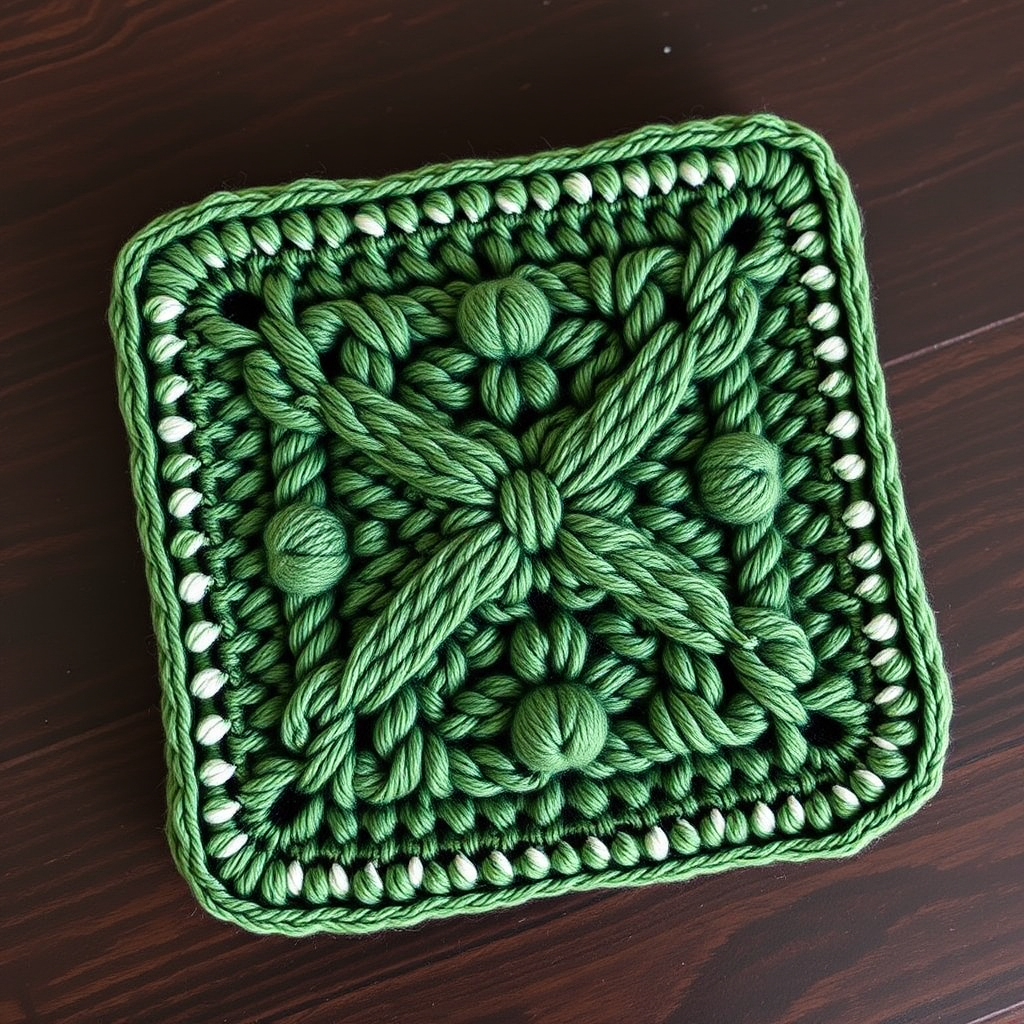
The Aurora Bloom Bouquet Free Pattern – A Knitted Ode to Midnight Gardens

The Aurora Bloom Bouquet Knitted Throw: A Midnight Garden in Yarn
Imagine wrapping yourself in the quiet magic of a twilight garden, where deep indigo skies meet the soft blush of blooming roses. That's the ethereal experience of knitting The Aurora Bloom Bouquet Throw. This stunning pattern transforms simple knits and purls into a lush, dimensional tapestry of textured cables and leaf-like motifs. It's more than just a blanket; it's a statement piece that brings a sense of calm, sophisticated beauty to any room. Whether you're a seasoned knitter looking for your next immersive project or a confident beginner ready for a challenge, this pattern offers a rewarding journey into the world of cable knitting. Let's dive into creating this heirloom-quality piece together.
Materials Needed
Before you begin, gather your materials. The quality of your yarn will greatly impact the final drape and feel of your throw, so choose a soft, durable worsted weight yarn that you love.
- Yarn: Worsted weight yarn in 3 colors:
- Color A (Deep Indigo): 1200 yards
- Color B (Dusty Rose): 600 yards
- Color C (Cream): 400 yards
- Needle: US Size 8 (5.0 mm) circular knitting needle, 32-inch cable (or longer for magic loop if preferred).
- Notions: Cable needle, stitch markers (at least 9), tapestry needle for weaving in ends, blocking mats and pins.
- Gauge: 18 stitches and 24 rows = 4 inches in stockinette stitch (blocked). Always check your gauge to ensure your finished blanket is the correct size.
Step-by-Step Instructions
This pattern is worked flat in one piece from the bottom up. It's a 16-row repeat with a central cable motif and leaf-like increases and decreases on each side. Use stitch markers to separate the pattern repeats—this will make your life much easier!
Finished Size
Approximately 50 inches wide x 60 inches long (blocked).
Special Stitches
Familiarize yourself with these stitches before you start. Practice them on a swatch if you're new to cabling.
- C4B (Cable 4 Back): Slip 2 stitches to cable needle, hold in back, knit 2, knit 2 from cable needle.
- C4F (Cable 4 Front): Slip 2 stitches to cable needle, hold in front, knit 2, knit 2 from cable needle.
- M1R (Make 1 Right): Pick up the bar between stitches from back to front, knit through the front loop.
- M1L (Make 1 Left): Pick up the bar between stitches from front to back, knit through the back loop.
- P2tog (Purl 2 together)
- K2tog (Knit 2 together)
Getting Started: Cast On and Border
With Color A, cast on 198 stitches loosely. A long-tail cast-on works beautifully here.
Border (Rows 1-8): Work in garter stitch (knit every row) for 8 rows. This creates a sturdy, non-curling edge.
Set-Up Row
Row 9: Knit 6 (border), place marker, *work Row 1 of Cable Panel (below) over the next 24 stitches, place marker*, repeat from * to * 7 more times, knit 6 (border). You will have 8 cable panels in total.
The Cable Panel (16-Row Repeat)
This is the heart of the pattern. Work these 16 rows for each panel across the row. The stitch counts within the panel will fluctuate as you create the leaf shapes.
- Row 1 (RS): P2, K4, P2, M1R, K2, M1L, P2, K4, P2, M1R, K2, M1L, P2, K4, P2 (24 stitches)
- Row 2 (WS): K2, P4, K2, P4, K2, P4, K2, P4, K2, P4, K2
- Row 3: P2, C4B, P2, M1R, K4, M1L, P2, C4F, P2, M1R, K4, M1L, P2, C4B, P2 (28 stitches)
- Row 4: K2, P4, K2, P6, K2, P4, K2, P6, K2, P4, K2
- Row 5: P2, K4, P2, M1R, K6, M1L, P2, K4, P2, M1R, K6, M1L, P2, K4, P2 (32 stitches)
- Row 6: K2, P4, K2, P8, K2, P4, K2, P8, K2, P4, K2
- Row 7: P2, C4F, P2, M1R, K8, M1L, P2, C4B, P2, M1R, K8, M1L, P2, C4F, P2 (36 stitches)
- Row 8: K2, P4, K2, P10, K2, P4, K2, P10, K2, P4, K2
- Row 9: P2, K4, P2, K10, P2, K4, P2, K10, P2, K4, P2 (36 stitches)
- Row 10: K2, P4, K2, P10, K2, P4, K2, P10, K2, P4, K2
- Row 11: P2, C4B, P2, K2tog, K6, K2tog, P2, C4F, P2, K2tog, K6, K2tog, P2, C4B, P2 (32 stitches)
- Row 12: K2, P4, K2, P8, K2, P4, K2, P8, K2, P4, K2
- Row 13: P2, K4, P2, K2tog, K4, K2tog, P2, K4, P2, K2tog, K4, K2tog, P2, K4, P2 (28 stitches)
- Row 14: K2, P4, K2, P6, K2, P4, K2, P6, K2, P4, K2
- Row 15: P2, C4F, P2, K2tog, K2, K2tog, P2, C4B, P2, K2tog, K2, K2tog, P2, C4F, P2 (24 stitches)
- Row 16: K2, P4, K2, P4, K2, P4, K2, P4, K2, P4, K2
Border Stitches: While working the Cable Panel repeat, remember to work the 6 border stitches on each side as follows:
- Rows 1-7 of repeat: Knit 6 border stitches on both sides.
- Row 8 (WS): Purl 6 border stitches on both sides.
This creates a subtle, structured edge that frames the beautiful cables.
Color Changes: Painting Your Midnight Garden
The magic of the Aurora Bloom comes to life with its color transitions. Follow this sequence to create the bands of color. Work the Cable Panel repeat as written, switching colors at the beginning of a row.
- Work Rows 1-8 of the Cable Panel repeat with Color A (Deep Indigo).
- Work Rows 9-16 of the repeat with Color B (Dusty Rose) for the next 4 repeats (64 rows).
- Then work 2 repeats (32 rows) with Color C (Cream).
- Continue alternating: 4 repeats Color A, 4 repeats Color B, 2 repeats Color C, until the piece measures approximately 58 inches from the cast-on edge, ending with a full repeat.
Final Border and Finishing
Once you've reached your desired length, it's time to finish your masterpiece.
Final Border: Work 8 rows of garter stitch in Color A (knit every row). Bind off loosely to maintain the stretchy edge.
Finishing: Weave in all ends carefully with your tapestry needle. This step is crucial for a professional look. Finally, block your throw to the finished measurements. Pin out the cable motifs to open up the texture and allow the leaf shapes to truly bloom. This will dramatically enhance the drape and beauty of your work.
Congratulations! You've just created a stunning, heirloom-quality throw that captures the serene beauty of a midnight garden. This project is a labor of love, and the result is a cozy, textured masterpiece you'll cherish for years to come. Happy knitting!