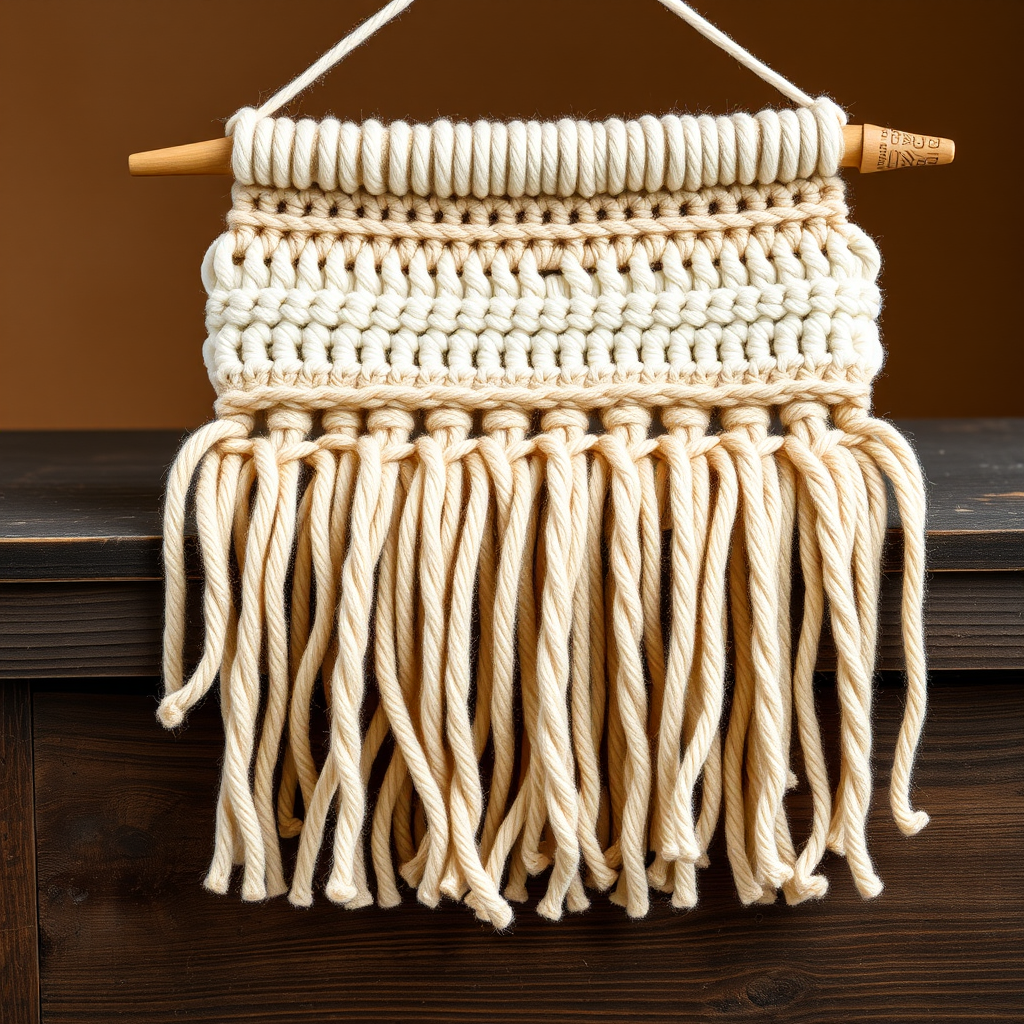
Sun-Kissed Desert Bloom Wall Hanging Free Pattern – A Crocheted Boho Tapestry

Sun-Kissed Desert Bloom Wall Hanging: A Free Boho Crochet Pattern
Bring the warmth of a desert sunset into your home with this textured crochet wall hanging, featuring a vibrant sunburst of earthy tones and cascading fringe. This boho masterpiece is a cozy, handmade statement piece that adds artisanal charm to any wall. Whether you're a seasoned crocheter or a confident beginner looking for a rewarding project, this pattern is designed to be both meditative and achievable. The combination of a dimensional circular motif and a simple striped base creates a stunning visual contrast that will elevate your living space.
This free pattern will guide you through every step, from the magic ring to the final fringe trim. Let's gather our supplies and start creating this desert-inspired tapestry!
Materials Needed
Before you begin, ensure you have all the necessary materials. The gauge is not critical for this project, but maintaining a consistent tension throughout will ensure a professional finish.
- Yarn: Worsted weight cotton yarn in the following colors (approx. 300g total):
- Terracotta
- Mustard Yellow
- Burnt Orange
- Cream
- Rust
- Hook: 5.5mm (I-9) crochet hook
- Notions: Tapestry needle for weaving in ends and assembly
- Hardware: Wooden dowel (12 inches long)
- Scissors: For cutting yarn and trimming fringe
Step-by-Step Instructions
This wall hanging is crocheted in two main sections: a textured sunburst motif and a fringed base. We will work from the top down, starting with the stunning centerpiece.
Part 1: Sunburst Motif (Make 1)
This circular motif is worked in the round, increasing stitches to create a flat, textured disc. The color changes create the beautiful concentric rings.
Round 1: With terracotta yarn, make a magic ring. Chain 3 (counts as a double crochet), work 11 double crochet (dc) into the ring. Join with a slip stitch (sl st) to the top of the beginning chain-3. (12 dc)
Round 2: Chain 3 (counts as dc), dc in the same stitch, 2 dc in each stitch around. Join with a sl st to the top of the chain-3. (24 dc)
Round 3: Chain 3, dc in the same stitch, dc in the next stitch, *2 dc in the next stitch, dc in the next stitch* repeat from * to * around. Join. (36 dc)
Round 4: Switch to mustard yellow. Chain 3, dc in the same stitch, dc in the next 2 stitches, *2 dc in the next stitch, dc in the next 2 stitches* repeat from * to * around. Join. (48 dc)
Round 5: Switch to burnt orange. Chain 3, dc in the same stitch, dc in the next 3 stitches, *2 dc in the next stitch, dc in the next 3 stitches* repeat from * to * around. Join. (60 dc)
Round 6: Switch to cream. Chain 3, dc in the same stitch, dc in the next 4 stitches, *2 dc in the next stitch, dc in the next 4 stitches* repeat from * to * around. Join. (72 dc)
Round 7: Switch to rust. Chain 1, single crochet (sc) in the same stitch, sc in the next 5 stitches, *2 sc in the next stitch, sc in the next 5 stitches* repeat from * to * around. Join. (84 sc)
Round 8: Chain 1, sc in the same stitch, sc in the next 6 stitches, *2 sc in the next stitch, sc in the next 6 stitches* repeat from * to * around. Join. (96 sc)
Fasten off and weave in all loose ends securely.
Part 2: Fringed Base
This rectangular panel is worked in rows, creating a simple striped pattern that complements the intricate sunburst.
Row 1: With cream yarn, chain 96. Dc in the 4th chain from the hook and in each chain across. Turn. (94 dc)
Row 2: Chain 3 (counts as dc), dc in each dc across. Turn.
Row 3: Switch to terracotta. Chain 3, dc in each dc across. Turn.
Row 4: Switch to mustard yellow. Chain 3, dc in each dc across. Turn.
Row 5: Switch to burnt orange. Chain 3, dc in each dc across. Turn.
Row 6: Switch to cream. Chain 3, dc in each dc across. Turn.
Row 7: Switch to rust. Chain 3, dc in each dc across. Turn.
Row 8: Switch to terracotta. Chain 3, dc in each dc across. Do not turn. Fasten off.
Part 3: Assembly and Finishing
Now we bring the two pieces together to create the final wall hanging.
Step 1: Attach the Sunburst
Lay the sunburst motif on top of the fringed base, aligning the bottom edge of the sunburst with the top edge of the base. Using a tapestry needle and cream yarn, whip stitch the sunburst to the base along the top edge of the base, catching the back loops of the sunburst's last round. This will create a seamless, secure attachment.
Step 2: Create the Dowel Casing
Fold the top edge of the fringed base over the wooden dowel, creating a casing. Sew the folded edge down with a whip stitch, ensuring the stitches are neat and secure. Leave the ends of the dowel exposed so it can be hung easily.
Step 3: Add the Fringe
Cut 12-inch lengths of yarn in all your colors. For each fringe, fold a length in half, insert your hook through the bottom edge of the base, pull the loop through, and pull the ends through the loop. Tighten to secure. Space the fringes evenly across the bottom edge, alternating colors for a vibrant, bohemian look.
Step 4: Trim the Fringe
Once all the fringe is attached, trim the ends to an even length. You can hold the fringe taut and cut straight across for a clean, polished edge.
Step 5: Add a Hanging Loop
Cut a 12-inch piece of cream yarn, fold it in half, and tie the ends to the dowel at the top corners. Knot securely to create a sturdy loop for hanging.
Your Sun-Kissed Desert Bloom Wall Hanging is now complete! Weave in any remaining ends, give it a gentle steam block if desired, and hang it proudly on your wall. This piece is sure to be a conversation starter and a cherished handmade treasure.