Starlight Stroll Crochet Loafers Free Pattern – A Celestial Comfort Slipper

Starlight Stroll Crochet Loafers: A Celestial Comfort Slipper Pattern
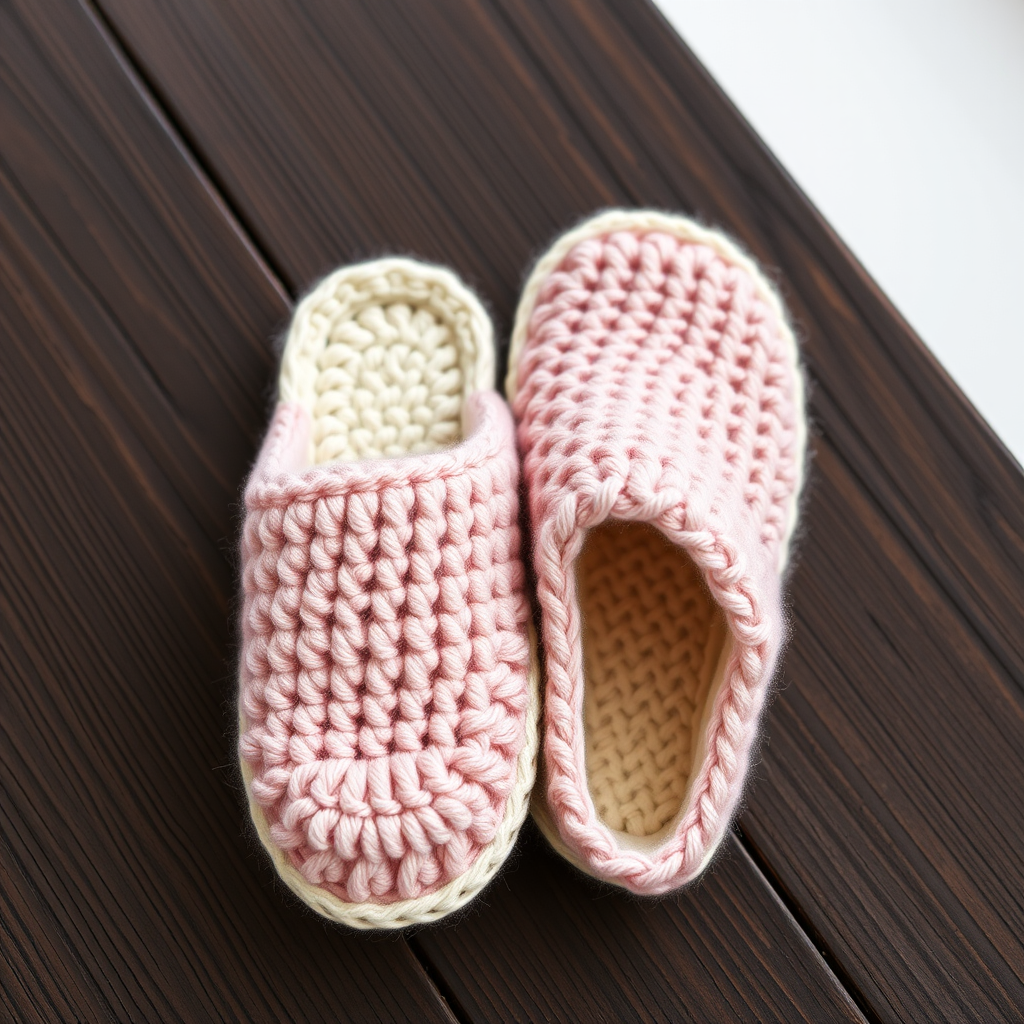
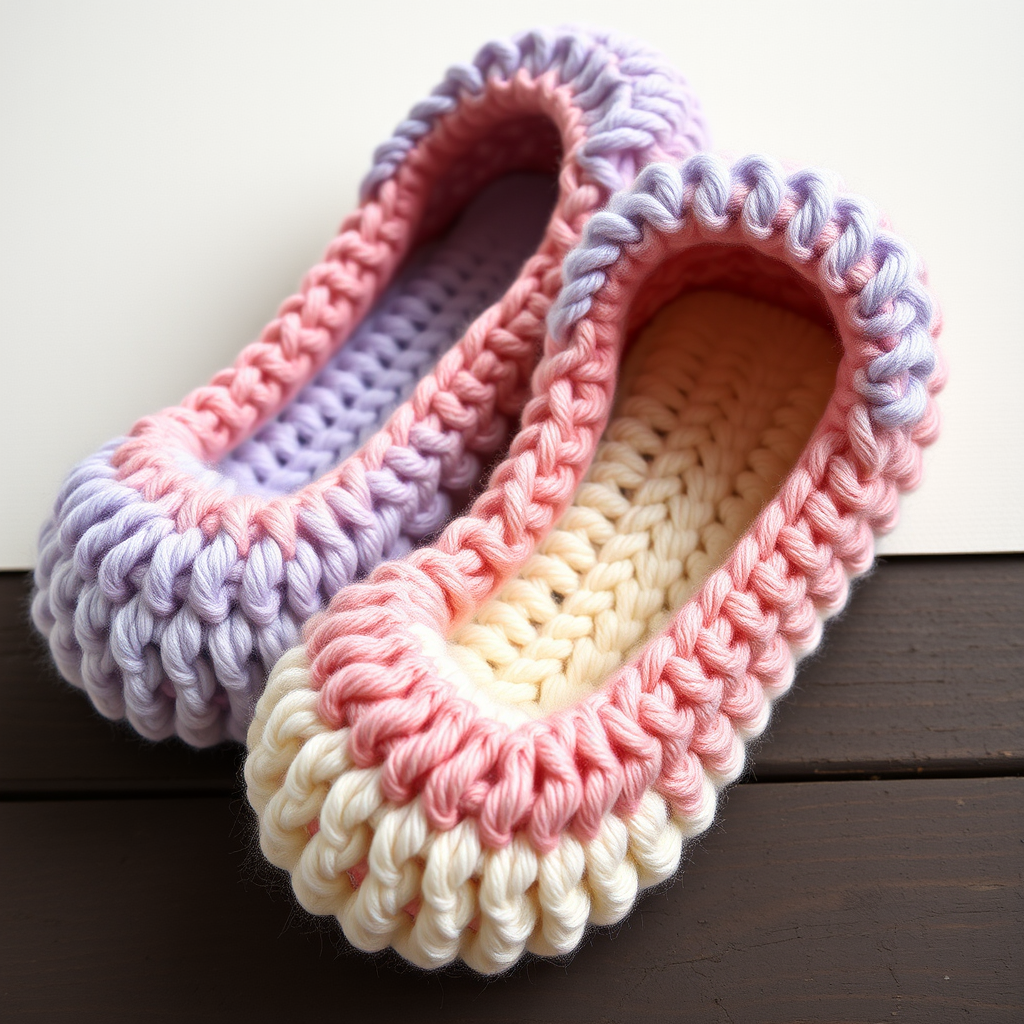
Imagine slipping your feet into a pair of slippers that feel like a warm hug on a chilly evening, while looking up at a starry night sky. That's the magic of the Starlight Stroll Crochet Loafers. These plush, star-speckled loafers combine celestial charm with everyday coziness, making them the perfect handmade gift for yourself or a loved one. The textured stitch work and soft, chunky yarn create a slipper that is both stylish and incredibly comfortable. Whether you're curling up with a book or padding around the house on a lazy Sunday, these loafers will keep your feet snug and your style on point.
This free pattern is designed with beginners in mind, using basic crochet stitches and simple shaping techniques. The result is a pair of loafers that resemble classic leather footwear but with a soft, handmade yarn appearance. Let's get started on creating your own celestial comfort slippers!
Materials Needed
Before you begin your crochet journey, gather the following materials. Having everything ready will make the process smooth and enjoyable.
Yarn
- Main Color (MC): Worsted weight yarn in deep navy blue, approximately 150g
- Accent Color (AC): Worsted weight yarn in soft gold, approximately 50g
Total yarn needed: approximately 200g
Hook and Notions
- Crochet Hook: 5.5mm (I-9) crochet hook
- Yarn needle for weaving in ends and sewing pieces together
- Scissors
- Stitch markers (optional, but helpful for keeping track of rounds)
Gauge
14 sc x 16 rows = 4 inches (10 cm) in single crochet. Always check your gauge to ensure your slippers turn out the correct size. If your gauge is off, adjust your hook size accordingly.
Step-by-Step Instructions
This pattern is worked in three main parts: the sole, the upper body, and the star motif. We'll then assemble everything together. The pattern includes sizes for Small (Women's 5-6), Medium (Women's 7-8), and Large (Women's 9-10). Instructions for different sizes are written as Small (Medium, Large).
Abbreviations
- ch = chain
- sc = single crochet
- hdc = half double crochet
- dc = double crochet
- sl st = slip stitch
- st(s) = stitch(es)
- rnd = round
- inc = increase (2 sc in same st)
- dec = decrease (sc2tog - single crochet two stitches together)
Part 1: The Sole (Make 2)
The sole forms the sturdy base of your slipper. We'll work in continuous rounds to create an oval shape that fits the foot comfortably.
Foundation: With navy yarn, ch 12 (14, 16).
Rnd 1: 2 sc in 2nd ch from hook, sc in next 9 (11, 13) ch, 2 sc in last ch. Now working on the opposite side of the chain, sc in next 9 (11, 13) ch. Join with sl st to first sc. (22, 26, 30 sts)
Rnd 2: Ch 1, 2 sc in first st, sc in next 9 (11, 13) sts, 2 sc in next st, sc in next st, 2 sc in next st, sc in next 9 (11, 13) sts, 2 sc in last st. Join. (26, 30, 34 sts)
Rnd 3: Ch 1, sc in each st around. Join. (26, 30, 34 sts)
Rnd 4: Ch 1, 2 sc in first st, sc in next 10 (12, 14) sts, 2 sc in next st, sc in next st, 2 sc in next st, sc in next 10 (12, 14) sts, 2 sc in last st. Join. (30, 34, 38 sts)
Rnd 5: Ch 1, sc in each st around. Join. (30, 34, 38 sts)
Rnd 6: Ch 1, 2 sc in first st, sc in next 11 (13, 15) sts, 2 sc in next st, sc in next st, 2 sc in next st, sc in next 11 (13, 15) sts, 2 sc in last st. Join. (34, 38, 42 sts)
Rnd 7: Ch 1, sc in each st around. Join. (34, 38, 42 sts)
Fasten off and weave in the end. Repeat this entire process to create the second sole.
Part 2: The Upper Body (Make 2)
The upper body creates the cozy "loafer" shape that covers the top of your foot. We'll work in rows, then shape the toe area.
Foundation: With navy yarn, ch 20 (22, 24).
Row 1: Sc in 2nd ch from hook and in each ch across. Turn. (19, 21, 23 sts)
Row 2: Ch 1, sc in each st across. Turn.
Rows 3-? : Repeat Row 2 until the piece measures 5 (5.5, 6) inches from the start. This creates the main body of the slipper that wraps over your foot.
Shape Toe: Now we'll decrease to create the rounded toe shape.
Row 1: Ch 1, sc in first 6 (7, 8) sts, dec, sc in next 3 sts, dec, sc in last 6 (7, 8) sts. Turn. (17, 19, 21 sts)
Row 2: Ch 1, sc in first 5 (6, 7) sts, dec, sc in next 3 sts, dec, sc in last 5 (6, 7) sts. Turn. (15, 17, 19 sts)
Row 3: Ch 1, sc in first 4 (5, 6) sts, dec, sc in next 3 sts, dec, sc in last 4 (5, 6) sts. Turn. (13, 15, 17 sts)
Row 4: Ch 1, sc in first 3 (4, 5) sts, dec, sc in next 3 sts, dec, sc in last 3 (4, 5) sts. Turn. (11, 13, 15 sts)
Row 5: Ch 1, sc in first 2 (3, 4) sts, dec, sc in next 3 sts, dec, sc in last 2 (3, 4) sts. Turn. (9, 11, 13 sts)
Fasten off, leaving a long tail (about 18 inches) for sewing the upper to the sole. Repeat for the second upper body.
Part 3: The Star Motif (Make 2)
This is where the celestial magic happens! The gold star adds a beautiful, dimensional touch to the top of each slipper.
Foundation: With gold yarn, make a magic ring.
Rnd 1: Ch 3 (counts as dc), 9 dc into ring. Join with sl st to top of ch-3. (10 dc)
Rnd 2: Ch 1, sc in same st, *ch 3, skip next st, sc in next st* repeat from * to * 4 more times, ending with ch 3, sl st to first sc. (5 ch-3 loops)
Rnd 3: Sl st into first ch-3 loop, ch 1, (sc, hdc, dc, ch 2, dc, hdc, sc) in same loop, *sc in next ch-3 loop, (sc, hdc, dc, ch 2, dc, hdc, sc) in next loop* repeat from * to * around. Join with sl st to first sc. Fasten off, leaving a tail for sewing. (5 star points created)
Part 4: Assembly
Now it's time to bring all the pieces together to create your beautiful slippers.
Step 1: Attach Upper to Sole
With right sides together (the inside of the slipper facing out), pin the upper body to the sole. Match the toe end of the upper (the shaped, decreased end) to the narrower end of the sole. The straight edge of the upper should align with the sides of the sole, and the open end of the upper will form the heel opening.
Step 2: Sew Around
Using the long tail from the upper body and a yarn needle, sew the upper to the sole using a whip stitch. Go through both layers of yarn, keeping your stitches even and close together. Work your way around the entire sole, ensuring the upper is evenly distributed.
Step 3: Turn Right Side Out
Once sewn securely, carefully turn the slipper right side out. Gently shape it with your hands, making sure the toe area is well-formed and the seams are neat.
Step 4: Attach Star Motif
Using the gold yarn tail from the star motif, sew the star onto the center top of each slipper. Position it so it sits nicely on the instep of the foot. Weave in the end securely.
Step 5: Weave in All Ends
Use your yarn needle to weave in any remaining loose ends from the soles, uppers, and stars. Make sure everything is secure and tidy.
Finishing Touches
Your Starlight Stroll Crochet Loafers are almost complete! To make them even more functional and durable, consider adding a non-slip sole. You can do this by sewing a piece of suede or leather to the bottom of the sole, or by applying a few dots of puff paint to the bottom. This will give you extra traction on slippery floors.
Once your slippers are finished, slip them on and enjoy the cozy, celestial comfort you've created with your own hands. These make wonderful gifts for friends and family, and they're sure to become a favorite pair of house shoes. Happy crocheting!