Ripple Ridge Potato Chip Scarf Free Pattern – A Wavy Knitted Neck Wrap

Ripple Ridge Potato Chip Scarf: A Wavy Knitted Neck Wrap You'll Love
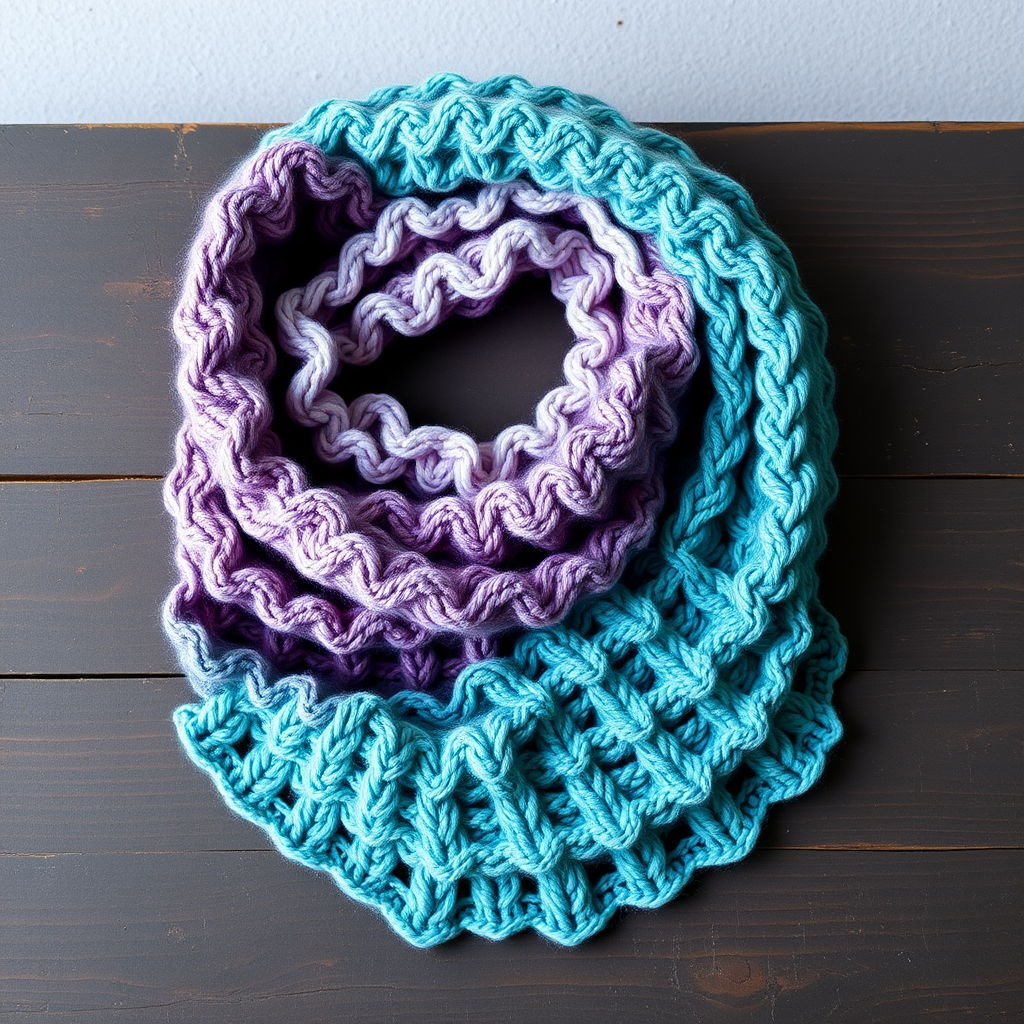
There's something magical about a knitting pattern that looks intricate but is secretly beginner-friendly. The Ripple Ridge Potato Chip Scarf is exactly that—a delightful twist on the classic potato chip pattern, featuring a bold ripple ridge stitch that creates a mesmerizing wavy texture. This scarf is the perfect cozy accessory to add a touch of handmade charm to any winter outfit. The alternating cream and teal stripes evoke a coastal, seaside vibe, making this piece as visually refreshing as it is warm. Whether you're knitting for yourself or gifting to a loved one, this pattern is sure to become a favorite.
Materials Needed
Before you cast on, gather these simple supplies. This project uses basic tools and worsted weight yarn, making it accessible for knitters of all levels.
- Yarn: Worsted weight yarn in two contrasting colors (e.g., Cream and Teal) – approximately 300 yards of each
- Needles: US Size 8 (5.0 mm) knitting needles
- Notions: Tapestry needle for weaving in ends, scissors, and a crochet hook (optional, for fringe)
Gauge: 18 stitches and 24 rows = 4 inches in stockinette stitch. (Always check your gauge to ensure the correct finished size.)
Abbreviations
Familiarize yourself with these standard knitting abbreviations before starting:
- CO: Cast on
- K: Knit
- P: Purl
- K2tog: Knit two stitches together (decrease)
- YO: Yarn over (increase, creates an eyelet hole)
- Sl: Slip stitch purlwise
- Rep: Repeat
Step-by-Step Instructions
This scarf is worked flat in one piece, from the cast-on edge to the bind-off. The pattern is a simple 12-row repeat that creates the signature wavy "potato chip" texture. Follow along carefully, and you'll have a stunning scarf in no time.
Scarf Body (Worked in One Piece)
Cast On: With Color A (Cream), CO 40 stitches.
Foundation Rows (Rows 1-6): These rows set up the first solid color block and the initial eyelet pattern.
- Row 1 (RS): K all stitches.
- Row 2 (WS): P all stitches.
- Row 3 (RS): K2, *YO, K2tog, K2; rep from * to last 2 stitches, K2. (This creates the first set of eyelet holes.)
- Row 4 (WS): P all stitches.
- Row 5 (RS): K all stitches.
- Row 6 (WS): P all stitches.
Main Pattern Repeat (Rows 7-18): This 12-row sequence creates the alternating stripes and wavy texture. Repeat this block until the scarf reaches your desired length.
- Row 7 (RS): Switch to Color B (Teal). K all stitches.
- Row 8 (WS): P all stitches.
- Row 9 (RS): K2, *YO, K2tog, K2; rep from * to last 2 stitches, K2.
- Row 10 (WS): P all stitches.
- Row 11 (RS): K all stitches.
- Row 12 (WS): P all stitches.
- Row 13 (RS): Switch to Color A (Cream). K all stitches.
- Row 14 (WS): P all stitches.
- Row 15 (RS): K2, *YO, K2tog, K2; rep from * to last 2 stitches, K2.
- Row 16 (WS): P all stitches.
- Row 17 (RS): K all stitches.
- Row 18 (WS): P all stitches.
Repeat Rows 7-18 until the scarf measures approximately 60 inches from the cast-on edge. Be sure to end with a Row 12 or Row 18 (after a solid color row) so that the final section is symmetrical.
Final Rows & Bind Off
To finish the scarf neatly, mirror the foundation rows with Color A.
- With Color A, work Rows 1-6 once more (K all, P all, eyelet row, P all, K all, P all).
- Bind off all stitches knitwise. This creates a stretchy edge that complements the wavy texture.
Finishing Touches
Now for the satisfying part—making your scarf look polished and professional.
- Weave in Ends: Thread your tapestry needle with the yarn tails and weave them carefully through the wrong side of the fabric. Trim any excess yarn.
- Block the Scarf: Gently wet block the scarf to enhance the wavy texture and even out the stitches. Lay it flat on a towel, pin the edges if desired, and let it dry completely.
- Optional Fringe: For extra flair, add fringe to the short ends. Cut 12-inch strands of both colors. Fold each strand in half, pull the loop through an edge stitch using a crochet hook, and pull the ends through the loop. Trim evenly for a clean finish.
And there you have it—a stunning Ripple Ridge Potato Chip Scarf that's as fun to make as it is to wear. The combination of garter stitch ridges and eyelet holes creates that irresistible crinkled, wavy look, while the two-tone color scheme adds modern charm. This pattern is perfect for beginners looking to practice yarn overs and decreases, and it's a fantastic way to use up worsted weight yarn from your stash. So grab your needles, pick your favorite colors, and enjoy the soothing rhythm of this wavy knit!