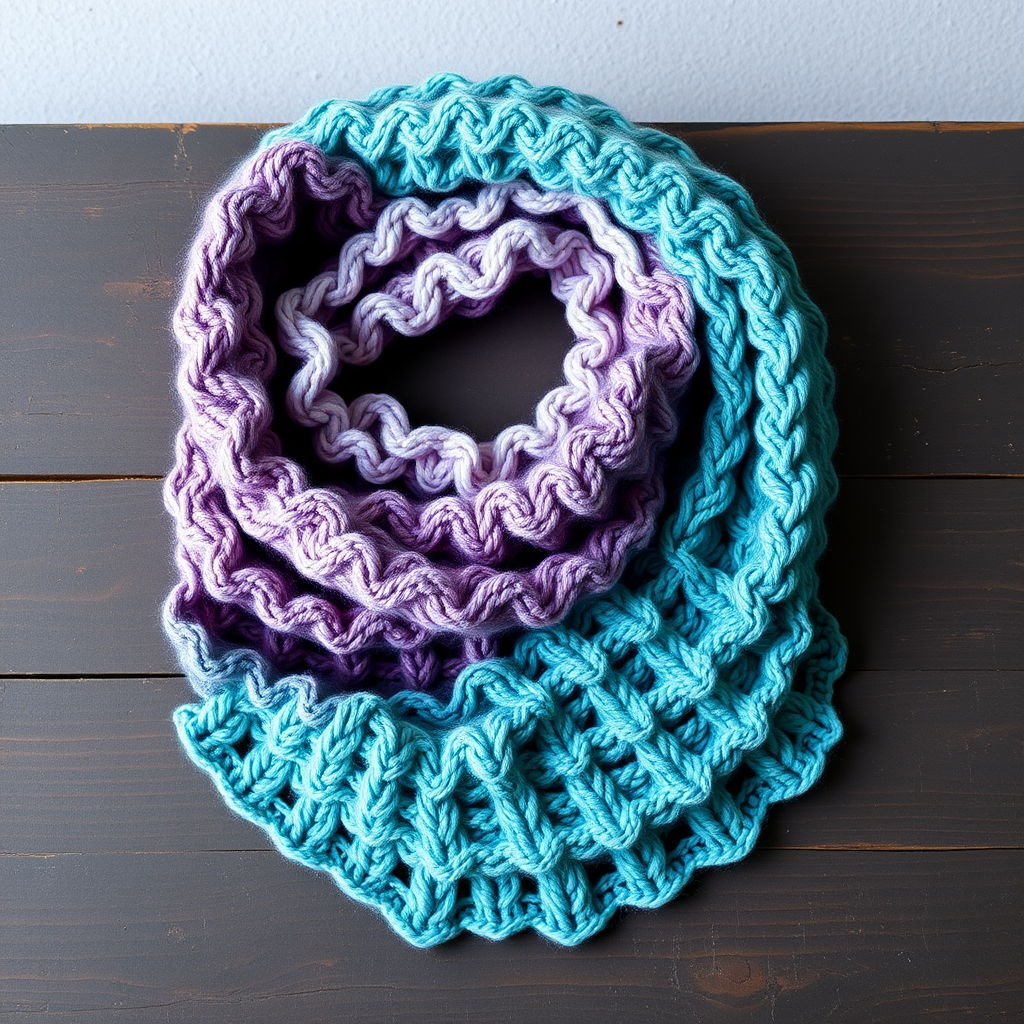
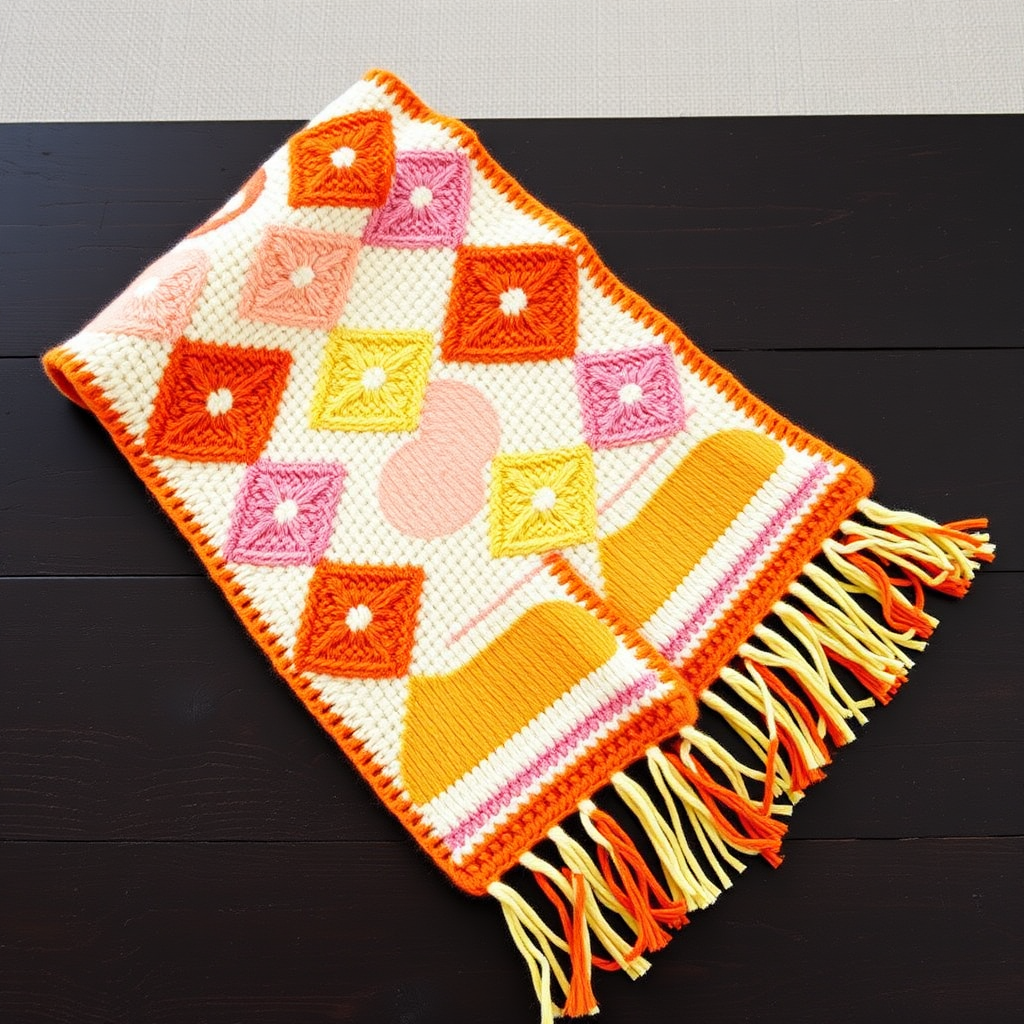
Plum Button Scarf Free Pattern – A Knitted Orchard Harvest Wrap

Wrap Yourself in Autumn: Introducing the Plum Button Scarf
There’s something magical about the transition into autumn—the crisp air, the golden light, and the deep, rich colors of the orchard. The Plum Button Scarf captures all of that in a single, hand-knitted accessory. This isn't just any scarf; it’s a textured wrap with a tailored twist. Featuring a classic seed stitch border, a smooth stockinette body, and a unique buttoned closure, this pattern is designed to keep you cozy while looking effortlessly polished. Whether you're a seasoned knitter or a confident beginner looking for a rewarding project, this free pattern will guide you through creating a stunning, functional piece that you'll reach for all season long.
Inspired by the deep hues of a late autumn plum orchard, this scarf uses a rich, deep purple yarn as the main color, accented with warm golden button loops. The result is a piece that feels both rustic and refined. Let’s dive into the pattern and get those needles clicking!
Materials Needed: Gathering Your Orchard Harvest
Before you cast on, let's make sure you have everything you need. This project is wonderfully portable and requires only a few simple supplies.
Yarn & Notions
- Main Color (MC): Worsted weight yarn in deep plum. You'll need approximately 350–400 yards. Look for a soft, cozy wool blend for the best drape and warmth.
- Contrast Color (CC): Worsted weight yarn in warm gold or cream for the button loops. Approximately 50 yards is all you need.
- Needles & Hooks: US Size 8 (5.0 mm) knitting needles (straight or circular, whichever you prefer for flat knitting). You'll also need a small crochet hook (any size, around 5.0 mm works well) for the button loops.
- Extras: Tapestry needle for weaving in ends, 4 large wooden buttons (1 inch diameter), and a removable stitch marker (optional, but helpful).
Gauge & Measurements
- Gauge: 18 stitches and 24 rows = 4 inches in stockinette stitch. Always check your gauge to ensure your scarf comes out the right size!
- Finished Measurements: Approximately 8 inches wide x 60 inches long (excluding button bands).
Step-by-Step Instructions: Knitting Your Plum Button Scarf
This pattern is worked flat in one piece, making it a fantastic weekend project. We'll start with the textured border, move into the main body, and finish with the buttonhole and button bands. Let's get started!
Abbreviations
- CO: Cast on
- K: Knit
- P: Purl
- St(s): Stitch(es)
- RS: Right side
- WS: Wrong side
- K2tog: Knit two stitches together
- Yo: Yarn over
Pattern Notes
- The scarf is knitted flat in one piece, with a buttonhole band at one end and a button band at the other.
- The button loops are created using a crochet chain technique, but the main scarf is knitted.
- Use a removable stitch marker to keep track of your rows if needed.
Getting Started: The Scarf Body
With your Main Color (MC) yarn, CO 36 sts.
Border Rows (Seed Stitch)
This creates a lovely, textured edge that won't curl.
- Row 1 (RS): *K1, P1; repeat from * to end.
- Row 2 (WS): *P1, K1; repeat from * to end.
Repeat Rows 1-2 until the border measures 2 inches from the cast-on edge, ending with a WS row.
Main Body (Stockinette with Seed Stitch Edges)
Now we'll create the smooth, elegant center of the scarf while maintaining the seed stitch borders on each side.
- Row 1 (RS): K1, P1, K1, P1, K1 (5 sts seed stitch border), K26 (stockinette), K1, P1, K1, P1, K1 (5 sts seed stitch border).
- Row 2 (WS): P1, K1, P1, K1, P1 (5 sts seed stitch border), P26 (purl across), P1, K1, P1, K1, P1 (5 sts seed stitch border).
Repeat Rows 1-2 until the scarf measures 56 inches from the cast-on edge, ending with a WS row.
Creating the Buttonhole Band
This band is worked in seed stitch and features four evenly spaced buttonholes.
- Continue in seed stitch across all 36 sts for 2 inches.
- Buttonhole Row (RS): Work seed stitch for 8 sts, *K2tog, Yo, work seed stitch for 8 sts; repeat from * 3 more times (total 4 buttonholes), work seed stitch to end.
- Next Row (WS): Work seed stitch across, knitting into the yo of the previous row to form a hole.
- Continue in seed stitch for another 1.5 inches, so the buttonhole band is 2 inches total. Bind off loosely in pattern.
Adding the Button Band (Opposite End)
Now we'll create the band that will hold the buttons.
- At the cast-on edge, pick up and knit 36 sts along the edge.
- Work in seed stitch for 2 inches.
- Bind off loosely in pattern.
Making the Button Loops (Optional, for a More Secure Closure)
These little loops add a beautiful contrasting detail and ensure your buttons stay put.
- Using CC yarn and a crochet hook, attach yarn at the edge of the button band.
- Chain 6, slip stitch to the band to form a loop.
- Repeat for each button position (4 loops). Weave in ends.
Finishing Touches
Almost done! Now for the satisfying final steps.
- Sew the Buttons: Sew 4 wooden buttons onto the button band, aligning with the buttonholes on the opposite end.
- Weave in Ends: Use your tapestry needle to weave in all loose ends securely.
- Block Gently: Blocking will even out your stitches and give the scarf a professional finish. Lay it flat, mist with water, and let it dry completely.
And there you have it—your very own Plum Button Scarf! This versatile piece can be worn wrapped and buttoned for a snug fit, or draped loosely for a more casual look. The rich plum color and natural wooden buttons make it a timeless addition to any autumn or winter wardrobe. Happy knitting!