Mossy Glen Slouch Hat Free Pattern – Knit a Textured Forest Beret
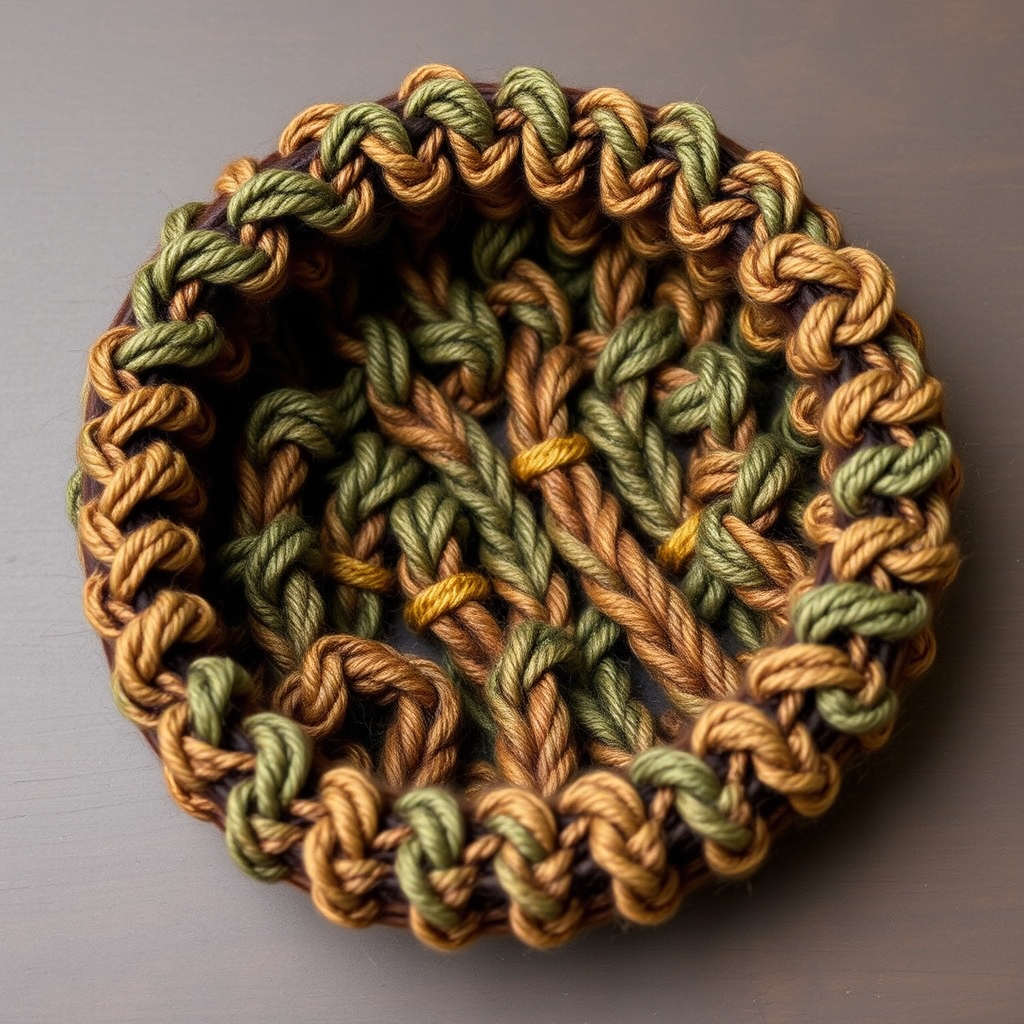
Mossy Glen Slouch Hat Free Pattern – Knit a Textured Forest Beret
Embrace the quiet beauty of a woodland walk with this slouchy beret, knitted in a rich tapestry of moss, bark, and fern greens. The unique combination of puff stitches and ribbed cables creates a cozy, sculptural texture that feels both modern and timeless. This free knitting pattern is perfect for intermediate knitters looking to expand their skills, yet detailed enough for confident beginners ready for a rewarding challenge. The result is a stunning, one-of-a-kind accessory that brings the serene essence of a forest floor to your winter wardrobe.
Materials Needed
Before you begin your knitting journey, gather the following materials. Having everything ready will make the process smooth and enjoyable.
- Yarn: Worsted weight yarn in three colors:
- MC (Moss Green): Approximately 220 yards
- CC1 (Bark Brown): Approximately 80 yards
- CC2 (Fern Green): Approximately 60 yards
- Needles: US 8 (5.0 mm) 16-inch circular needle and double-pointed needles (or a long circular needle for magic loop technique)
- Cable Needle: For creating the beautiful braided cable details
- Other: Stitch markers (optional but helpful), tapestry needle for weaving in ends, scissors
Gauge & Finished Size
- Gauge: 18 stitches and 24 rows = 4 inches in stockinette stitch. Always check your gauge to ensure the correct fit!
- Finished Size: One size fits most adults (21-23 inch head circumference)
Step-by-Step Instructions
This pattern is worked in the round from the bottom up. Follow each round carefully, and you'll be amazed at the textured masterpiece you create. Let's get started!
Abbreviations
- k = knit
- p = purl
- k2tog = knit two together (decrease)
- p2tog = purl two together (decrease)
- m1 = make one (increase)
- C4F = slip 2 stitches to cable needle, hold in front, knit next 2 stitches, then knit stitches from cable needle
- C4B = slip 2 stitches to cable needle, hold in back, knit next 2 stitches, then knit stitches from cable needle
- Puff Stitch (worked over 3 stitches): (k1, p1, k1) into same stitch, then pass the second and third stitches over the first stitch to create a single puff stitch.
Ribbing
With MC (Moss Green), cast on 96 stitches. Join in the round, being careful not to twist your stitches. Place a stitch marker to indicate the beginning of the round.
Work in k2, p2 ribbing for 1.5 inches. This creates a snug, stretchy brim that will comfortably hug your head.
Body of the Hat
Now we begin the beautiful textured pattern. Follow each round precisely, switching colors as indicated.
- Round 1: With MC, *k6, m1* repeat around (112 stitches).
- Round 2: With MC, knit all stitches.
- Round 3: With MC, *C4F, k2, C4B, k2* repeat around.
- Round 4: With MC, knit all stitches.
- Round 5: With CC1 (Bark Brown), *k4, puff stitch over next 3 stitches, k3* repeat around.
- Round 6: With CC1, purl all stitches. (This purl round helps the puff stitches pop and creates a lovely textural contrast.)
- Round 7: With MC, *k2, C4B, C4F, k2* repeat around.
- Round 8: With MC, knit all stitches.
- Round 9: With MC, *k6, m1* repeat around (128 stitches).
- Round 10: With MC, knit all stitches.
- Round 11: With CC2 (Fern Green), *k5, puff stitch over next 3 stitches, k4* repeat around.
- Round 12: With CC2, purl all stitches.
- Round 13: With MC, *C4F, k4, C4B, k4* repeat around.
- Round 14: With MC, knit all stitches.
- Round 15: With MC, *k8, m1* repeat around (144 stitches).
- Round 16: With MC, knit all stitches.
- Round 17: With CC1, *k6, puff stitch over next 3 stitches, k5* repeat around.
- Round 18: With CC1, purl all stitches.
- Round 19: With MC, *k2, C4B, k6, C4F, k2* repeat around.
- Round 20: With MC, knit all stitches.
- Round 21: With MC, knit all stitches. (This plain knit round helps stabilize the pattern before shaping.)
Shaping the Crown
Now we'll decrease to shape the top of the beret. The decreases are evenly spaced to create a smooth, rounded crown. As the stitches decrease, switch from your circular needle to double-pointed needles when the stitches become too few to fit comfortably on the circular needle.
- Round 22: With MC, *k10, k2tog* repeat around (132 stitches).
- Round 23: With MC, knit all stitches.
- Round 24: With MC, *k9, k2tog* repeat around (120 stitches).
- Round 25: With MC, knit all stitches.
- Round 26: With MC, *k8, k2tog* repeat around (108 stitches).
- Round 27: With MC, knit all stitches.
- Round 28: With MC, *k7, k2tog* repeat around (96 stitches).
- Round 29: With MC, knit all stitches.
- Round 30: With MC, *k6, k2tog* repeat around (84 stitches).
- Round 31: With MC, knit all stitches.
- Round 32: With MC, *k5, k2tog* repeat around (72 stitches).
- Round 33: With MC, knit all stitches.
- Round 34: With MC, *k4, k2tog* repeat around (60 stitches).
- Round 35: With MC, knit all stitches.
- Round 36: With MC, *k3, k2tog* repeat around (48 stitches).
- Round 37: With MC, knit all stitches.
- Round 38: With MC, *k2, k2tog* repeat around (36 stitches).
- Round 39: With MC, knit all stitches.
- Round 40: With MC, *k1, k2tog* repeat around (24 stitches).
- Round 41: With MC, k2tog around (12 stitches).
Finishing
Cut the yarn, leaving a long tail (about 12 inches). Thread the tail through a tapestry needle, then pass the needle through the remaining 12 stitches on your needles. Remove the needles and pull the tail tight to close the top of the hat securely. Weave in the tail and all other loose ends on the inside of the hat to keep the exterior clean and beautiful.
Give your Mossy Glen Slouch Hat a gentle block to even out the stitches and let the cables and puff stitches shine. Simply soak it in lukewarm water with a bit of wool wash, gently squeeze out excess water (never wring!), and lay it flat to dry on a towel, shaping it as desired.
Congratulations! You've created a stunning, textured forest beret that's as cozy as it is stylish. This hat makes a wonderful gift for a loved one or a delightful treat for yourself. Happy knitting!


