Mossy Glen Drawstring Pouch Free Knitting Pattern – Textured Forest Tote

Mossy Glen Drawstring Pouch: A Free Knitting Pattern for Woodland Treasures
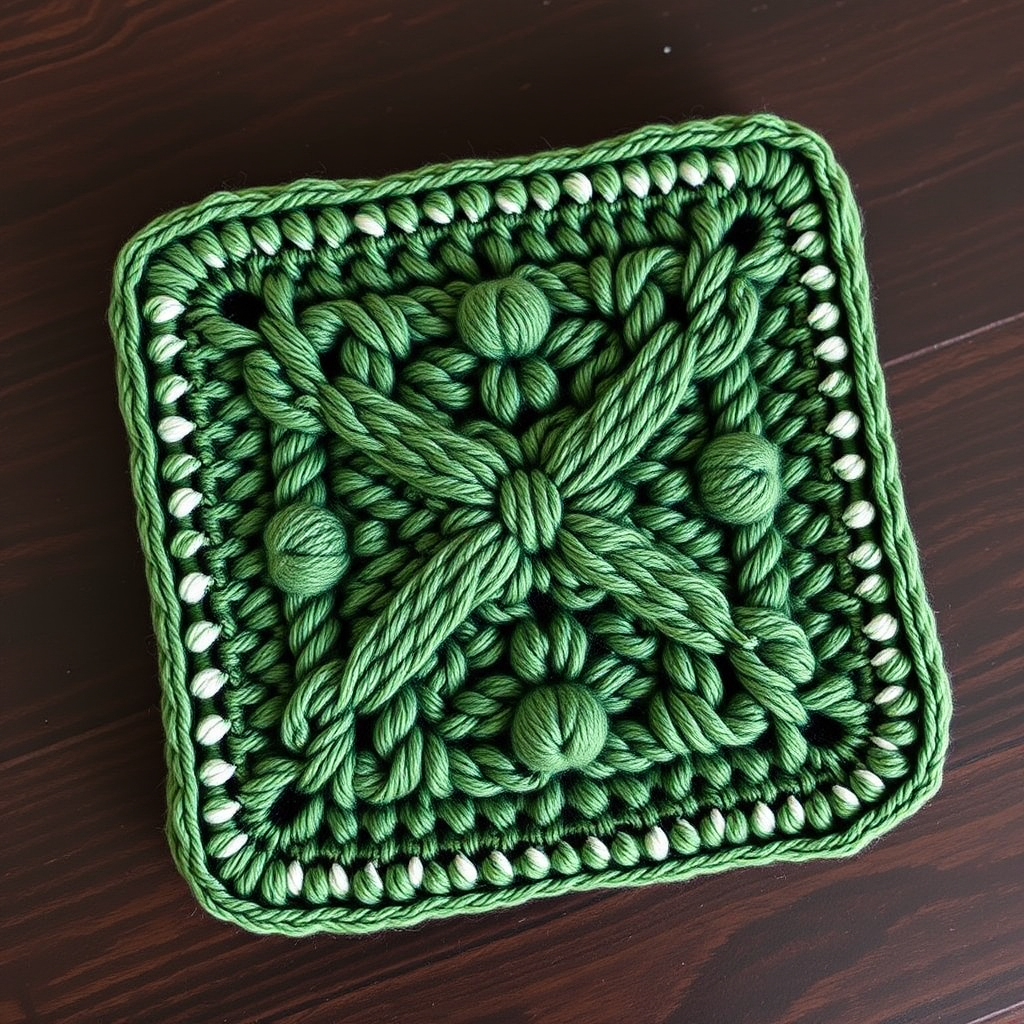
There's something deeply satisfying about knitting a project that feels both rustic and refined—and this Mossy Glen Drawstring Pouch delivers exactly that. With its rich, pebbled moss stitch texture in deep forest green and a creamy top border, this charming drawstring bag evokes the quiet beauty of a woodland path. Perfect for foraging treasures, storing your favorite yarn, or simply adding a touch of nature-inspired coziness to your everyday carry, this pattern is accessible to beginners and delightful for seasoned knitters alike.
The moss stitch creates a bumpy, organic surface that catches light and shadow beautifully, while the braided I-cord drawstrings cinch the top closed with effortless charm. Let's dive into this free knitting pattern and create something truly special.
Materials Needed
Before you begin, gather the following supplies:
- Yarn: Worsted weight yarn in two colors:
- Main Color (MC) – Forest Green (approx. 150g / 300m)
- Contrast Color (CC) – Cream (approx. 50g / 100m)
- Needles: US 7 (4.5mm) knitting needles (straight or circular for magic loop)
- Notions: Tapestry needle, stitch markers
Gauge: 20 stitches x 28 rows = 4 inches in stockinette stitch (after blocking)
Finished Size: Approximately 10 inches wide x 12 inches tall (excluding cord)
Abbreviations
- CO: cast on
- K: knit
- P: purl
- K2tog: knit two together
- P2tog: purl two together
- YO: yarn over
- Sl: slip stitch purlwise
- Rep: repeat
- St(s): stitch(es)
- MC: main color
- CC: contrast color
Pattern Notes
- The bag is worked flat in rows, then seamed at the sides and bottom.
- The moss stitch pattern creates a bumpy, organic texture reminiscent of mossy stones.
- The drawstring cord is knitted separately and threaded through eyelet holes.
Step-by-Step Instructions
Bag Body (Worked Flat)
Step 1: With MC, CO 50 sts.
Step 2: Work the following rows to establish the moss stitch pattern:
- Row 1 (RS): K all sts.
- Row 2 (WS): P all sts.
- Row 3: K1, *K1, P1, rep from * to last st, K1.
- Row 4: P1, *P1, K1, rep from * to last st, P1.
- Row 5: K all sts.
- Row 6: P all sts.
- Row 7: K1, *P1, K1, rep from * to last st, K1.
- Row 8: P1, *K1, P1, rep from * to last st, P1.
Step 3: Repeat Rows 3-8 until the piece measures 10 inches from the cast-on edge, ending with a WS row.
Eyelet Row (For Drawstring)
Step 4: On the RS, work the eyelet row: K2, *YO, K2tog, K4, rep from * to last 2 sts, K2. This creates the holes for your drawstring.
Step 5: On the WS, P all sts.
Top Border
Step 6: Switch to CC. Work in stockinette stitch (K on RS, P on WS) for 6 rows, ending with a WS row.
Step 7: Bind off loosely: K all sts on RS, binding off as you go. Cut yarn, leaving a long tail for seaming.
Finishing the Bag
Step 8: Fold the bag in half with right sides together. Using the tail, mattress stitch the side seams from the bottom up to the eyelet row. Turn the bag right side out.
Drawstring Cord (Make 2)
Step 9: With CC, CO 3 sts. Work an I-cord: *K3, slide sts to other end of needle, rep from * until the cord measures 24 inches. Bind off. Weave in ends.
Threading the Drawstring
Step 10: Thread one cord through the eyelet holes from the front, starting at one side and exiting at the other. Thread the second cord through the opposite direction. Tie knots at each end of the cords to prevent slipping.
Final Touches
Step 11: Weave in all ends. Block gently to shape.
Tips for Success
- Take your time with the moss stitch—it's simple but rhythmic, and the texture will reward your patience.
- When threading the drawstrings, use a tapestry needle to guide the cord through the eyelets for a cleaner finish.
- Blocking helps the moss stitch bloom and even out the fabric, so don't skip this step!
This Mossy Glen Drawstring Pouch is a wonderful project for using up worsted weight yarn scraps or for creating a thoughtful handmade gift. Whether you're storing knitting notions, gathering pinecones on a forest walk, or just adding a touch of woodland whimsy to your space, this pouch is sure to become a favorite. Happy knitting!