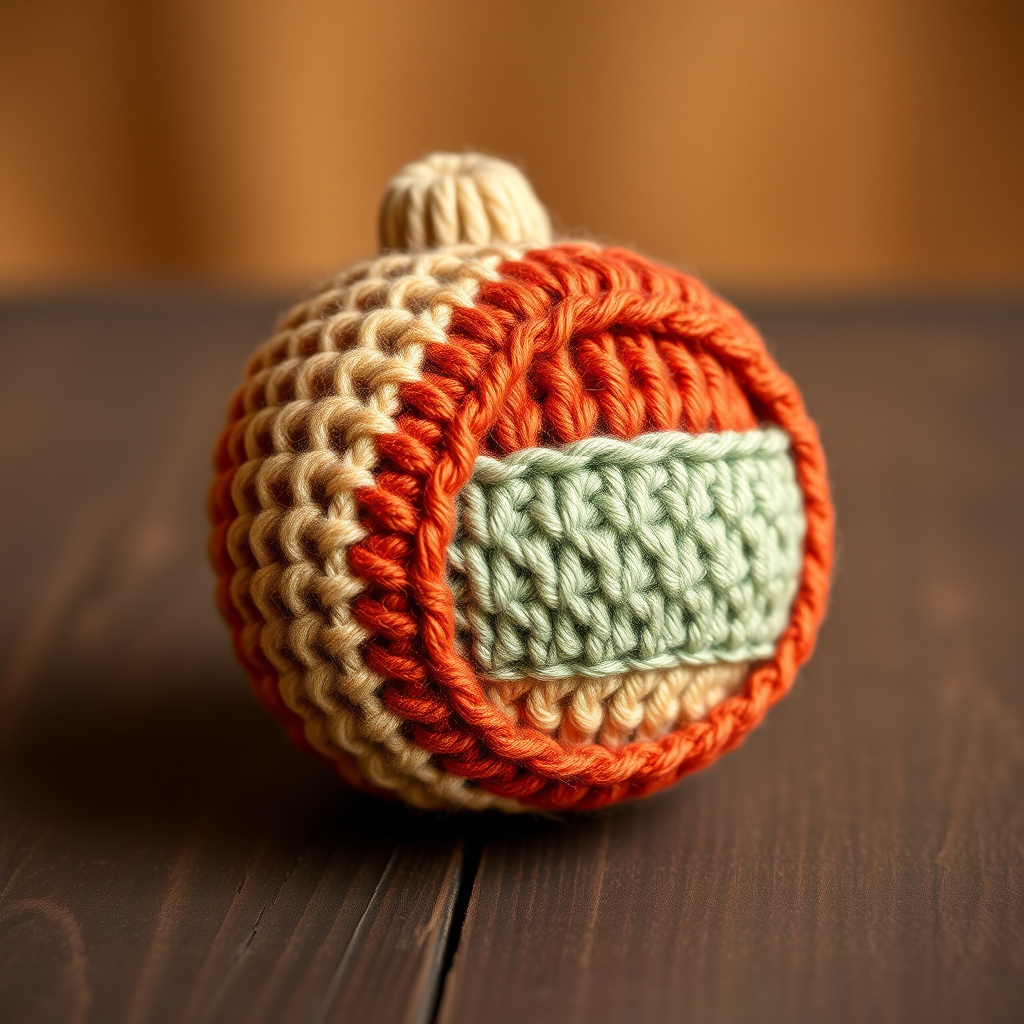
Mistletoe & Holly Garland Free Pattern – Knitted Evergreen Swag with Berries

Mistletoe & Holly Garland Free Pattern – Knitted Evergreen Swag with Berries
Bring timeless holiday charm to your mantel or staircase with this lush knitted garland of mistletoe and holly leaves, accented with plump red berries. Each leaf is worked flat with a delicate picot edge, then joined into a flexible, heirloom-quality swag. This pattern is perfect for intermediate beginners who want to create a stunning, reusable piece of holiday decor that will be treasured for years to come. The combination of deep forest green, bright cherry red, and soft cream creates a classic Christmas palette that complements any home aesthetic.
Materials Needed
Before you begin, gather the following supplies. All items are readily available at your local craft store or online. The quantities listed will produce a beautiful 3-foot garland, but you can easily adjust the number of leaves and berries to customize the length and fullness.
Yarn Requirements
- Worsted weight yarn in forest green – approximately 150g (about 300 yards). This will be used for the holly leaves, mistletoe leaves, and the vine base.
- Worsted weight yarn in deep red – approximately 50g (about 100 yards) for the berries.
- Worsted weight yarn in cream – approximately 20g (about 40 yards) for the small mistletoe berries.
Tools and Notions
- US 6 (4.0 mm) knitting needles – straight needles are perfect for the flat leaves; you may also want a set of double-pointed needles (DPNs) for knitting the berries in the round, though you can use the magic loop method with a long circular needle if preferred.
- Tapestry needle – for sewing pieces together and weaving in ends.
- Stitch markers – optional, but helpful for keeping track of rounds when knitting the berries.
- Scissors
- Steam iron or garment steamer – for the finishing step.
Gauge
20 stitches and 28 rows = 4 inches in stockinette stitch. Gauge is not critical for this project, but consistent tension helps leaves lie flat and look uniform. If your gauge is significantly different, your garland may be slightly larger or smaller, which is perfectly fine for a decorative piece.
Step-by-Step Instructions
This garland is made of individual holly leaves, mistletoe leaves, and berries that are sewn together. Each leaf is knitted flat and then shaped with a simple decrease edge. The berries are knitted in the round as tiny spheres. Finally, all pieces are assembled onto a knitted vine base. Follow each section carefully, and you'll have a gorgeous garland in no time.
Holly Leaf (Make 12–15)
Using green yarn, cast on 3 stitches. Leave a tail of about 6 inches for sewing later.
Row 1 (RS): Knit all stitches. (3 sts)
Row 2: K1, yo, k1, yo, k1. (5 sts)
Row 3: Knit all stitches.
Row 4: K1, yo, k3, yo, k1. (7 sts)
Row 5: Knit all stitches.
Row 6: K1, yo, k5, yo, k1. (9 sts)
Row 7: Knit all stitches.
Row 8: K1, yo, k7, yo, k1. (11 sts)
Row 9: Knit all stitches.
Row 10: K1, yo, k9, yo, k1. (13 sts)
Row 11: Knit all stitches.
Row 12: K1, yo, k11, yo, k1. (15 sts)
Row 13: Knit all stitches.
Row 14: K1, yo, k13, yo, k1. (17 sts)
Row 15: Knit all stitches.
Now shape the leaf point:
Row 16: K1, ssk, k11, k2tog, k1. (15 sts)
Row 17: Knit all stitches.
Row 18: K1, ssk, k9, k2tog, k1. (13 sts)
Row 19: Knit all stitches.
Row 20: K1, ssk, k7, k2tog, k1. (11 sts)
Row 21: Knit all stitches.
Row 22: K1, ssk, k5, k2tog, k1. (9 sts)
Row 23: Knit all stitches.
Row 24: K1, ssk, k3, k2tog, k1. (7 sts)
Row 25: Knit all stitches.
Row 26: K1, ssk, k1, k2tog, k1. (5 sts)
Row 27: Knit all stitches.
Row 28: K1, ssk, k2tog, k1. (3 sts)
Row 29: Knit all stitches.
Row 30: Ssk, k1. (2 sts)
Row 31: K2tog, fasten off. Leave a long tail (at least 12 inches) for sewing.
Pro Tip: The yarn overs on the increase rows create the subtle picot edge along the sides of the leaf. When you knit the following row, make sure to knit through the front loop of the yarn over to avoid a hole.
Mistletoe Leaf (Make 10–12)
Using green yarn, cast on 3 stitches. Leave a 6-inch tail.
Row 1 (RS): Knit all stitches. (3 sts)
Row 2: K1, yo, k1, yo, k1. (5 sts)
Row 3: Knit all stitches.
Row 4: K1, yo, k3, yo, k1. (7 sts)
Row 5: Knit all stitches.
Row 6: K1, yo, k5, yo, k1. (9 sts)
Row 7: Knit all stitches.
Row 8: K1, yo, k7, yo, k1. (11 sts)
Row 9: Knit all stitches.
Row 10: K1, yo, k9, yo, k1. (13 sts)
Row 11: Knit all stitches.
Row 12: K1, yo, k11, yo, k1. (15 sts)
Row 13: Knit all stitches.
Row 14: K1, yo, k13, yo, k1. (17 sts)
Row 15: Knit all stitches.
Now shape the leaf point (same as holly but slightly longer):
Row 16: K1, ssk, k11, k2tog, k1. (15 sts)
Row 17: Knit all stitches.
Row 18: K1, ssk, k9, k2tog, k1. (13 sts)
Row 19: Knit all stitches.
Row 20: K1, ssk, k7, k2tog, k1. (11 sts)
Row 21: Knit all stitches.
Row 22: K1, ssk, k5, k2tog, k1. (9 sts)
Row 23: Knit all stitches.
Row 24: K1, ssk, k3, k2tog, k1. (7 sts)
Row 25: Knit all stitches.
Row 26: K1, ssk, k1, k2tog, k1. (5 sts)
Row 27: Knit all stitches.
Row 28: K1, ssk, k2tog, k1. (3 sts)
Row 29: Knit all stitches.
Row 30: Ssk, k1. (2 sts)
Row 31: K2tog, fasten off. Leave a long tail (at least 12 inches) for sewing.
Note: The mistletoe leaf is worked identically to the holly leaf. The visual difference comes from the yarn color (a brighter, lighter green if you choose) and the fact that mistletoe leaves are typically more elongated and smooth-edged. You can achieve this by using a lighter green yarn or by blocking the leaves differently during finishing.
Berries (Make 15–18 Red, Plus 5–6 Cream for Mistletoe Sprigs)
Using red yarn (or cream for the mistletoe berries), cast on 6 stitches. Join in the round, being careful not to twist. You can use double-pointed needles or the magic loop method. Place a stitch marker to mark the beginning of the round.
Round 1: Knit all stitches. (6 sts)
Round 2: *Kfb, k1; repeat from * around. (9 sts)
Round 3: Knit all stitches.
Round 4: *Kfb, k2; repeat from * around. (12 sts)
Rounds 5–7: Knit all stitches. (12 sts)
Round 8: *K2tog, k2; repeat from * around. (9 sts)
Round 9: *K2tog, k1; repeat from * around. (6 sts)
Round 10: K2tog around. (3 sts)
Cut yarn, leaving a 10-inch tail. Thread the tail through a tapestry needle, slide the needle through the remaining 3 stitches, pull tight to close the top of the berry, and secure with a knot. Weave in the starting tail at the bottom of the berry. Set aside.
Pro Tip: To make the berries extra plump, you can stuff them lightly with a tiny bit of fiberfill before closing the top. This is optional but gives a nicer, rounder shape.
Vine Base
Using green yarn, cast on 5 stitches. Work in I-cord for the desired length of your garland (e.g., 36 inches).
To make an I-cord: Knit 5 stitches, slide them to the other end of the needle, pull yarn tightly across the back, and knit again. Repeat this process until the cord reaches the desired length. The yarn pulled across the back creates the characteristic round, cord-like shape.
Bind off, leaving a long tail (at least 12 inches) for sewing the ends or attaching hanging loops.
Pro Tip: If you want a longer garland, simply continue knitting the I-cord. For a 6-foot garland, double the number of leaves and berries and knit a 72-inch cord.
Assembly
Now comes the fun part – bringing all your pieces together to create the garland. Lay everything out on a flat surface before sewing to plan your arrangement.
- Lay the vine base on a flat surface. Make sure it's not twisted and lies in a straight line.
- Arrange holly and mistletoe leaves alternately along the vine, spacing them about 2–3 inches apart. Play with the placement until you're happy with the look. You can angle the leaves slightly for a more natural, organic appearance.
- Sew each leaf to the vine using its long tail. Thread the tail onto a tapestry needle. Wrap the yarn around the base of the leaf and the vine several times, pulling firmly to secure. Make sure the leaf is attached snugly but not so tightly that it distorts the vine. Weave in the end or tie a small knot on the underside of the vine.
- Attach berries in clusters of 2–3 near the leaves, sewing them securely. Use the tail from the berry to stitch it to the vine, passing the needle through the base of the berry and around the vine a few times. Position the berries so they nestle among the leaves for a natural look.
- For a mistletoe sprig, add a few small cream berries (knit using the same berry pattern but with cream yarn) near a mistletoe leaf. Cluster 2–3 cream berries together, sewing them securely to the vine just below the leaf.
- Once all pieces are attached, weave in all ends. Use your tapestry needle to hide any remaining yarn tails inside the leaves, berries, or along the vine. Trim any excess yarn.
- To hang, tie a loop of yarn at each end of the vine, or simply drape over a mantel. For a loop, use the tail from the bind-off or cast-on edge to create a small loop, secure with a knot, and weave in the end.
Finishing
The final step is what transforms your knitted pieces from flat shapes into beautiful, lifelike leaves.
- Gently steam block the leaves to flatten them and enhance the picot edges. Use a steam iron or garment steamer. Hold the iron about 1–2 inches above the leaves and release steam. Do not press hard; just hover the iron over the pieces. The steam will relax the yarn and help the leaves lie flat.
- Pay special attention to the edges of the holly leaves – the steam will help the picot bumps stand out more clearly.
- Allow to dry completely before hanging. This usually takes 30–60 minutes. Once dry, the leaves will hold their shape beautifully.
Your knitted Mistletoe & Holly Garland is now complete! Drape it over your mantel, along a staircase railing, or across a window frame. The soft, pliable texture and classic Christmas colors will add warmth and charm to your holiday decor for years to come. This garland also makes a wonderful handmade gift for friends and family.
Happy knitting, and may your holidays be filled with warmth and creativity!