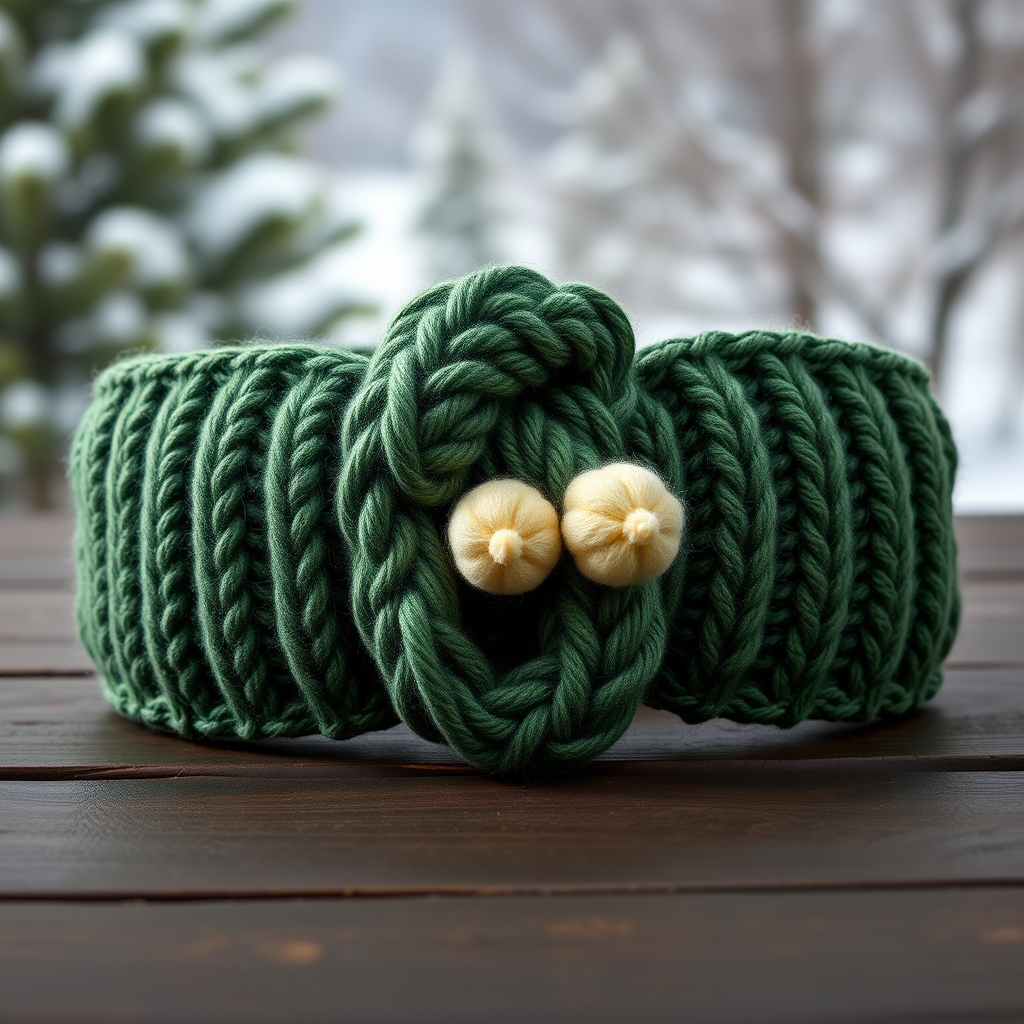
Maple Whisper Twisted Earwarmer Free Pattern – Knit a Cozy Autumn Headband

Cozy Up with the Maple Whisper Twisted Earwarmer: A Free Knitting Pattern
As the leaves begin to turn and the air gets that crisp, invigorating bite, there's nothing quite like wrapping yourself in a handmade accessory that captures the spirit of the season. The Maple Whisper Twisted Earwarmer is the perfect project to welcome autumn. This isn't just any headband; it's a beautiful fusion of a rich, braided cable texture and a clever twisted silhouette that sits elegantly on your head. It's a quick, satisfying knit that works up in an evening or two, making it an ideal gift or a delightful treat for yourself. Whether you're a seasoned knitter looking for a fast project or a confident beginner ready to tackle a new skill, this pattern is designed to guide you through every step to create a cozy, rustic, and sophisticated accessory.
This free pattern uses chunky worsted weight yarn in a stunning burnt orange, evoking the deep tones of maple leaves, and is finished with a delicate cream leaf motif for a subtle seasonal contrast. The result is a headband that is both practical for those chilly walks and stylish enough for your favorite fall gatherings. Let's get started on creating your new favorite autumn staple!
Materials Needed: Gathering Your Knitting Supplies
Before you cast on, let's make sure you have everything you need. This project requires minimal supplies, making it a great portable project. Here’s your complete shopping list:
- Yarn: Worsted weight yarn in a rich burnt orange (approximately 120 yards). You will also need a small amount of cream-colored worsted weight yarn for the decorative leaf and seam finishing.
- Knitting Needles: US Size 8 (5.0 mm) knitting needles. Straight needles are perfect for this project.
- Cable Needle: A small cable needle is essential for creating the beautiful twisted cable pattern.
- Tapestry Needle: A blunt-tipped tapestry needle is needed for weaving in ends and seaming the earwarmer together.
- Scissors: A sharp pair of scissors for cutting your yarn.
Gauge: 18 stitches and 24 rows = 4 inches in stockinette stitch. While gauge isn't critical for a headband, matching it will ensure your finished piece has the correct size and stretch.
Finished Size: Approximately 20 inches around and 4 inches wide. This size stretches comfortably to fit most adult heads.
Step-by-Step Instructions: Knitting Your Maple Whisper Earwarmer
This pattern is worked flat in one long piece and then cleverly twisted and seamed. Don't be intimidated by the cables; they are easier than they look and create a stunning effect. Let's break it down step-by-step.
Understanding Your Abbreviations
First, let's review the abbreviations used in this pattern to ensure a smooth knitting experience:
- CO: Cast on
- K: Knit
- P: Purl
- C4F: Cable 4 Front (slip 2 stitches to cable needle, hold in front of work, knit next 2 stitches, then knit the 2 stitches from the cable needle)
- C4B: Cable 4 Back (slip 2 stitches to cable needle, hold in back of work, knit next 2 stitches, then knit the 2 stitches from the cable needle)
- K2tog: Knit two stitches together (this is for the optional leaf motif)
- BO: Bind off
- RS: Right Side (the front of your work)
- WS: Wrong Side (the back of your work)
Section 1: Knitting the Main Body
We'll start by creating the long, textured band that forms the base of the earwarmer.
- Cast On: With your burnt orange yarn, CO 20 stitches onto your US 8 needles.
- Row 1 (RS): K2, P2, K12, P2, K2. This sets up the ribbed edges and the central cable panel.
- Row 2 (WS): P2, K2, P12, K2, P2. This row mirrors Row 1, creating the reverse side of the ribbing and stockinette.
- Row 3: K2, P2, C4F, C4B, C4F, P2, K2. This is your first cable row! You are creating the first half of the braid.
- Row 4: Repeat Row 2 (P2, K2, P12, K2, P2).
- Row 5: K2, P2, K12, P2, K2. A plain knit row to let the cables rest.
- Row 6: Repeat Row 2.
- Row 7: K2, P2, C4B, C4F, C4B, P2, K2. This is your second cable row, crossing the cables in the opposite direction to complete the braid.
- Row 8: Repeat Row 2.
Now, repeat Rows 1 through 8 until your piece measures approximately 20 inches from the cast-on edge. It's best to end after completing a Row 8 (a wrong-side row) to ensure your seam will be neat. Once you reach the desired length, BO all stitches in pattern (knit the knits and purl the purls). Cut your yarn, leaving a long tail (about 12 inches) for seaming.
Section 2: Creating the Twisted Seam
This is the magic step that transforms a simple rectangle into a stylish twisted earwarmer.
- Fold in Half: Fold your knitted rectangle in half lengthwise, bringing the two short ends together. Make sure the wrong sides (the back of the stockinette) are facing each other. You now have a loop.
- Twist It: Take the two short ends in your hands and twist the loop once, creating a figure-eight shape. This twist is what gives the earwarmer its elegant, modern look.
- Seam It: Bring the two twisted short ends together. Thread your tapestry needle with the cream yarn. Using a whip stitch, sew the two ends together securely. Go through the edge stitches of both layers, creating a strong and invisible seam. Weave in this yarn end and the tail from your bind-off.
Section 3: Finishing Touches and the Optional Leaf Motif
Now for the final details that will make your earwarmer truly special.
- Weave in Ends: Use your tapestry needle to weave in all remaining loose ends from your cast-on and bind-off edges. This will ensure your work is durable and looks professional.
- Block Your Work: Gently wet block your earwarmer. Soak it in lukewarm water with a drop of mild soap, then gently squeeze out the excess water (don't wring!). Lay it flat on a towel, shape it, and let it dry completely. This will even out your cable stitches and give your headband a polished finish.
- Add the Leaf Motif (Optional): For that extra touch of autumn charm, you can create a small leaf with your cream yarn and sew it to the twist point.
- CO 3 stitches with cream yarn.
- Row 1: K1, K2tog (2 stitches).
- Row 2: K2tog (1 stitch).
- Cut yarn and pull through the last loop. This creates a simple, small leaf shape.
- Alternatively, you can knit a slightly larger leaf by increasing and then decreasing. For a more detailed leaf, CO 2 stitches, then increase by knitting into the front and back of the first stitch on the next row, and continue shaping until you have 5-7 stitches, then decrease back down. Use your tapestry needle to sew this leaf securely onto the twisted seam.
And there you have it—your very own Maple Whisper Twisted Earwarmer! This beautiful, cozy accessory is perfect for adding a touch of handcrafted warmth to any fall outfit. It also makes a wonderful, heartfelt gift for a friend or loved one. We hope you enjoyed this pattern and are proud of the beautiful piece you've created. Happy knitting!