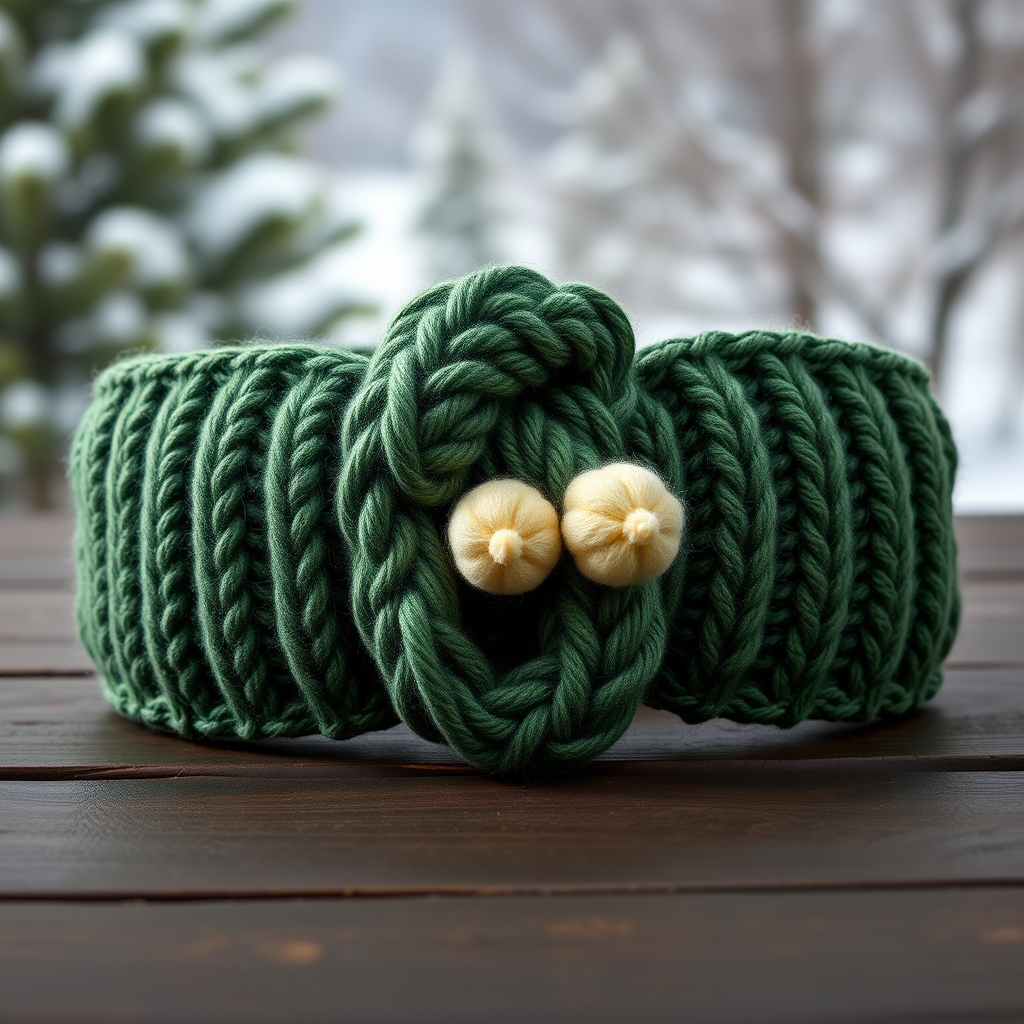
Aurora Borealis Twisted Knit Headband Free Pattern – A Color-Shifting Arctic Wrap

Wrap Yourself in the Northern Lights: The Aurora Borealis Twisted Knit Headband
Imagine capturing the ethereal dance of the aurora borealis and wrapping it around your head for warmth. That's exactly what the Aurora Borealis Twisted Knit Headband offers—a stunning, color-shifting accessory that transitions from deep teal to rich purple to vibrant magenta. This isn't just a winter accessory; it's a statement piece that brings a pop of color and texture to any cold-weather outfit.
This free knitting pattern is perfect for intermediate beginners looking to expand their skills. The twisted stitch pattern creates a beautiful spiral effect that looks far more complex than it actually is, and the color changes make it an exciting, rewarding project. Best of all, it works up quickly—you'll have a gorgeous new earwarmer in just a few evenings.
Materials Needed
Before you begin, gather these supplies:
- Yarn: Worsted weight yarn in 3 colors:
- Color A: Teal (approximately 35g)
- Color B: Deep Purple (approximately 35g)
- Color C: Magenta (approximately 30g)
- Needles: US 8 (5.0 mm) knitting needles
- Notions: Yarn needle for seaming and weaving in ends, scissors
- Optional: Stitch markers (though not strictly necessary for this pattern)
Gauge: 18 stitches and 24 rows = 4 inches in stockinette stitch. While gauge isn't critical for a headband, matching it will ensure your finished piece fits as intended.
Step-by-Step Instructions
This headband is knit flat in a twisted stitch pattern, then seamed to create a beautiful spiral effect. Follow these instructions carefully, and you'll have a gorgeous accessory in no time.
Abbreviations
- CO: Cast on
- K: Knit
- P: Purl
- St(s): Stitch(es)
- RS: Right side
- WS: Wrong side
Getting Started: The Foundation
Row 1 (RS): With Color A (Teal), CO 12 stitches.
Row 2 (WS): Knit all stitches. This row establishes your foundation edge.
First Color Block: Teal (Color A)
Now you'll begin the twisted stitch pattern that gives this headband its signature look. The pattern is simple: knit 2 stitches on each edge (creating a neat border), and purl the 8 center stitches.
Row 3 (RS): K2, P8, K2.
Row 4 (WS): Knit all stitches.
Row 5 (RS): K2, P8, K2.
Row 6 (WS): Knit all stitches.
You've completed your first teal section. Notice how the purl stitches on the right side create a subtle ridge—this is what will form the twisted texture when you seam the headband.
Second Color Block: Deep Purple (Color B)
Time to switch colors. Simply drop the teal yarn (don't cut it yet—you'll weave in ends later) and pick up the purple.
Row 7 (RS): Switch to Color B (Deep Purple). K2, P8, K2.
Row 8 (WS): Knit all stitches.
Row 9 (RS): K2, P8, K2.
Row 10 (WS): Knit all stitches.
Row 11 (RS): K2, P8, K2.
Row 12 (WS): Knit all stitches.
Your purple section is complete. The pattern is repetitive and meditative—perfect for relaxing evenings.
Third Color Block: Magenta (Color C)
Now for the final color. Switch to the magenta yarn.
Row 13 (RS): Switch to Color C (Magenta). K2, P8, K2.
Row 14 (WS): Knit all stitches.
Row 15 (RS): K2, P8, K2.
Row 16 (WS): Knit all stitches.
Row 17 (RS): K2, P8, K2.
Row 18 (WS): Knit all stitches.
Continuing the Pattern
Now that you've established the rhythm, here's the key: Repeat Rows 3-18 until the headband measures approximately 18 inches (or your desired length to fit around your head, minus 1 inch for seam allowance).
This means you'll work through the color sequence again: teal (6 rows), purple (6 rows), magenta (6 rows), and keep going until you reach your target length. Always end with a wrong-side row (a knit-all row) to make seaming easier.
Pro tip: To check your length, wrap the headband around your head where you want it to sit. It should feel snug but comfortable, with about 1 inch of overlap for the seam.
Finishing: Creating the Twist
This is where the magic happens! The twisted effect comes from how you seam the headband.
- Cut your yarn, leaving a long tail (at least 12 inches). Thread this tail through a yarn needle.
- Fold the headband in half lengthwise, with the right sides together. The purl ridges should be on the inside.
- Seam the short ends together using a mattress stitch or whip stitch. Take your time here—a neat seam makes a professional-looking finish.
- Turn the headband right side out. Here's the exciting part: the twisted stitch pattern will naturally create a spiral effect as the fabric relaxes.
- Weave in all loose ends using your yarn needle. Be sure to weave in the color-change ends securely, as they can work loose with wear.
Optional: For a More Dramatic Twist
If you want an even more pronounced spiral effect, you can twist the headband once before seaming the ends together. This creates a figure-eight shape that wraps beautifully around your head. Simply give the fabric a single twist before you seam, then proceed with the finishing steps as written.
Wear and Care
Your Aurora Borealis headband is now ready to wear! The gradient of teal to purple to magenta will catch the light beautifully, and the twisted texture adds visual interest to any outfit. Pair it with a cozy sweater, a winter coat, or even a casual scarf for a pop of color.
To care for your hand-knit creation, hand wash in cool water with a gentle wool wash, then lay flat to dry. Avoid wringing or hanging, as this can stretch the fabric. With proper care, this headband will last for years and make a wonderful handmade gift for friends and family.
Happy knitting, and may your headband bring a little bit of the northern lights into your everyday life!