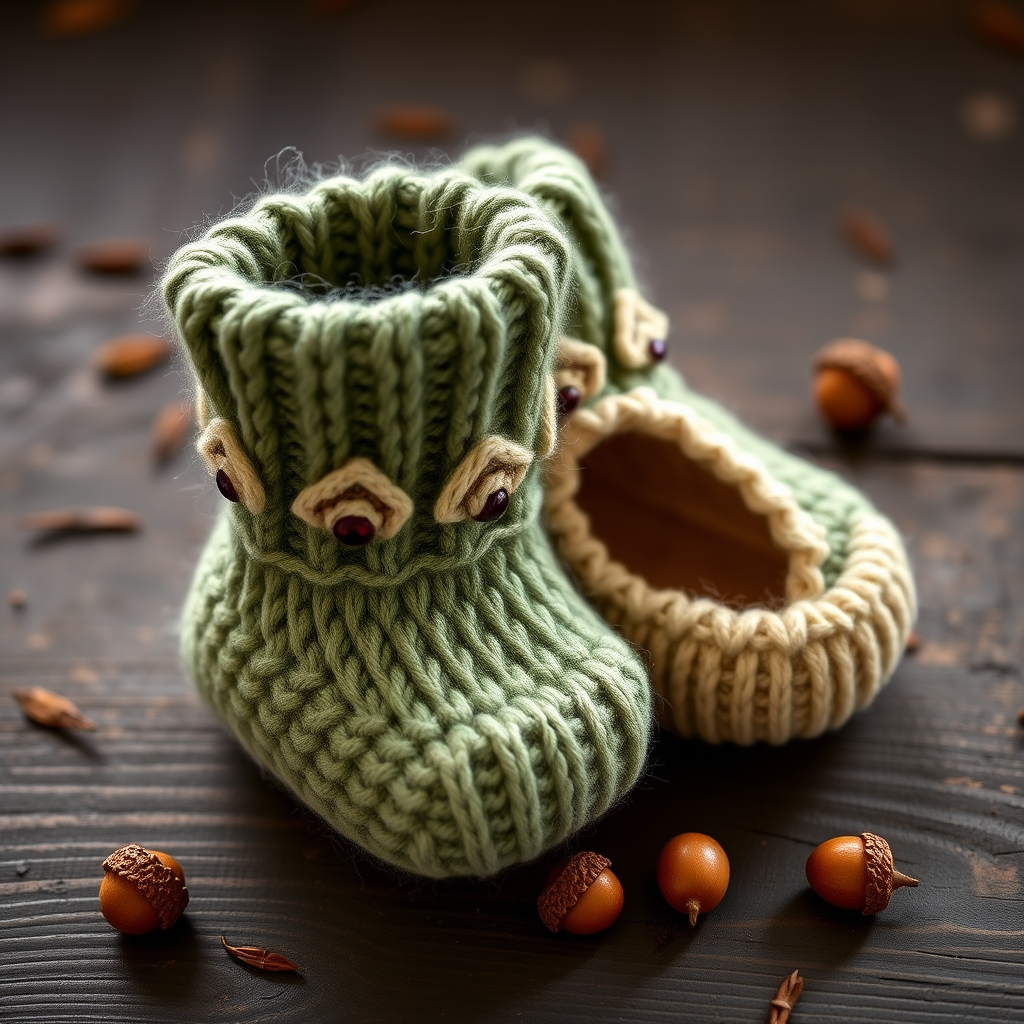
Heirloom Rose Bassinet Purse Free Pattern – Knit a Vintage-Inspired Baby Keepsake

Heirloom Rose Bassinet Purse Free Pattern – Knit a Vintage-Inspired Baby Keepsake
Wrap your little one in timeless charm with this knitted bassinet purse, featuring delicate rose motifs and a soft, cloud-like texture. This heirloom-quality piece is the perfect gift for baby showers, a cherished addition to your own nursery, or a stunning handmade keepsake that will be treasured for generations. The vintage-inspired design combines a plush, cocoon-like body with a romantic crocheted rose and sage green leaves, creating a truly one-of-a-kind piece that showcases the beauty of handcrafted textiles.
Whether you're a seasoned knitter looking for a new project or a beginner eager to try something special, this pattern is designed to be accessible and rewarding. The combination of simple stockinette and garter stitches, paired with a few crochet embellishments, makes this an achievable project that yields spectacular results. Let's dive into creating this beautiful bassinet purse that will become a beloved heirloom.
Materials Needed
Before you begin, gather the following materials to ensure a smooth and enjoyable crafting experience:
- Yarn: Worsted weight cotton or cotton-blend yarn in three colors:
- MC (Main Color): Blush pink – approximately 200-250 yards
- CC1 (Contrast Color 1): Cream – approximately 50-75 yards
- CC2 (Contrast Color 2): Sage green – approximately 20-30 yards
- Knitting Needles: US 7 (4.5 mm) – straight needles for the base and hood, plus a circular needle (16-inch or longer) or double-pointed needles for working the sides in the round
- Crochet Hook: US G/6 (4.0 mm) for the edging and rose motifs
- Stitch Markers: At least 2 markers to track rounds and decreases
- Tapestry Needle: For weaving in ends and sewing pieces together
- Scissors: For cutting yarn
- Measuring Tape: To check gauge and dimensions
Gauge: 20 stitches and 26 rows = 4 inches in stockinette stitch. Always take time to check your gauge – this ensures your bassinet purse turns out the correct size. If your gauge is off, adjust your needle size accordingly.
Step-by-Step Instructions
Follow these detailed instructions carefully to create your Heirloom Rose Bassinet Purse. The project is broken down into manageable sections: the bassinet body, the hood, the rose motif, the leaves, and final assembly.
Part 1: Bassinet Body (Knitted in One Piece)
The bassinet body is worked from the base up, starting flat and then joining to work in the round for the sides. This creates a seamless, professional-looking finish.
Base:
- With MC (blush pink), cast on 60 stitches using your preferred method (long-tail cast on works well).
- Work in garter stitch (knit every row) for 10 rows. This creates a sturdy, non-curling base for the bassinet.
- Switch to stockinette stitch (knit on the right side, purl on the wrong side) and continue working flat until the piece measures 6 inches from the cast-on edge. This forms the bottom of the bassinet.
Sides:
- Now you'll pick up stitches around the entire perimeter of the base to begin working the sides in the round. If using a circular needle, join the work in the round. Alternatively, distribute stitches onto double-pointed needles.
- Pick up and knit 60 stitches along each long side and 30 stitches along each short side. You should have a total of 180 stitches on your needles.
- Place a stitch marker at the beginning of the round to mark your starting point. This is crucial for tracking your rounds.
- Work in stockinette stitch in the round (knit every round) for 4 inches. The sides will naturally begin to curve upward, forming the cocoon-like shape of the bassinet.
Shaping the Top:
Now we'll decrease stitches to create the gathered, rounded top of the bassinet. Follow these rounds carefully, keeping track of your decreases.
- Round 1: *Knit 28, k2tog (knit two together)*, repeat from * to * around. You will have 168 stitches remaining.
- Round 2 and all even rounds: Knit all stitches (no decreases).
- Round 3: *Knit 26, k2tog*, repeat from * to * around. You will have 156 stitches.
- Round 5: *Knit 24, k2tog*, repeat from * to * around. You will have 144 stitches.
- Continue decreasing in this manner: On each odd-numbered round, knit 2 fewer stitches between decreases (e.g., Round 7: *Knit 22, k2tog*, Round 9: *Knit 20, k2tog*, and so on). Work even rounds without decreasing.
- Continue this pattern until you have 60 stitches remaining on your needles.
- Cut the yarn, leaving a long tail (at least 12 inches). Thread the tail through a tapestry needle, then thread it through the remaining 60 stitches on your knitting needle. Carefully slide the stitches off the needle, pull the yarn tight to gather the top closed, and secure with a few stitches. Weave in the end securely.
Part 2: Hood (Knitted Flat)
The hood is a separate piece that you'll sew onto one end of the bassinet. It's worked flat in stockinette stitch with simple decreases for shaping.
- With MC, cast on 40 stitches.
- Work in stockinette stitch (knit on RS, purl on WS) for 3 inches.
- Shape the hood: Decrease 1 stitch at each end of every right-side row. To do this: On RS rows, knit 1, k2tog, knit to the last 3 stitches, k2tog, knit 1. On WS rows, purl all stitches.
- Continue decreasing in this manner until you have 20 stitches remaining.
- Bind off all stitches loosely.
- Sew the hood to one short end of the bassinet, gathering the bound-off edge slightly to fit the curve of the opening. Use a whip stitch or mattress stitch for a neat finish.
Part 3: Rose Motif (Crocheted)
The delicate rose is created by crocheting a circle and then rolling it into a flower shape. This is a beautiful, dimensional embellishment that adds vintage charm.
- With CC1 (cream), make a magic ring (also known as a magic circle).
- Round 1: Chain 3 (counts as first double crochet), work 11 double crochet (dc) into the ring. Slip stitch to join to the top of the beginning chain-3. You should have 12 dc total.
- Round 2: Chain 3 (counts as first dc), work 2 dc in the same stitch (the base of the chain-3). *Work 3 dc in the next stitch*, repeat from * to * around. Slip stitch to join. You should have 36 dc.
- Round 3: Chain 4, skip 2 stitches, slip stitch in the next stitch. Repeat from * to * around the entire circle. This creates a ruffled, petal-like edge. Fasten off, leaving a tail for sewing.
- To form the rose: Starting from the center, roll the crocheted circle into a spiral, with the ruffled edge on the outside. The tightness of the roll will determine the openness of the rose. Once you're happy with the shape, sew the base of the rose securely to hold it in place.
Part 4: Leaves (Crocheted)
These simple leaves add a touch of nature and balance to the rose motif. Make two for a symmetrical look.
- With CC2 (sage green), chain 10.
- Work 1 single crochet (sc) in the second chain from the hook, 1 half double crochet (hdc) in the next chain, 1 double crochet (dc) in the next chain, 1 treble crochet (tr) in the next chain, 1 dc in the next chain, 1 hdc in the next chain, 1 sc in the next chain, and 1 sc in the last chain. This creates a leaf shape.
- Fasten off, leaving a tail for sewing.
- Make a second leaf in the same manner.
Part 5: Assembly and Finishing
Now it's time to bring all the pieces together and add the final touches.
- Attach the rose and leaves: Position the rose and two leaves on the front of the bassinet, near the hood. Arrange the leaves on either side of the rose, slightly angled outward. Sew them securely in place using the tails left from crocheting. Weave in all ends.
- Add the edging: With CC1 and the crochet hook, work a simple chain stitch edging around the top opening of the bassinet. To do this: Insert your hook into a stitch at the top edge, yarn over and pull through, then chain 1. Continue working slip stitches or single crochet around the entire opening, creating a delicate, finished border. Fasten off and weave in the end.
- Final weave-in: Carefully weave in any remaining loose ends using your tapestry needle. Trim any excess yarn.
Your Heirloom Rose Bassinet Purse is now complete! This beautiful, vintage-inspired keepsake is ready to be gifted, displayed in a nursery, or passed down as a treasured family heirloom. The soft, plush texture and delicate rose motif make it a truly special piece that captures the essence of handcrafted love.
We hope you enjoyed creating this project. The combination of knitting and crochet techniques makes it a wonderful skill-building experience, and the result is a stunning piece you'll be proud to show off. Happy crafting!