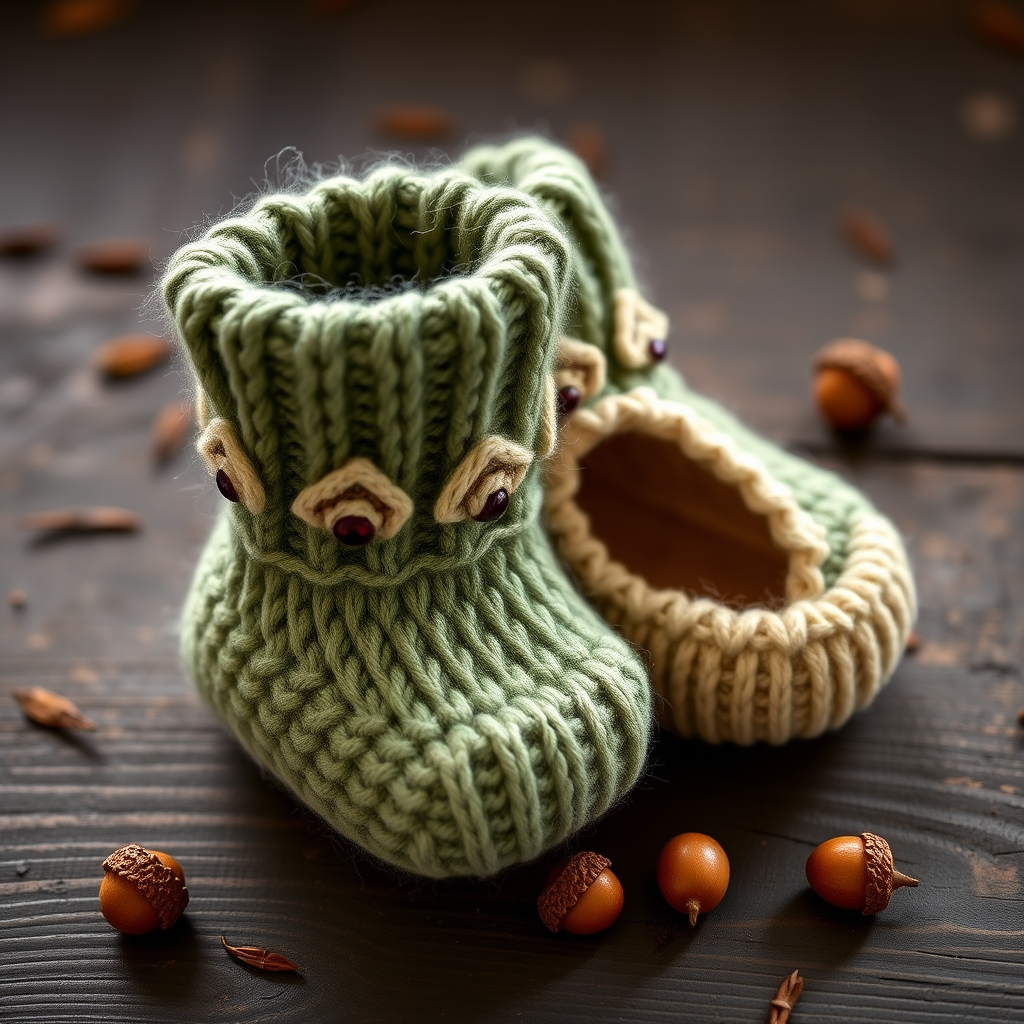
Whimsical Woodland Fawn Hat & Diaper Cover Free Pattern – Knit a Cozy Acorn Set

Whimsical Woodland Fawn Hat & Diaper Cover Free Pattern – Knit a Cozy Acorn Set
Wrap your little one in the charm of the forest with this adorable fawn-inspired hat and diaper cover set. Featuring delicate cable antlers, soft pointed ears, and a sweet acorn button accent, this cozy knit is perfect for seasonal photos, woodland-themed nurseries, and snuggly autumn adventures. The set is worked in warm, earthy tones that evoke the quiet beauty of a forest floor, and the textured stockinette body provides a soft, handcrafted feel that babies will love.
Whether you're a seasoned knitter looking for a quick weekend project or a beginner ready to tackle your first garment, this pattern is designed to be approachable and rewarding. The hat and diaper cover are worked in the round with simple decreases, and the charming details—antlers, ears, and the acorn button—are easy to construct and attach. Let's get started on creating a heirloom-quality piece that will be treasured for years to come.
Materials Needed
Before you begin, gather the following supplies. All items are readily available at your local yarn shop or online.
- Yarn: Worsted weight yarn in three colors:
- MC (Main Color): Warm taupe (approximately 200–250 yards for the full set)
- CC1 (Contrast Color 1): Cream (small amount for the acorn button)
- CC2 (Contrast Color 2): Chocolate brown (small amount for the antlers)
- Needles: US 6 (4.0 mm) circular needles (16-inch length) for the hat and diaper cover body, plus a set of double-pointed needles (DPNs) in the same size for small circumferences (crown shaping and I-cord antlers).
- Notions: Stitch markers (at least 4), stitch holder or waste yarn, tapestry needle for weaving in ends and sewing pieces, scissors.
- Gauge: 20 stitches and 28 rows = 4 inches in stockinette stitch (knit every round). Always check your gauge to ensure proper fit.
Step-by-Step Instructions
This pattern includes three sizes: Newborn (0-3 months, 3-6 months). Measurements are provided for each size throughout. Please read through the entire pattern before beginning.
Abbreviations
k = knit, p = purl, k2tog = knit two together (right-leaning decrease), ssk = slip slip knit (left-leaning decrease), yo = yarn over, pm = place marker, sm = slip marker, st(s) = stitch(es), RS = right side, WS = wrong side, M1 = make one (increase).
HAT
Brim
With MC, cast on 60 (66, 72) stitches. Join in the round, being careful not to twist your stitches. Place a marker to indicate the beginning of the round.
Work in k2, p2 ribbing for 1.5 inches. This ribbed brim will provide a snug, comfortable fit and a neat edge.
Body
Switch to stockinette stitch (knit every round) and work even until the piece measures 4 (4.5, 5) inches from the cast-on edge. This forms the main body of the hat that covers the baby's head.
Shape Crown
Now we will decrease to close the top of the hat. Follow the decrease rounds below, alternating with plain knit rounds.
Round 1: *K8 (9, 10), k2tog* repeat to end of round – 54 (60, 66) sts remain.
Round 2: Knit all stitches.
Round 3: *K7 (8, 9), k2tog* repeat to end – 48 (54, 60) sts remain.
Round 4: Knit all stitches.
Round 5: *K6 (7, 8), k2tog* repeat to end – 42 (48, 54) sts remain.
Round 6: Knit all stitches.
Round 7: *K5 (6, 7), k2tog* repeat to end – 36 (42, 48) sts remain.
Round 8: Knit all stitches.
Round 9: *K4 (5, 6), k2tog* repeat to end – 30 (36, 42) sts remain.
Round 10: Knit all stitches.
Round 11: *K3 (4, 5), k2tog* repeat to end – 24 (30, 36) sts remain.
Round 12: Knit all stitches.
Round 13: *K2 (3, 4), k2tog* repeat to end – 18 (24, 30) sts remain.
Round 14: Knit all stitches.
For the smallest size (Newborn), you will now have 18 sts. For the larger sizes, continue as follows:
Round 15 (0-3 and 3-6 months only): *K1 (2), k2tog* repeat to end – 18 (18) sts remain.
Round 16 (3-6 months only): Knit all stitches.
Round 17 (3-6 months only): *K1, k2tog* repeat to end – 12 sts remain.
Final decrease for all sizes: Next round: *K2tog* repeat to end – 9 (9, 6) sts remain.
Cut yarn, leaving a 6-inch tail. Thread the tail through a tapestry needle, pass it through the remaining stitches, pull tight to close the top of the hat, and secure with a knot. Weave in the end.
Antlers (Make 2)
These charming cable-like antlers are worked as I-cords with increases to create the branching effect.
With CC2 (chocolate brown), cast on 8 stitches onto double-pointed needles. Distribute evenly across 3 needles (3-2-3).
Work in I-cord for 2 inches. To work I-cord in the round: knit all stitches, then slide the stitches to the other end of the needle and knit again, pulling the yarn tightly across the back. Repeat this process—you are essentially knitting a tube.
Increase round: K1, M1, K6, M1, K1 – 10 sts. Work even in I-cord for 1 inch.
Next increase round: K1, M1, K8, M1, K1 – 12 sts. Work even in I-cord for 1.5 inches.
Bind off loosely. Cut yarn, leaving a long tail for sewing. Repeat for the second antler.
Attach Antlers: Position the antlers on the top of the hat, slightly forward of the crown and angled outward. Using the yarn tail, sew each antler securely to the hat, stitching through the base of the I-cord and into the hat fabric. Weave in ends.
Ears (Make 2)
With MC (taupe), cast on 10 stitches.
Work in stockinette stitch (knit on RS, purl on WS) for 2 inches, ending with a WS row.
Shape ear:
Row 1 (RS): K2tog, K6, K2tog – 8 sts.
Row 2 (WS): Purl all stitches.
Row 3 (RS): K2tog, K4, K2tog – 6 sts.
Row 4 (WS): Purl all stitches.
Bind off all stitches.
Shape the ear: Fold each ear in half lengthwise (with the right side facing out) and sew the side edges together to form a pointed, folded ear shape. This creates a dimensional ear that stands slightly away from the hat.
Attach Ears: Sew the ears to the sides of the hat, just below the antlers. Position them so they point slightly forward. Weave in all ends.
DIAPER COVER
Waistband
With MC, cast on 70 (78, 86) stitches. Join in the round, being careful not to twist. Place a marker for the beginning of the round.
Work in k2, p2 ribbing for 1 inch. This will form the stretchy waistband.
Body
Switch to stockinette stitch (knit every round) and work even for 2 (2.5, 3) inches.
Shape Leg Openings
We will now work back and forth in rows to create the leg openings.
Place markers: pm after 35 (39, 43) stitches. You now have two sections of equal size.
Row 1 (RS): Knit to 2 stitches before marker, k2tog, sm, ssk, knit to end of round – 68 (76, 84) sts.
Row 2 (WS): Purl all stitches.
Repeat these two rows 3 (4, 5) more times – 62 (68, 76) sts remain.
You have now shaped the leg openings by decreasing at the center front and back.
Front and Back Panels
Divide the stitches: 31 (34, 38) stitches for the front, 31 (34, 38) stitches for the back. Place the back stitches on a stitch holder or waste yarn.
Front Panel: Work in stockinette stitch on the front stitches only for 1.5 (2, 2.5) inches, ending with a WS row.
Shape crotch (front):
Row 1 (RS): K1, ssk, knit to last 3 stitches, k2tog, k1 – 29 (32, 36) sts.
Row 2 (WS): Purl all stitches.
Repeat these two rows until 15 (16, 18) stitches remain. Bind off all stitches.
Back Panel: Return the held back stitches to your needles. Work in stockinette stitch for 1.5 (2, 2.5) inches, ending with a WS row.
Shape crotch (back): Work the same decrease pattern as the front, but work 2 more rows of decreases so the back panel is slightly longer than the front. This provides better coverage for diapers. Bind off all stitches.
Leg Edging
With RS facing and using MC, pick up and knit stitches evenly around each leg opening. The number of stitches will vary depending on your size and tension—aim for a multiple of 2.
Work in k1, p1 ribbing for 3 rounds. Bind off in pattern (knit the knits and purl the purls). This creates a neat, stretchy edge that won't gap.
Finishing
Sew the side seams of the diaper cover, matching the leg openings. Weave in all loose ends. Block gently by wetting the piece and laying it flat to dry, shaping as needed.
Acorn Button
With CC1 (cream), crochet a small circle:
- Round 1: Magic ring, 6 single crochet (sc) into the ring. Pull tight.
- Round 2: Increase to 12 sc (2 sc in each stitch).
- Rounds 3-4: Sc in each stitch around (12 sc).
- Stuff lightly with a small piece of yarn or fiberfill.
- Close the opening by stitching through the front loops and pulling tight.
Sew the acorn button to the center front of the diaper cover waistband as a decorative accent. Weave in all ends.
Your Whimsical Woodland Fawn Hat & Diaper Cover set is complete! This charming ensemble is sure to become a family favorite, perfect for cozy autumn days, woodland-themed photo shoots, or as a thoughtful handmade gift for a baby shower. The soft, warm colors and adorable details make it a truly special piece. Enjoy watching your little fawn explore the world in comfort and style!