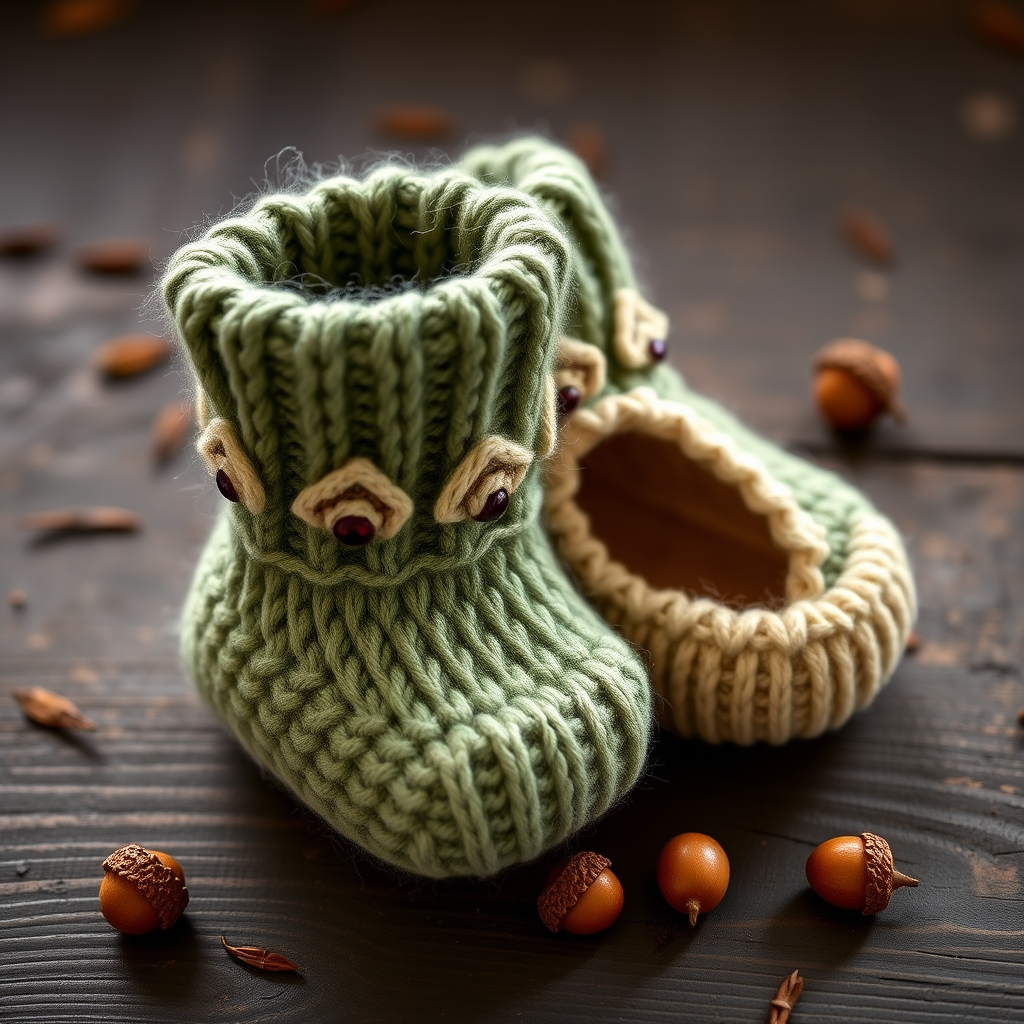
Heirloom Harvest Plaid Cape Free Pattern – Knit a Cozy Baby Wrap

Heirloom Harvest Plaid Cape Free Pattern – Knit a Cozy Baby Wrap
Wrap your little one in the timeless charm of a hand-knitted plaid cape, perfect for crisp autumn strolls and family photos. This pattern weaves together soft worsted yarn in warm harvest tones to create a snug, stylish layer that will become a cherished keepsake. The classic plaid design, achieved through clever slipped stitches and color changes, evokes the warmth of heirloom craftsmanship while remaining accessible to confident beginners. Whether you're preparing for a new arrival or searching for a meaningful gift, this cape promises to be both a joy to knit and a treasure to behold.
Materials Needed
Before you begin, gather the following materials to ensure a smooth knitting experience:
- Yarn: Worsted weight yarn in 4 colors – A (Cream), B (Rust), C (Mustard), D (Olive) – approximately 300g total. Choose a soft, machine-washable wool blend for baby comfort and easy care.
- Needles: US 7 (4.5mm) knitting needles, circular or straight (circular recommended for ease of handling the growing fabric).
- Gauge: 20 stitches and 26 rows = 4 inches in stockinette stitch. Always knit a swatch to ensure your gauge matches for the correct finished size.
- Notions: Tapestry needle for weaving in ends, stitch markers (optional), and a crochet hook (optional, for the tie).
Step-by-Step Instructions
Sizing & Abbreviations
Sizing: 0-12 months (approximately 16" length, 20" chest). This pattern is designed to fit a growing baby with room to layer over clothing.
Abbreviations:
- CO: Cast on
- K: Knit
- P: Purl
- K2tog: Knit two together (decrease)
- Sl1: Slip one stitch purlwise (insert needle as if to purl, slip stitch to right needle without knitting)
- Rep: Repeat
Pattern Notes
This cape is worked flat from the bottom up, starting with a garter stitch border and moving into the plaid pattern. The plaid effect is created by slipping stitches while changing colors, which produces vertical stripes that interlock with horizontal color bands. Pay close attention to the row sequences to maintain the pattern integrity. Always slip stitches purlwise with yarn held in the back (for knit rows) or front (for purl rows) to keep the floats loose and even.
Cape Body
Step 1: Cast On & Border
With color A, CO 80 stitches. Work 6 rows in garter stitch (knit every row). This creates a neat, sturdy bottom edge that won't curl.
Step 2: Plaid Pattern Setup
The plaid pattern is worked in a 14-row repeat. Follow these rows carefully:
- Row 1 (RS): With A, K4, *Sl1, K4; rep from * to last 4 sts, K4.
- Row 2 (WS): With A, K4, *P1, K4; rep from * to last 4 sts, K4.
- Row 3: With B, K4, *Sl1, K4; rep from * to last 4 sts, K4.
- Row 4: With B, K4, *P1, K4; rep from * to last 4 sts, K4.
- Rows 5-6: Repeat Rows 1-2 with A.
- Rows 7-8: With C, repeat Rows 3-4.
- Rows 9-10: Repeat Rows 1-2 with A.
- Rows 11-12: With D, repeat Rows 3-4.
- Rows 13-14: Repeat Rows 1-2 with A.
Repeat Rows 3-14 until the piece measures 12 inches from the cast-on edge, ending with a wrong-side row. This creates the full plaid pattern with vertical stripes from the slipped stitches and horizontal bands from the color changes.
Step 3: Shape Neck
Now we'll begin shaping the neckline to create a gentle curve for the baby's head and shoulders.
- Next row (RS): K20, K2tog, K36, K2tog, K20 (78 sts). This decreases two stitches, one at each shoulder area.
- Next row: Knit all (WS).
- Repeat these two rows every 4th row 3 more times (72 sts). This means: work the decrease row, then work 3 rows even, then repeat. The decreases are always worked on the RS with the same spacing (K20, K2tog, K36, K2tog, K20).
- Work even in plaid pattern until the piece measures 14 inches from the cast-on edge. Continue following the established plaid sequence, maintaining the pattern as set.
Step 4: Hood
The hood is worked as a continuation of the cape body, creating a seamless, cozy covering for baby's head.
- Continue in plaid pattern for 6 inches more, maintaining the established color sequence. Then shape the hood:
- Row 1 (RS): K35, K2tog, K35 (71 sts).
- Row 2: Knit all.
- Repeat these two rows every 4th row 3 more times (65 sts). Remember: decrease row, then 3 rows even, repeat.
- Work even for 4 inches in plaid pattern.
- Next row: K31, K2tog, K31 (63 sts).
- Next row: Knit all.
- Repeat these two rows every 4th row 3 more times (57 sts).
- Work even for 2 inches in plaid pattern.
- Bind off all stitches loosely. Use a larger needle or a loose bind-off method (like the knitwise bind-off) to ensure the edge remains stretchy for easy dressing.
Finishing
Step 5: Assemble the Cape
- Fold the hood: Fold the hood section in half with right sides together, aligning the bound-off edges. Sew the top seam using a mattress stitch or whip stitch, creating the rounded hood shape.
- Sew side seams: Fold the cape with right sides together. Sew the side seams from the bottom up, leaving 4 inches open at the top for armholes. This creates the cape's signature open-front style with arm openings for baby's arms to move freely.
- Weave in all ends: Use a tapestry needle to weave in all yarn tails securely on the wrong side of the fabric. Trim any excess.
- Optional tie: Using color A, create a simple crochet chain approximately 12 inches long. Attach it at the neck opening on one side, allowing it to wrap around and tie at the other side. This helps keep the cape in place during wear.
Step 6: Blocking (Optional but Recommended)
To enhance the plaid pattern and even out the stitches, gently hand-wash the cape in lukewarm water with mild soap. Press out excess water (do not wring), then lay flat on a towel to dry, shaping to the correct dimensions. This will give your cape a professional, polished finish.
Your Heirloom Harvest Plaid Cape is now complete! This beautiful, functional piece will keep your little one warm and stylish through many autumn adventures. The classic design and quality craftsmanship ensure it will be passed down as a treasured family heirloom for generations to come.