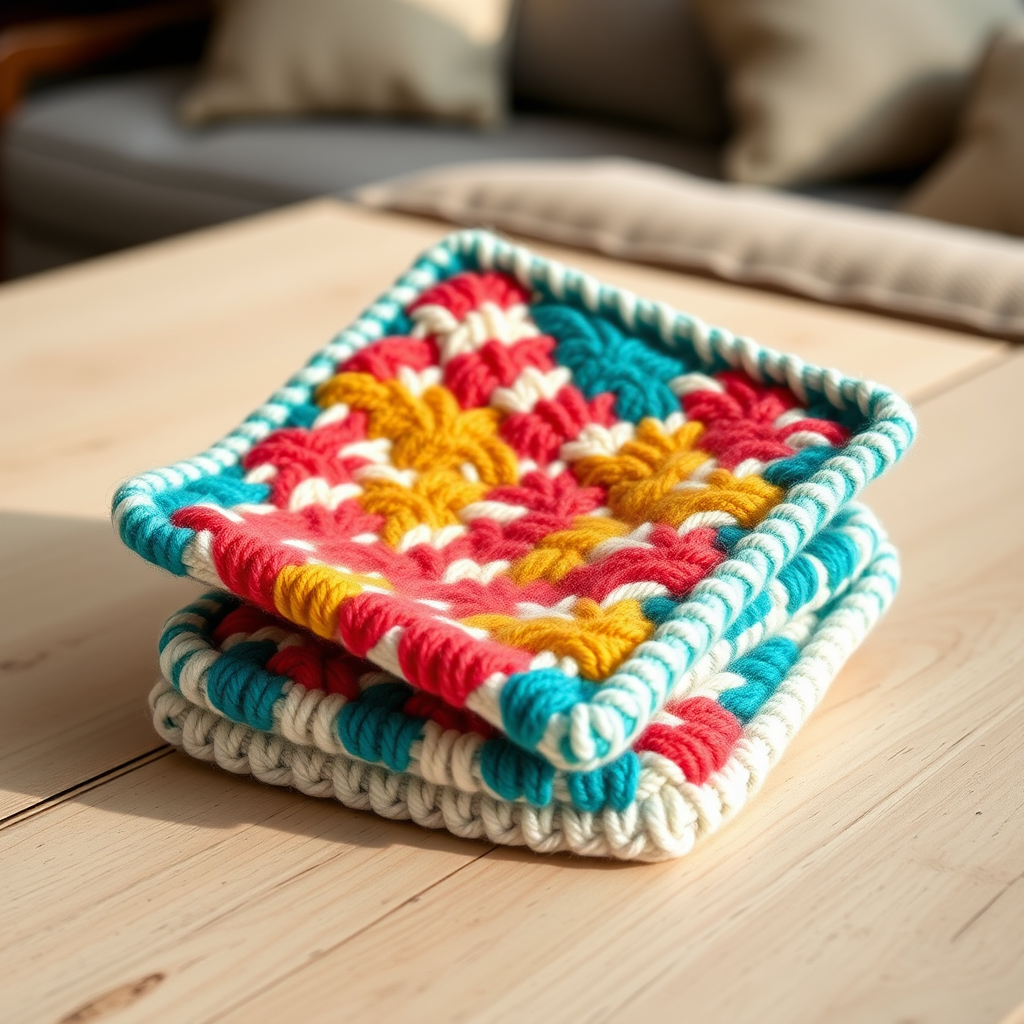
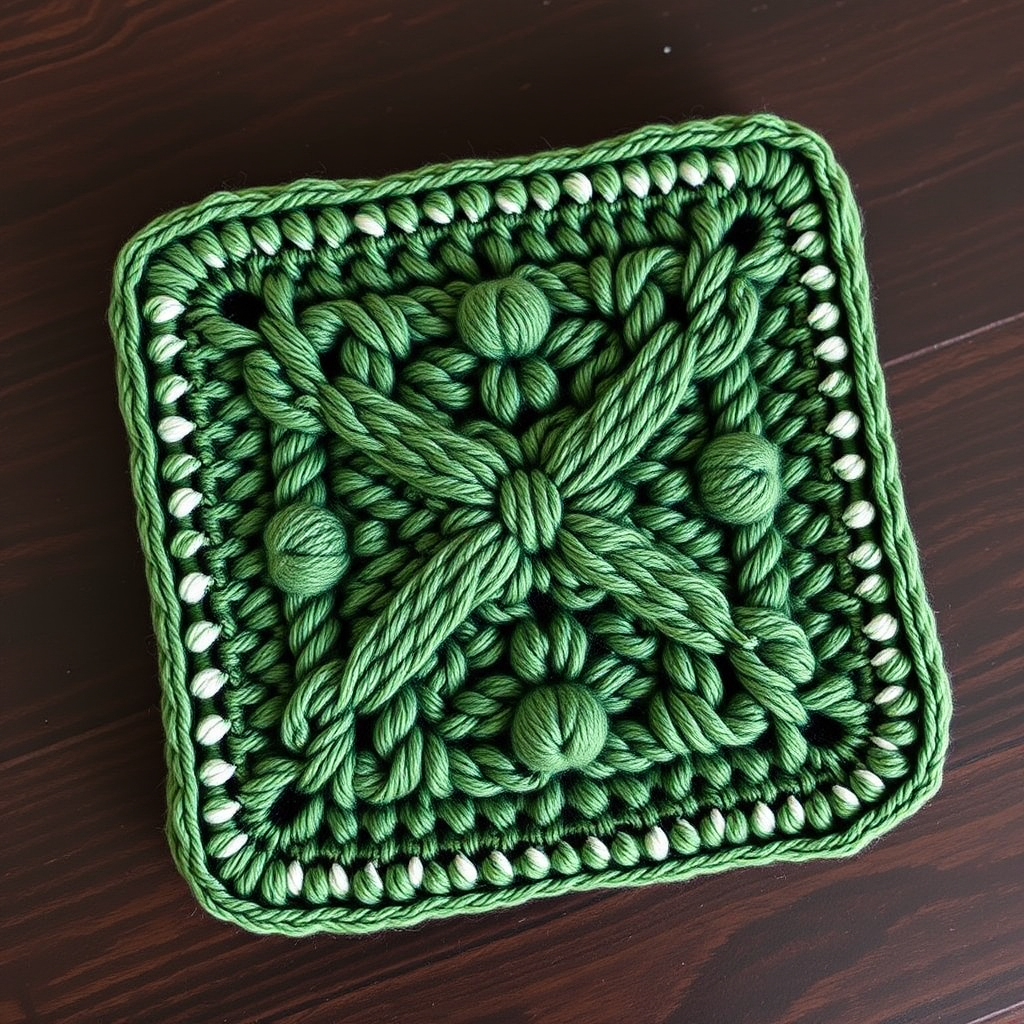
Harvest Moon Cable Cup Cozy Free Pattern – Knit a Cozy Autumn Mug Hug

Wrap Your Mug in Autumn Warmth: The Harvest Moon Cable Cup Cozy
As the days grow shorter and the air turns crisp, there's nothing quite like wrapping your hands around a warm mug of tea or coffee. But why settle for a plain ceramic cup when you can dress it in a handcrafted hug? The Harvest Moon Cable Cup Cozy is a delightful, quick knitting project that transforms chunky yarn into a richly textured, luxurious accessory. Inspired by the golden glow of a harvest moon, this cozy features a beautiful cable pattern that adds depth and warmth to your fall decor. Whether you're a seasoned knitter looking for a satisfying weekend project or a beginner eager to tackle your first cable, this free pattern is designed to guide you every step of the way. Let's dive in and create something beautiful for your favorite mug.
Materials Needed: Gather Your Autumn Toolkit
Before you begin, ensure you have all the necessary supplies. This project is wonderfully portable and uses minimal materials, making it perfect for on-the-go crafting.
- Yarn: Worsted weight yarn in a warm autumn tone (burnt orange, mustard yellow, cream, or deep rust). You'll need approximately 50 grams, which is about 100-120 yards.
- Knitting Needles: US 7 (4.5mm) straight or circular needles.
- Cable Needle: A small cable needle (or a double-pointed needle) to hold stitches while you create the cables.
- Extras: A tapestry needle for weaving in ends, a single button (wooden or ceramic for a rustic look), and a stitch marker (optional).
Gauge: For the best fit, aim for a gauge of 20 stitches and 26 rows = 4 inches in stockinette stitch. This ensures your cozy will wrap snugly around a standard mug.
Step-by-Step Instructions: Knitting Your Harvest Moon Cozy
This cozy is knit flat and seamed, featuring a clever button closure that allows it to fit a variety of mug sizes. The pattern is a simple 8-row repeat that creates a stunning central cable flanked by ribbed sections. Don't be intimidated by the cables—they're easier than they look!
Abbreviations You'll Need
- CO: Cast on
- K: Knit
- P: Purl
- C4F: Slip 2 stitches to cable needle, hold to front, knit 2, knit 2 from cable needle
- C4B: Slip 2 stitches to cable needle, hold to back, knit 2, knit 2 from cable needle
- K2tog: Knit 2 stitches together
- YO: Yarn over
- BO: Bind off
Getting Started: Cast On and Foundation Rows
Begin by casting on 34 stitches onto your US 7 needles. This stitch count sets up the perfect balance of cables and ribbing for a cozy that measures about 8 inches wide.
Now, let's establish the pattern. The first two rows set the foundation for the ribbed and cable sections.
- Row 1 (Right Side): K2, P2, K6, P2, K2, P2, K6, P2, K2, P2, K6, P2, K2
- Row 2 (Wrong Side): P2, K2, P6, K2, P2, K2, P6, K2, P2, K2, P6, K2, P2
Take a moment to read your knitting. You'll see the ribbed columns (K2, P2) framing three sections of stockinette (the K6 areas) where the cables will form.
The Cable Pattern: Rows 3-8
This is where the magic happens. The cables twist to create the intricate, braided look. Follow these rows carefully, and don't forget to keep your tension even.
- Row 3: K2, P2, C4F, K2, P2, K2, P2, C4B, K2, P2, K2, P2, C4F, K2, P2, K2
- Row 4: Repeat Row 2 (P2, K2, P6, K2, P2, K2, P6, K2, P2, K2, P6, K2, P2)
- Row 5: K2, P2, K6, P2, K2, P2, K6, P2, K2, P2, K6, P2, K2
- Row 6: Repeat Row 2
- Row 7: K2, P2, K2, C4B, P2, K2, P2, K2, C4F, P2, K2, P2, K2, C4B, P2, K2
- Row 8: Repeat Row 2
Pro-Tip: The C4F and C4B are mirror images of each other. C4F twists the cable to the left, while C4B twists it to the right. This creates the beautiful, symmetrical braid effect.
Repeating the Pattern
Now that you've completed the first 8-row repeat, you'll simply continue repeating Rows 1 through 8. Keep knitting until your cozy measures approximately 8 inches from the cast-on edge. It's best to end with a Row 8 (a wrong-side row) to ensure you're ready to start the buttonhole on a right-side row.
Creating the Buttonhole
This cozy uses a simple yarn-over buttonhole for a clean, functional closure. On the next right-side row, you'll work the pattern as established, but you'll add a small eyelet at the end.
- Buttonhole Row (Right Side): K2, P2, K6, P2, K2, P2, K6, P2, K2, P2, K6, P2, K2tog, YO.
The K2tog decreases one stitch, and the YO increases one stitch back, creating a neat little hole. This is your buttonhole.
Finishing Touches
After the buttonhole row, work two more rows in your established pattern to give the edge a finished look. Specifically, work Row 2 (wrong side), then Row 1 (right side).
Now, bind off all stitches in pattern. This means you'll knit the knit stitches and purl the purl stitches as you bind off, which keeps the edge elastic and neat.
Seaming and Assembly
Your cozy is almost complete! Follow these final steps to bring it all together:
- Weave in all loose ends using your tapestry needle. Be sure to secure them well so they don't unravel with use.
- Sew on the button. Position the button on the left edge of the cozy (the side opposite the buttonhole). Align it carefully with the buttonhole you created. Sew it on securely with a needle and thread.
- Wrap and enjoy. Wrap the cozy around your favorite mug and button it closed. The cable pattern will stretch slightly to accommodate different mug sizes, providing a snug and stylish fit.
Your Cozy Creation Awaits
Congratulations! You've just knitted a beautiful, functional piece of autumn decor. The Harvest Moon Cable Cup Cozy is more than just a mug warmer; it's a statement piece that brings a touch of handcrafted luxury to your daily routine. Whether you keep it for yourself or gift it to a fellow tea lover, this cozy is sure to be cherished. So, pour yourself a warm drink, admire your handiwork, and enjoy the cozy glow of your creation. Happy knitting!