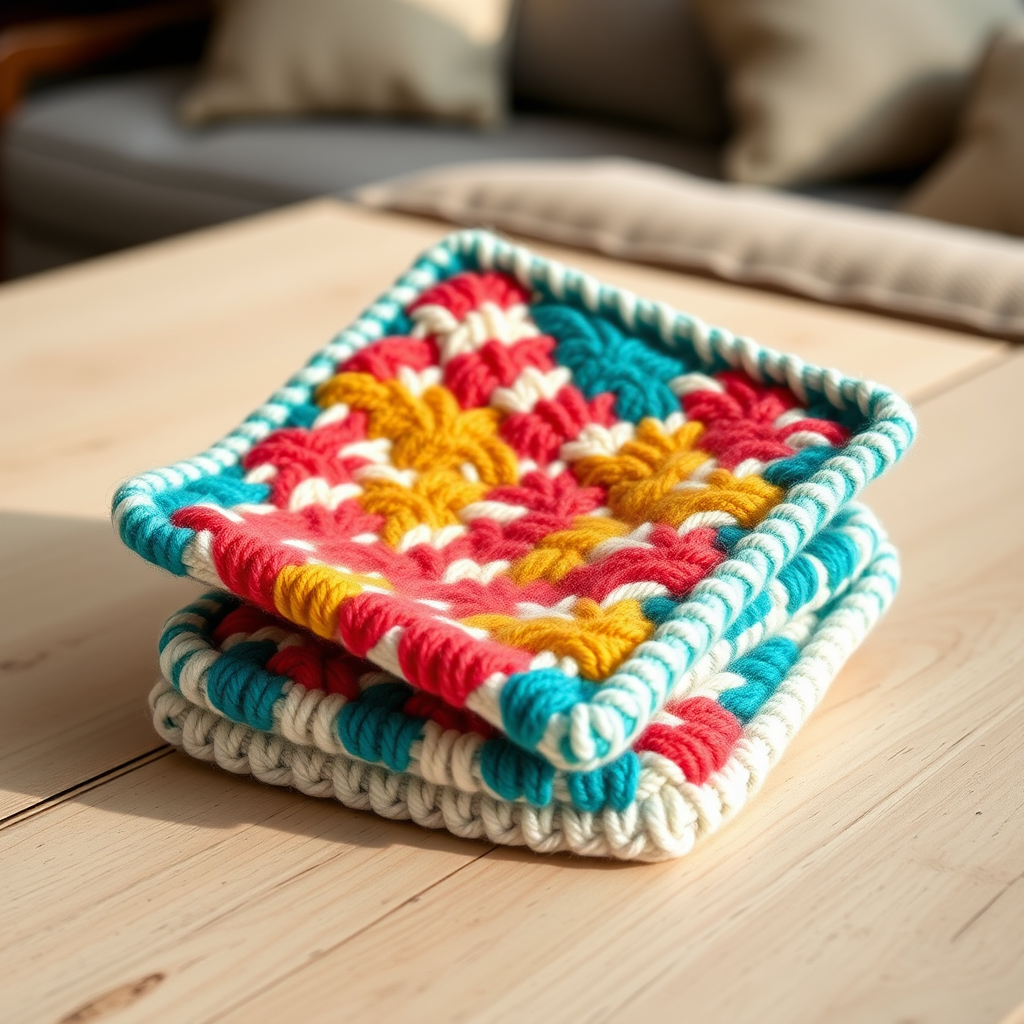
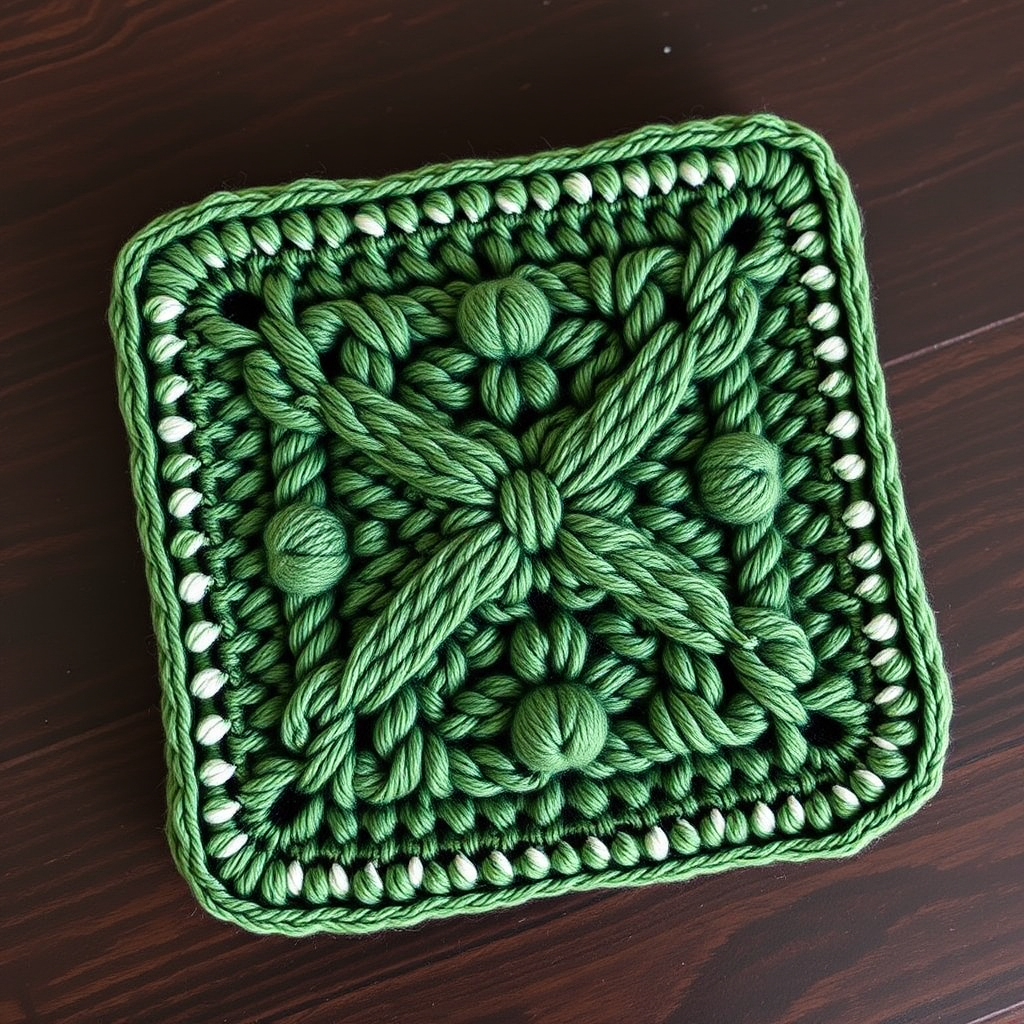
Harvest Bowl Cozy Knitting Pattern – Free Pattern

Harvest Bowl Cozy Knitting Pattern – Free Farmhouse Kitchen Project
Wrap your favorite bowl in this charming, rustic knitted cozy that celebrates the autumn harvest. The textured seed stitch and earthy stripes keep your hands warm while adding a cozy, farmhouse touch to your table. This free knitting pattern is perfect for beginners and experienced knitters alike, creating a functional and beautiful kitchen accessory that makes a wonderful gift for housewarmings, Thanksgiving hostesses, or anyone who loves cozy autumn decor.
This bowl cozy is knitted flat in a rectangle and then seamed to fit snugly around your bowl. It features a seed stitch texture with horizontal stripes of harvest colors, creating a nubby, rustic feel that's both practical and decorative. The thick, chunky yarn works up quickly, making this a satisfying weekend project.
Materials Needed
Before you begin, gather the following supplies:
- Yarn: Lion Brand Wool-Ease Thick & Quick (super bulky weight, 106 yds/97 m per 170g skein) – 1 skein each of:
- Color A: 'Butterscotch' (warm orange)
- Color B: 'Cranberry' (deep red)
- Color C: 'Forest Green' (earthy green)
- Needles: US 13 (9 mm) knitting needles
- Notions: Tapestry needle for seaming, stitch marker (optional)
Gauge: 10 stitches and 14 rows = 4 inches in seed stitch (blocked). Be sure to check your gauge to ensure a proper fit.
Finished Size: Fits a standard 6-inch diameter bowl (about 9 inches tall). Adjust length by adding or removing rows to fit your specific bowl.
Step-by-Step Instructions
Abbreviations
- CO: cast on
- K: knit
- P: purl
- St(s): stitch(es)
- Rep: repeat
- BO: bind off
Step 1: Cast On
With Color A (Butterscotch), CO 24 sts. Leave a 6-inch tail for seaming. This tail will be used later to sew the side seam, so don't trim it yet.
Step 2: Seed Stitch Body
Work in seed stitch throughout the entire project. This creates a bumpy, textured fabric that's stretchy and perfect for hugging your bowl.
- Row 1: *K1, P1; rep from * to end of row.
- Row 2: *P1, K1; rep from * to end of row.
Repeat these two rows for the pattern. The key to seed stitch is that you knit the purl stitches and purl the knit stitches from the previous row, creating that alternating, nubby texture.
Step 3: Stripe Sequence
Continue working in seed stitch while following this color sequence. When changing colors, simply drop the old color and pick up the new one at the beginning of a row. Leave a 6-inch tail when starting a new color to weave in later.
- Rows 1–10: Color A (Butterscotch)
- Rows 11–20: Color B (Cranberry)
- Rows 21–30: Color C (Forest Green)
- Rows 31–40: Color A (Butterscotch)
- Rows 41–50: Color B (Cranberry)
- Rows 51–60: Color C (Forest Green)
- Rows 61–70: Color A (Butterscotch)
Tip: To avoid carrying yarn across the sides, you can cut each color when finished and weave in the ends later. Alternatively, you can carry the yarn loosely up the side, but cutting is cleaner for this project.
Step 4: Bind Off
With Color A (Butterscotch), BO all sts in pattern. This means you should knit the knit stitches and purl the purl stitches as they appear, maintaining the seed stitch pattern as you bind off. Leave a 6-inch tail for seaming.
Step 5: Seaming
Fold the rectangle in half with right sides together, matching the cast-on and bind-off edges. The wrong side should be facing out. Using the tails from the cast-on and bind-off edges, whipstitch the side seam from the bottom to the top. Insert the tapestry needle through the edge stitches, creating a secure seam. Weave in all ends securely with the tapestry needle, making sure to hide them within the fabric so they don't show on the outside.
Step 6: Finishing
Turn the cozy right side out. Slip it over your bowl, adjusting so the seam is at the back. The stretchy seed stitch will hug the bowl snugly, keeping your hands protected from hot or cold contents. If desired, add a simple braided cord or button closure at the top for a decorative touch. To make a braided cord, cut three strands of yarn (one in each color) about 12 inches long, braid them together, and attach to the top edge with a button.
Tips for Success
- Check your gauge: If your cozy is too loose or too tight, adjust your needle size or the number of cast-on stitches. The seed stitch is quite stretchy, so it will accommodate slight variations.
- Count your rows: Keep a row counter or mark every 10 rows with a stitch marker to ensure your stripes are even.
- Weave in ends as you go: To avoid a pile of loose ends at the end, weave in the color change tails after completing each stripe section.
- Blocking: While not strictly necessary, blocking can help even out your stitches and give the cozy a more polished look. Gently wet block and lay flat to dry.
This Harvest Bowl Cozy is a delightful project that combines function with farmhouse charm. The chunky yarn and simple seed stitch make it accessible for beginners, while the colorwork stripes add visual interest for more experienced knitters. Whether you're making it for yourself or as a handmade gift, this cozy is sure to bring warmth and autumn spirit to any kitchen table. Happy knitting!