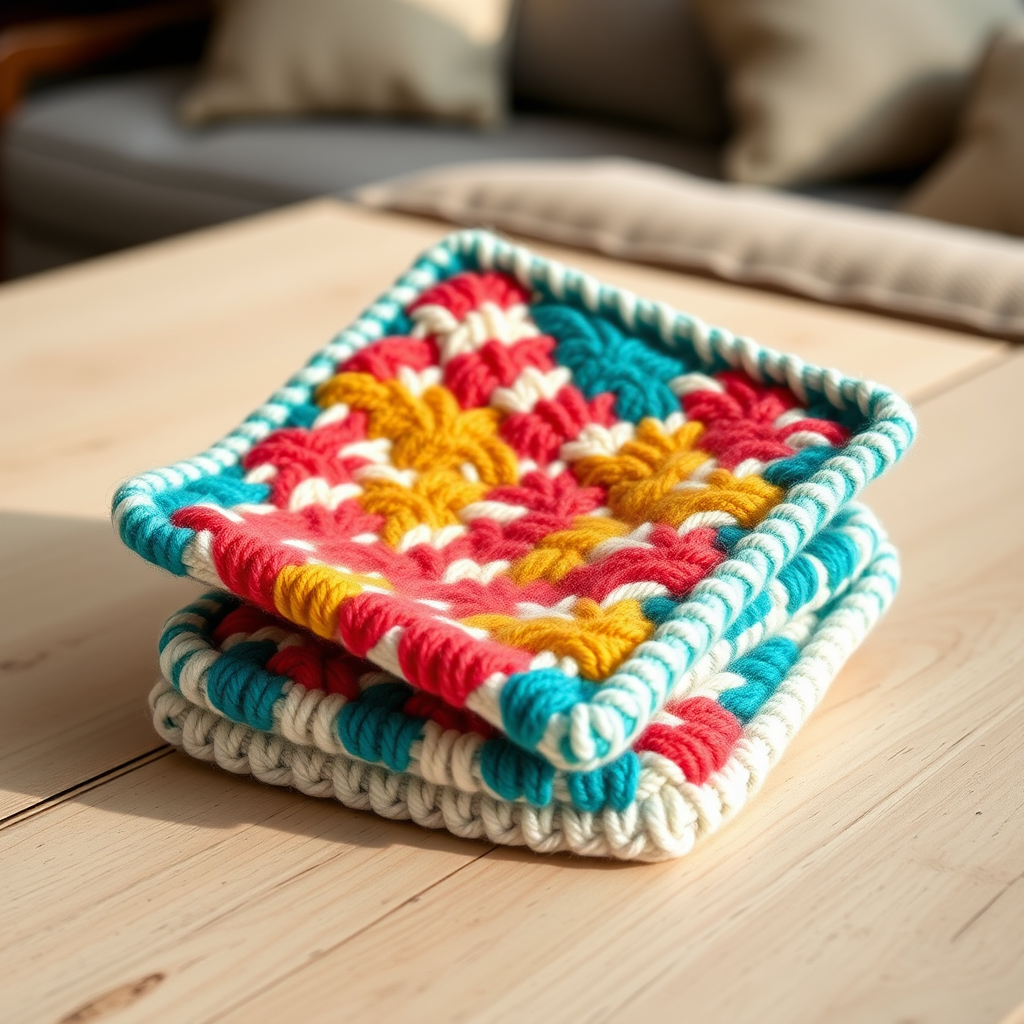
Whispering Pines Forest Coaster Set Free Pattern – Knit a Woodland Haven
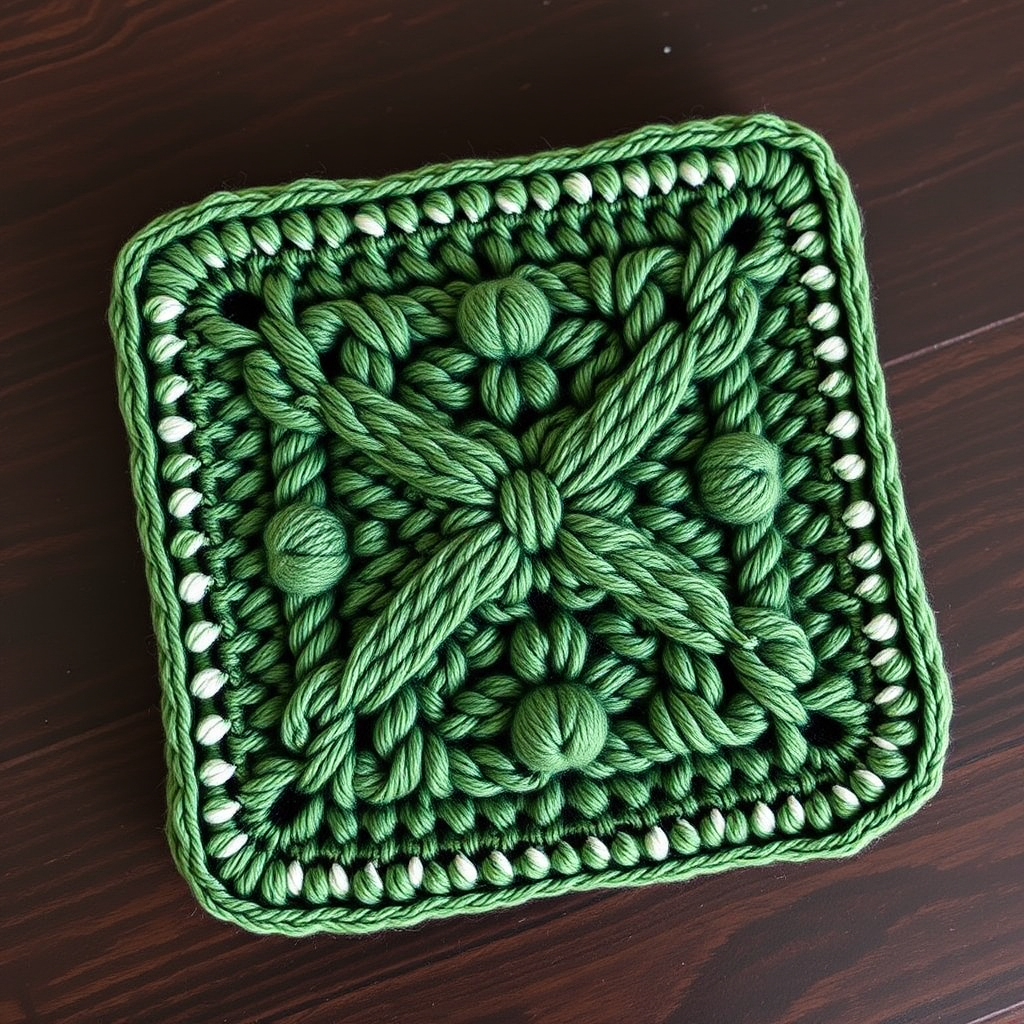
Whispering Pines Forest Coaster Set Free Pattern – Knit a Woodland Haven
Bring the serene beauty of a pine forest to your table with these textured, tree-inspired coasters. Each coaster features a unique cable-and-bobble pattern that mimics the bark and needles of towering pines, creating a cozy, nature-filled aesthetic. This free knitting pattern is perfect for intermediate knitters looking to practice cables and bobbles, and the result is a stunning set of four coasters that will add rustic charm to any home.
Whether you're an experienced knitter or a confident beginner ready for a challenge, this pattern offers a rewarding project that combines technique with beauty. The finished coasters measure approximately 5 inches square—perfect for mugs, glasses, or as decorative accents. Let's dive into creating your own woodland haven!
Materials Needed
Before you begin, gather the following materials. This project uses simple, readily available supplies:
Yarn
- Worsted weight cotton yarn in three shades:
- Forest Green (MC) – Main color for the coaster body
- Moss Green (CC1) – For optional crocheted border
- Birch White (CC2) – For optional crocheted border
- Approximately 50g of each color for a set of 4 coasters
Needles & Notions
- US Size 7 (4.5mm) knitting needles
- Cable needle (for C4B and C4F stitches)
- Yarn needle (for weaving in ends)
- Scissors
- Stitch markers (optional, for keeping track of pattern repeats)
Gauge
20 stitches and 28 rows = 4 inches in stockinette stitch. Gauge is not critical for this project, but consistent tension ensures uniform coasters. If your gauge is significantly different, your coasters may vary slightly in size—which can actually add to the organic, handmade charm!
Step-by-Step Instructions
This pattern creates a square coaster with a central tree motif, bordered by a textured frame. Each coaster is knitted flat, back and forth. The pattern is written for one coaster; repeat to make a set of four.
Abbreviations
- CO: Cast on
- K: Knit
- P: Purl
- K2tog: Knit two stitches together
- SSK: Slip, slip, knit (slip two stitches knitwise, then knit them together through the back loop)
- YO: Yarn over
- MB: Make bobble (K1, P1, K1, P1, K1 into the same stitch, then pass the 2nd, 3rd, 4th, and 5th stitches over the first stitch)
- C4B: Cable 4 back (slip 2 stitches to cable needle, hold in back, K2, then K2 from cable needle)
- C4F: Cable 4 front (slip 2 stitches to cable needle, hold in front, K2, then K2 from cable needle)
Coaster Pattern (Make 4)
With MC (Forest Green), CO 28 stitches.
Garter Stitch Border
Rows 1-4: Knit all stitches. This creates a smooth, flat border that will frame your tree motif.
Main Pattern Body
Row 5 (Right Side): K3 (border), P2, K18 (center panel), P2, K3 (border).
Row 6 (Wrong Side): K3, K2 (these are the purl stitches from previous row, now knit), P18, K2, K3.
Row 7: K3, P2, C4B, C4F, K2, MB, K2, C4B, C4F, P2, K3.
Row 8: K3, K2, P18, K2, K3.
Row 9: K3, P2, K4, C4B, K4, C4F, K4, P2, K3.
Row 10: K3, K2, P18, K2, K3.
Row 11: K3, P2, K2, C4F, K2, MB, K2, C4B, K2, C4F, K2, P2, K3.
Row 12: K3, K2, P18, K2, K3.
Row 13: K3, P2, K18, P2, K3.
Row 14: K3, K2, P18, K2, K3.
Row 15: K3, P2, K4, C4B, K4, C4F, K4, P2, K3.
Row 16: K3, K2, P18, K2, K3.
Row 17: K3, P2, K2, C4F, K2, MB, K2, C4B, K2, C4F, K2, P2, K3.
Row 18: K3, K2, P18, K2, K3.
Row 19: K3, P2, C4B, C4F, K2, MB, K2, C4B, C4F, P2, K3.
Row 20: K3, K2, P18, K2, K3.
Row 21: K3, P2, K18, P2, K3.
Row 22: K3, K2, P18, K2, K3.
Finishing Border
Rows 23-26: Knit all stitches (garter stitch border).
Bind off loosely in knit. A loose bind-off ensures the edge remains flexible and doesn't pucker.
Finishing & Assembly
Weave in all ends using your yarn needle. Take care to weave securely so the ends don't work loose with use.
Block each coaster lightly to flatten and even out the stitches. Wet blocking works beautifully with cotton yarn: soak the coasters in lukewarm water, gently squeeze out excess (don't wring!), lay flat on a towel, and shape to 5×5 inches. Allow to dry completely.
Optional Crocheted Border
For a contrasting edge, you can crochet a single crochet border around each coaster using CC1 (Moss Green) or CC2 (Birch White). This adds a pop of color and a polished finish.
- Attach yarn with a slip stitch to any corner of the coaster.
- Chain 1 (this counts as your first single crochet).
- Work single crochet evenly around all four sides, working 3 single crochet in each corner to create neat, rounded corners.
- Join with a slip stitch to the first single crochet.
- Fasten off and weave in ends.
Repeat for all four coasters. For visual variety, you might alternate border colors—two in Moss Green and two in Birch White—or keep them all the same for a cohesive look.
Tips for Success
- Keep your tension consistent throughout the cables and bobbles. If you tend to knit tightly, consider going up a needle size for the cable rows.
- Use a cable needle to make C4B and C4F easier. You can also use a double-pointed needle or a bobby pin if you don't have a dedicated cable needle.
- Count your stitches regularly. The pattern should always have 28 stitches on the needle. If you find you've gained or lost a stitch, check your last few rows.
- Practice the bobble stitch on a swatch first if you're new to it. The technique of knitting into the same stitch five times and then passing stitches over can feel fiddly at first, but it becomes second nature quickly.
Once your set is complete, you'll have four beautiful, textured coasters that capture the essence of a tranquil forest. They make wonderful gifts for nature lovers, housewarming presents, or a treat for your own home. The dense cotton yarn is absorbent and protective, making these coasters both beautiful and functional.
Happy knitting, and may your table be graced with the whispering pines!