Enchanted Woodland Pencil Case Free Pattern

Enchanted Woodland Pencil Case Free Pattern
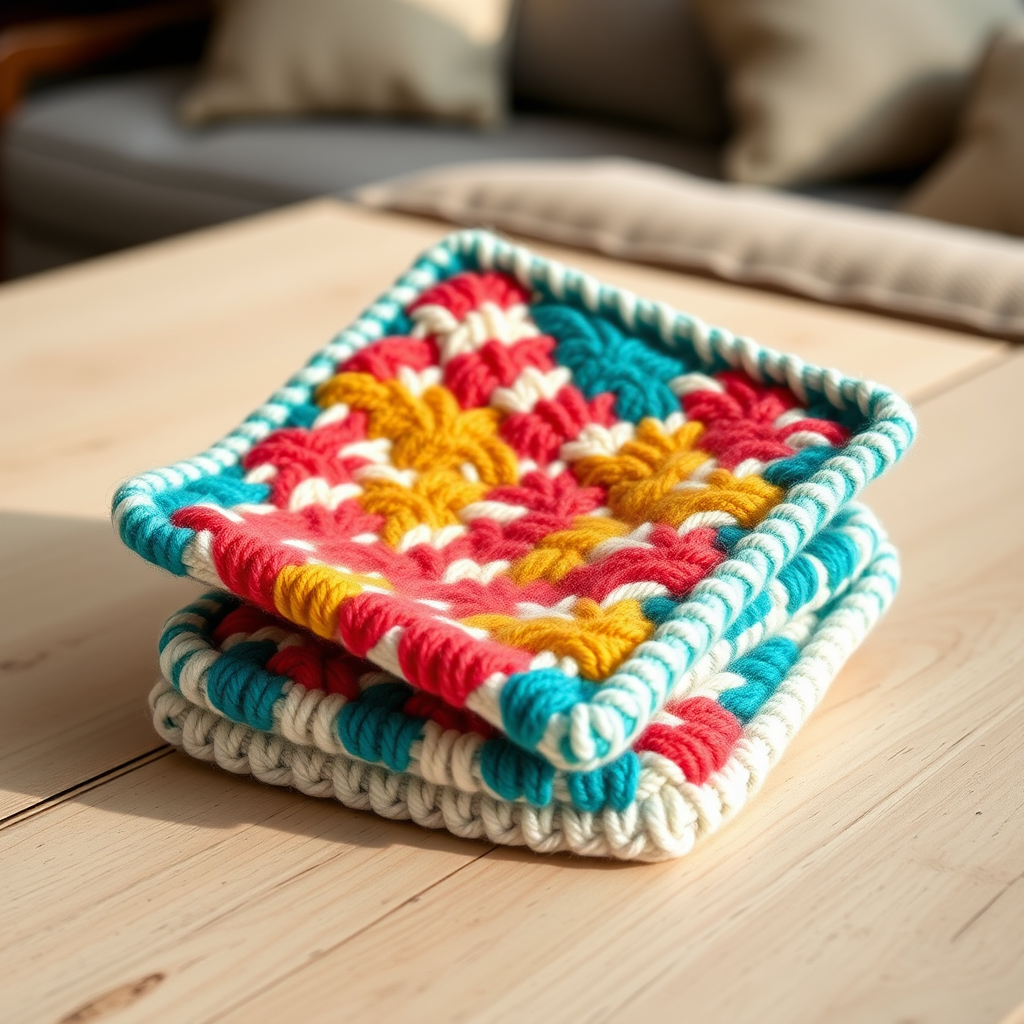
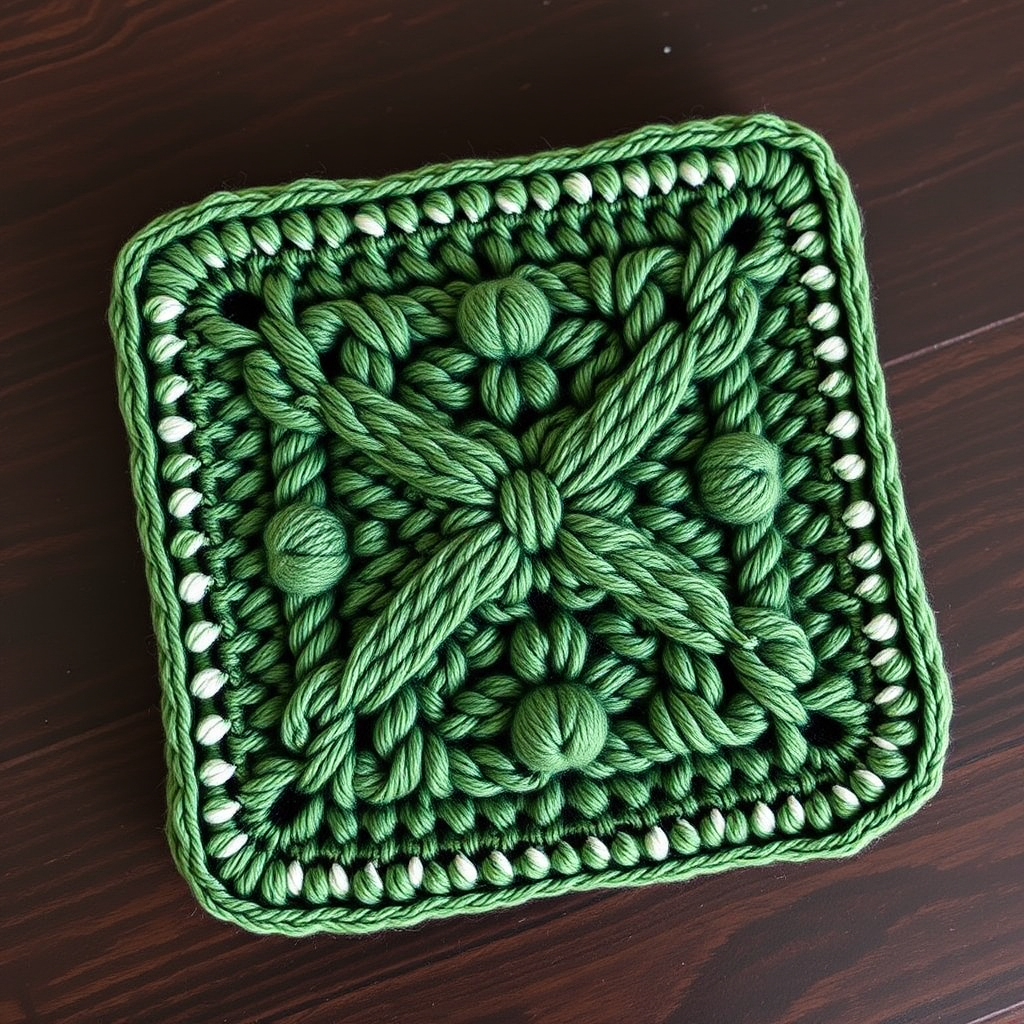
Embrace the magic of the forest with this charming knitted pencil case. Featuring a rich, textured leaf motif in a palette of forest green, moss green, and cream, this cozy accessory is perfect for storing your favorite pens, pencils, or knitting tools. The padded feel and whimsical design make it a delightful project for intermediate beginners and a wonderful handmade gift. Let’s bring a touch of woodland whimsy to your crafting space!
Materials Needed
- Yarn: Worsted weight yarn in three colors:
- Color A (Forest Green): Approximately 50g
- Color B (Moss Green): Approximately 30g
- Color C (Cream): Approximately 20g
- Needles: US 7 (4.5mm) knitting needles
- Notions: Tapestry needle for weaving ends and seaming, one wooden button (approx. ¾ inch), crochet hook (size G/4mm or similar) for button loop, stitch markers (optional)
- Gauge: 20 stitches and 28 rows = 4 inches in stockinette stitch (knit on RS, purl on WS). Always check your gauge for best results.
Step-by-Step Instructions
Size & Abbreviations
Finished Size: Approximately 8 inches wide x 4 inches tall (when folded, excluding flap).
Abbreviations:
- CO: Cast on
- K: Knit
- P: Purl
- St(s): Stitch(es)
- RS: Right side
- WS: Wrong side
- K2tog: Knit two stitches together (decrease)
- P2tog: Purl two stitches together (decrease)
- BO: Bind off
Panel 1 (Front Panel with Leaf Motif)
Bottom Border:
With Color A (Forest Green), CO 40 sts.
Row 1 (RS): K all sts.
Row 2 (WS): P all sts.
Repeat rows 1-2 for 4 more rows (total 6 rows of stockinette).
Leaf Motif Section:
Note: Carry yarn not in use loosely along the WS, or use separate bobbins for each color section to avoid tangling.
Row 7 (RS): With Color A, K10, join Color B (Moss Green), K20, with Color A, K10.
Row 8 (WS): With Color A, P10, with Color B, P20, with Color A, P10.
Row 9 (RS): With Color A, K10, with Color B, K20, with Color A, K10.
Row 10 (WS): With Color A, P10, with Color B, P20, with Color A, P10.
Row 11 (RS): With Color A, K10, with Color B, K2, P2, K2, P2, K2, P2, K2, P2, K2, with Color A, K10.
Row 12 (WS): With Color A, P10, with Color B, P2, K2, P2, K2, P2, K2, P2, K2, P2, with Color A, P10.
Row 13 (RS): With Color A, K10, with Color B, K2, P2, K2, P2, K2, P2, K2, P2, K2, with Color A, K10.
Row 14 (WS): With Color A, P10, with Color B, P2, K2, P2, K2, P2, K2, P2, K2, P2, with Color A, P10.
Row 15 (RS): With Color A, K10, with Color B, K20, with Color A, K10.
Row 16 (WS): With Color A, P10, with Color B, P20, with Color A, P10.
Row 17 (RS): With Color A, K10, with Color B, K20, with Color A, K10.
Row 18 (WS): With Color A, P10, with Color B, P20, with Color A, P10.
Cut Color B, leaving a 6-inch tail.
Top Section (above leaf motif):
Rows 19-24: With Color A only, work in stockinette (K on RS, P on WS) for 6 rows.
Flap (shaped with decreases):
Row 25 (RS): With Color A, K40.
Row 26 (WS): With Color A, P40.
Row 27 (RS): K2tog, K36, K2tog (38 sts remain).
Row 28 (WS): P2tog, P34, P2tog (36 sts).
Row 29 (RS): K2tog, K32, K2tog (34 sts).
Row 30 (WS): P2tog, P30, P2tog (32 sts).
Row 31 (RS): K2tog, K28, K2tog (30 sts).
Row 32 (WS): P2tog, P26, P2tog (28 sts).
Row 33 (RS): K2tog, K24, K2tog (26 sts).
Row 34 (WS): P2tog, P22, P2tog (24 sts).
Row 35 (RS): K2tog, K20, K2tog (22 sts).
Row 36 (WS): P2tog, P18, P2tog (20 sts).
BO all 20 sts loosely (knitwise on RS). Cut yarn, leaving a 12-inch tail for seaming.
Panel 2 (Back Panel)
With Color C (Cream), CO 40 sts.
Work in stockinette stitch (K on RS, P on WS) for 36 rows total.
BO all sts loosely. Cut yarn, leaving a 12-inch tail for seaming.
Finishing & Assembly
- Seam the sides and bottom: Place the Front Panel and Back Panel with right sides facing out (or wrong sides together if you prefer a neater interior seam). Using the long tails and a tapestry needle, sew the side seams and bottom seam using mattress stitch. Leave the top edge (the straight edge of the back panel and the bottom of the flap on the front panel) open.
- Attach the button: Sew the wooden button onto the front panel, centered horizontally and approximately 1 inch down from the top edge (the straight edge above the leaf motif).
- Create the button loop: With Color A and a crochet hook, make a chain of 10 stitches. Cut yarn, leaving a 6-inch tail. Fold the chain into a loop and sew both ends securely to the center of the flap’s edge (the BO edge). Ensure the loop is large enough to fit over your button.
- Weave in ends: Using the tapestry needle, weave in all remaining yarn tails on the wrong side of the work. Trim any excess.
- Optional lining: For extra durability, you can cut a piece of fabric (cotton or felt) to the same dimensions as the finished case (8” x 8” when open) and hand-sew it inside, covering the seams.
Your Enchanted Woodland Pencil Case is now complete! Fill it with your favorite pens, pencils, or knitting notions and enjoy a touch of forest magic wherever you go.