Enchanted Meadow Dragonfly Scarf Free Pattern – Knit a Whimsical Garden Wrap

Enchanted Meadow Dragonfly Scarf Free Pattern – Knit a Whimsical Garden Wrap
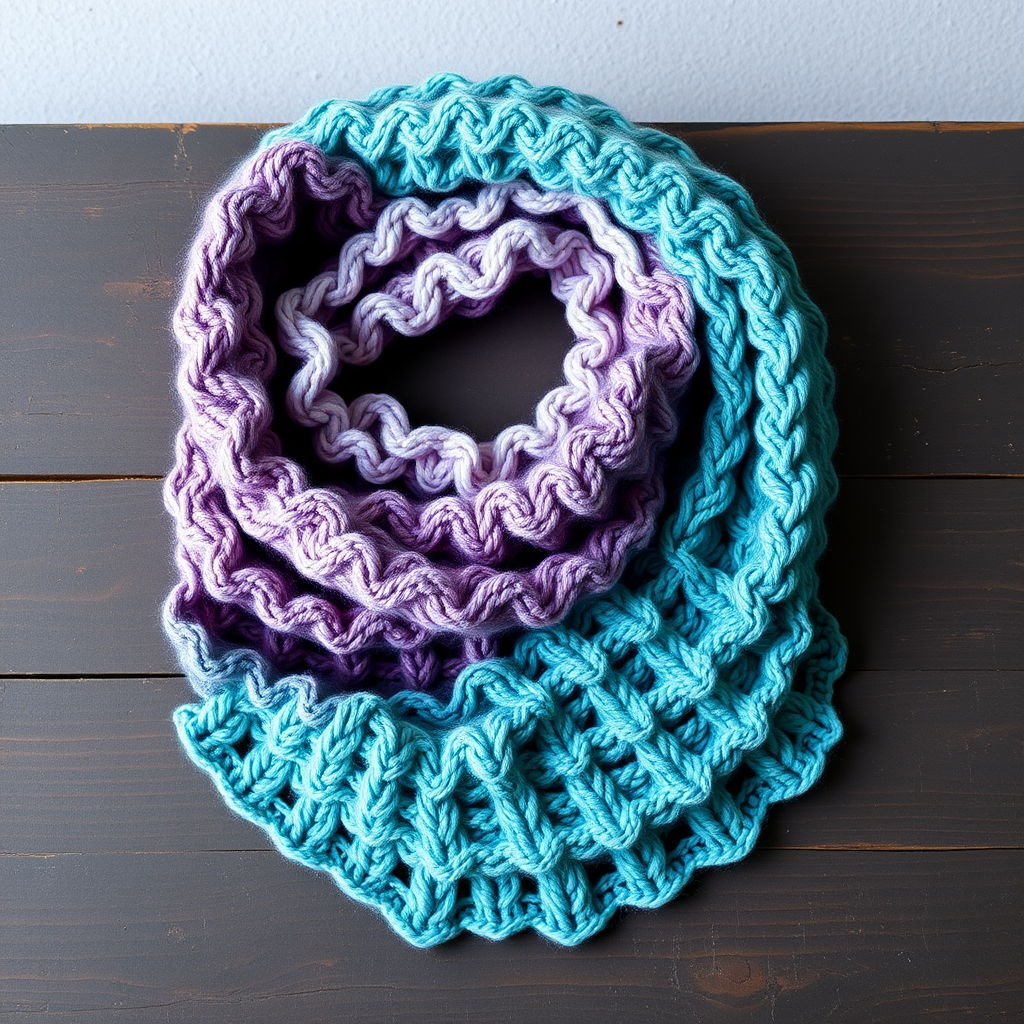
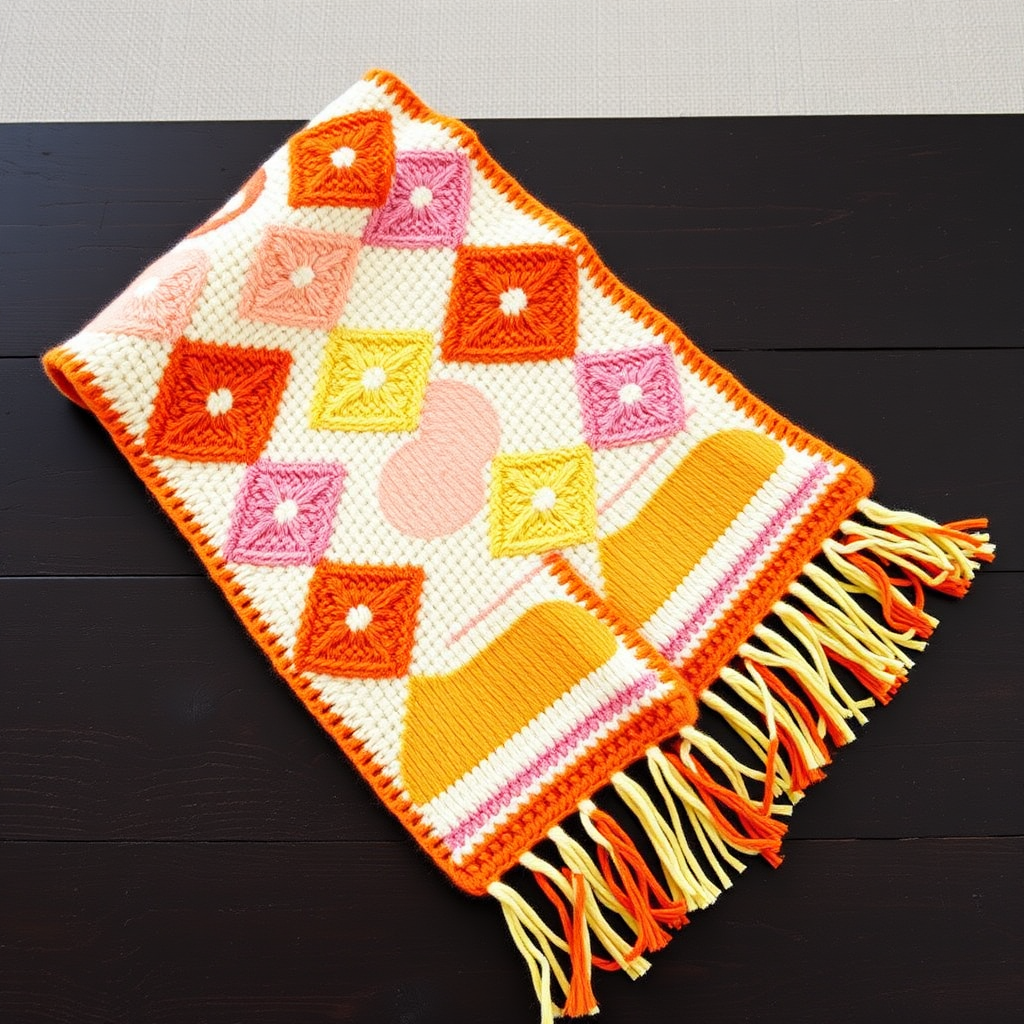
Wrap yourself in a whimsical garden with this enchanting scarf, featuring delicate dragonfly lace panels and a soft, textured flower border. Knitted in dreamy pastel hues—soft sage green, blush pink, and butter yellow—this cozy accessory brings a touch of magic to any outfit. Whether you're a seasoned knitter or a confident beginner looking for a rewarding project, this pattern offers a delightful blend of lace work and textured borders that evoke a meadow in full spring bloom. The finished scarf measures approximately 60 inches in length, making it perfect for draping elegantly or bundling up against a chill.
This pattern is worked flat in one piece, with a central lace panel and a textured flower border on each edge. It uses basic knit, purl, yarn over, and decrease stitches, making it accessible while still producing a stunning, intricate-looking result. Read through all instructions carefully before beginning, and you'll be amazed at how quickly the magic unfolds.
Materials Needed
Before you begin, gather the following materials to ensure a smooth knitting experience:
- Yarn: Worsted weight yarn in 3 colors:
- Main Color (MC) – Soft Sage Green: approximately 400g (about 800-880 yards)
- Contrast Color 1 (CC1) – Blush Pink: approximately 100g (about 200-220 yards)
- Contrast Color 2 (CC2) – Butter Yellow: approximately 50g (about 100-110 yards)
- Needles: US Size 7 (4.5mm) knitting needles
- Notions: Tapestry needle for weaving in ends, stitch markers (at least 4), blocking pins and towel for finishing
- Gauge: 20 stitches and 26 rows = 4 inches in stockinette stitch (after blocking). Gauge is important for achieving the correct dimensions, so take a moment to knit a swatch first.
Step-by-Step Instructions
This scarf is worked flat in one piece, with a central lace panel and a textured flower border on each edge. The pattern uses basic knit, purl, yarn over, and decrease stitches. Read through all instructions before beginning.
Abbreviations
- K = knit
- P = purl
- YO = yarn over
- K2tog = knit two stitches together
- SSK = slip, slip, knit (slip two stitches knitwise one at a time, then knit them together through back loops)
- PM = place marker
- SM = slip marker
- RS = right side
- WS = wrong side
Special Stitch – Dragonfly Lace Panel (worked over 17 stitches)
This lace panel creates the delicate dragonfly motifs that give the scarf its name. Work these 16 rows, then repeat for the length of the scarf.
- Row 1 (RS): K2, YO, SSK, K1, YO, K2tog, K1, YO, SSK, K1, YO, K2tog, K1, YO, SSK, K2 (17 sts)
- Row 2 (WS): Purl all stitches
- Row 3: K3, YO, SSK, K1, YO, K2tog, K1, YO, SSK, K1, YO, K2tog, K1, YO, SSK, K2 (17 sts)
- Row 4: Purl all stitches
- Row 5: K4, YO, SSK, K1, YO, K2tog, K1, YO, SSK, K1, YO, K2tog, K1, YO, SSK, K2 (17 sts)
- Row 6: Purl all stitches
- Row 7: K5, YO, SSK, K1, YO, K2tog, K1, YO, SSK, K1, YO, K2tog, K1, YO, SSK, K2 (17 sts)
- Row 8: Purl all stitches
- Row 9: K6, YO, SSK, K1, YO, K2tog, K1, YO, SSK, K1, YO, K2tog, K1, YO, SSK, K2 (17 sts)
- Row 10: Purl all stitches
- Row 11: K7, YO, SSK, K1, YO, K2tog, K1, YO, SSK, K1, YO, K2tog, K1, YO, SSK, K2 (17 sts)
- Row 12: Purl all stitches
- Row 13: K8, YO, SSK, K1, YO, K2tog, K1, YO, SSK, K1, YO, K2tog, K1, YO, SSK, K2 (17 sts)
- Row 14: Purl all stitches
- Row 15: K9, YO, SSK, K1, YO, K2tog, K1, YO, SSK, K1, YO, K2tog, K1, YO, SSK, K2 (17 sts)
- Row 16: Purl all stitches
Repeat rows 1-16 for the lace panel.
Special Stitch – Flower Border (worked over 9 stitches)
This textured border creates the raised flower shapes along the edges. Work these 8 rows, then repeat for the length of the scarf.
- Row 1 (RS): K1, YO, K2tog, K1, YO, K2tog, K1, YO, K2tog (9 sts)
- Row 2 (WS): Purl all stitches
- Row 3: K1, YO, K2tog, K1, YO, K2tog, K1, YO, K2tog (9 sts)
- Row 4: Purl all stitches
- Row 5: K1, YO, K2tog, K1, YO, K2tog, K1, YO, K2tog (9 sts)
- Row 6: Purl all stitches
- Row 7: K1, YO, K2tog, K1, YO, K2tog, K1, YO, K2tog (9 sts)
- Row 8: Purl all stitches
Repeat rows 1-8 for the flower border.
Scarf Pattern
Step 1: Cast On
With MC (Soft Sage Green), cast on 53 stitches loosely. A long-tail cast-on works well here, but any stretchy cast-on method will do.
Step 2: Setup Row
Setup Row (WS): Purl all stitches. This establishes the wrong side and prepares your work for the pattern.
Step 3: Begin Pattern Rows
Row 1 (RS): Work Flower Border over first 9 stitches (using CC1 – Blush Pink), PM, work Dragonfly Lace Panel over next 17 stitches (using MC), PM, work Flower Border over next 9 stitches (using CC1), PM, work Dragonfly Lace Panel over next 17 stitches (using MC), PM, work Flower Border over last 9 stitches (using CC1).
Row 2 (WS): Work Flower Border over first 9 stitches (using CC1), SM, work Dragonfly Lace Panel over next 17 stitches (using MC), SM, work Flower Border over next 9 stitches (using CC1), SM, work Dragonfly Lace Panel over next 17 stitches (using MC), SM, work Flower Border over last 9 stitches (using CC1).
Step 4: Continue the Pattern
Continue repeating Rows 1 and 2, always working the flower borders in CC1 (Blush Pink) and the lace panels in MC (Soft Sage Green), until the scarf measures approximately 60 inches from the cast-on edge, or your desired length, ending with a WS row. The pattern is fully reversible, so don't worry about which side is "right" – both sides will look beautiful!
Step 5: Bind Off
Bind off all stitches knitwise on the RS. To bind off knitwise: knit the first stitch, *knit the next stitch, then pass the first stitch over the second stitch and off the needle. Repeat from * until one stitch remains. Cut yarn, leaving a 6-inch tail, and pull through the last loop to secure.
Step 6: Weave in Ends
Weave in all ends with a tapestry needle. Take your time here – secure ends will ensure your scarf lasts for years. Thread the needle with the yarn tail and weave it through the purl bumps on the wrong side of the work for about 2 inches, then trim the excess.
Step 7: Block the Scarf
Block the scarf gently to open up the lace pattern and even out the stitches. To block: soak the scarf in lukewarm water with a mild wool wash for 15-20 minutes. Gently squeeze out excess water (do not wring or twist). Lay flat on a clean towel, roll up to remove more water, then unroll and pin to shape on a blocking mat or dry towel. Stretch the lace panels slightly to open up the dragonfly motifs and the flower borders. Allow to dry completely, which may take 24-48 hours depending on humidity.
Optional Embellishment – Crocheted Flowers
Using CC2 (Butter Yellow), make 5 small crocheted flowers and attach them at intervals along the scarf for an extra pop of color and dimension.
Crochet Flower Pattern:
- Round 1: Make a magic ring. Chain 2 (counts as first dc), work 11 dc into the ring, join with a slip stitch to the top of the chain-2. (12 dc)
- Round 2: *Chain 3, skip 1 dc, slip stitch into next dc* repeat from * to * around. (6 loops)
- Round 3: Into each chain-3 loop, work (sc, hdc, 3 dc, hdc, sc), slip stitch between loops. Fasten off, leaving a long tail for sewing.
Sew flowers onto the scarf as desired – try placing them at regular intervals along one edge, or scatter them randomly for a more organic, garden-like feel. Use the long tail to secure each flower firmly, weaving the end through the back of the flower and into the scarf fabric.
Your Enchanted Meadow Dragonfly Scarf is now complete! This whimsical wrap is perfect for spring and summer evenings, or as a thoughtful handmade gift for someone special. The combination of delicate lace, textured flowers, and soft pastel colors makes it a truly magical accessory that will be treasured for years to come. Happy knitting!