Emberwood Slouchy Beanie Free Pattern – Knit a Cozy Textured Hat

Emberwood Slouchy Beanie Free Pattern – Knit a Cozy Textured Hat
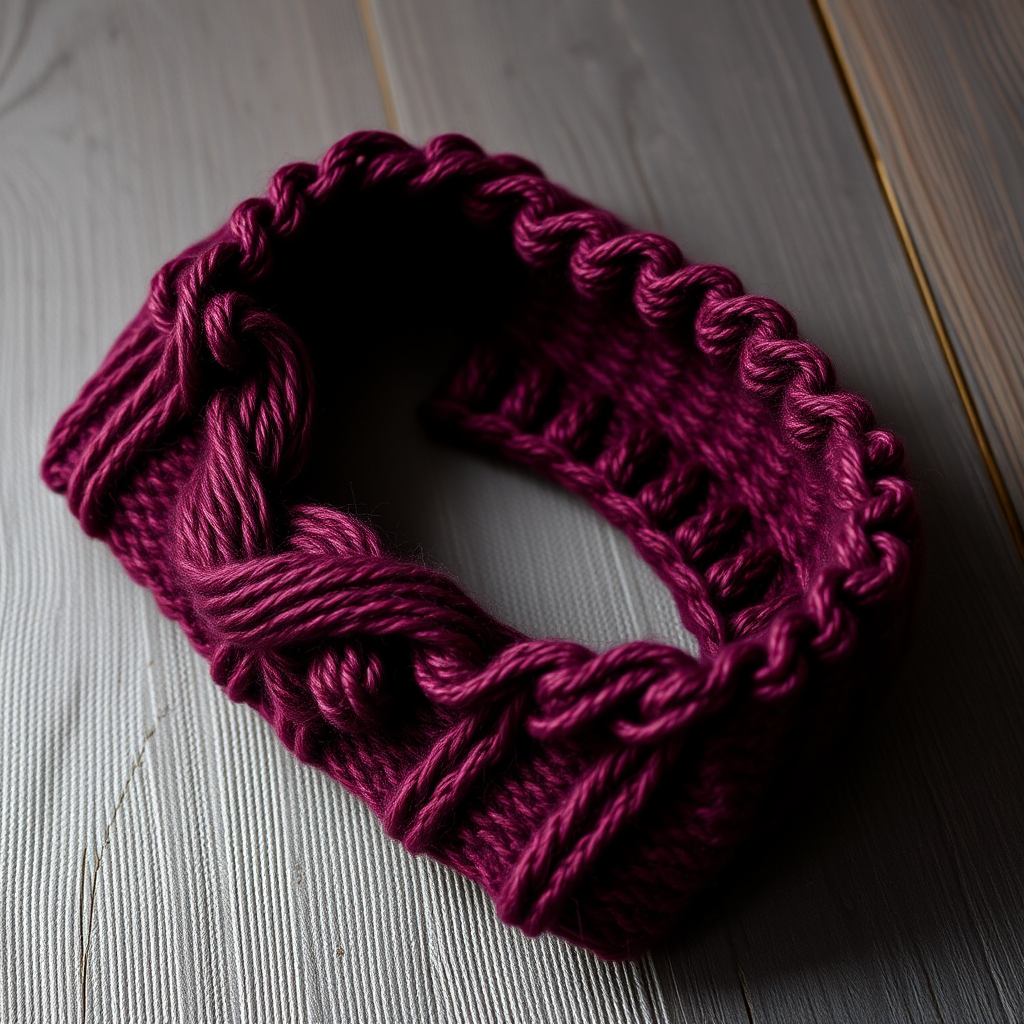
Wrap yourself in the warmth of autumn with this richly textured slouchy beanie, featuring a unique braided cable and moss stitch combination. This pattern creates a modern, cozy accessory that's perfect for crisp days and adds a handmade touch to any outfit. The Emberwood Beanie is an intermediate-level project that yields a stunning, professional-looking result—the kind of hat you'll reach for all season long.
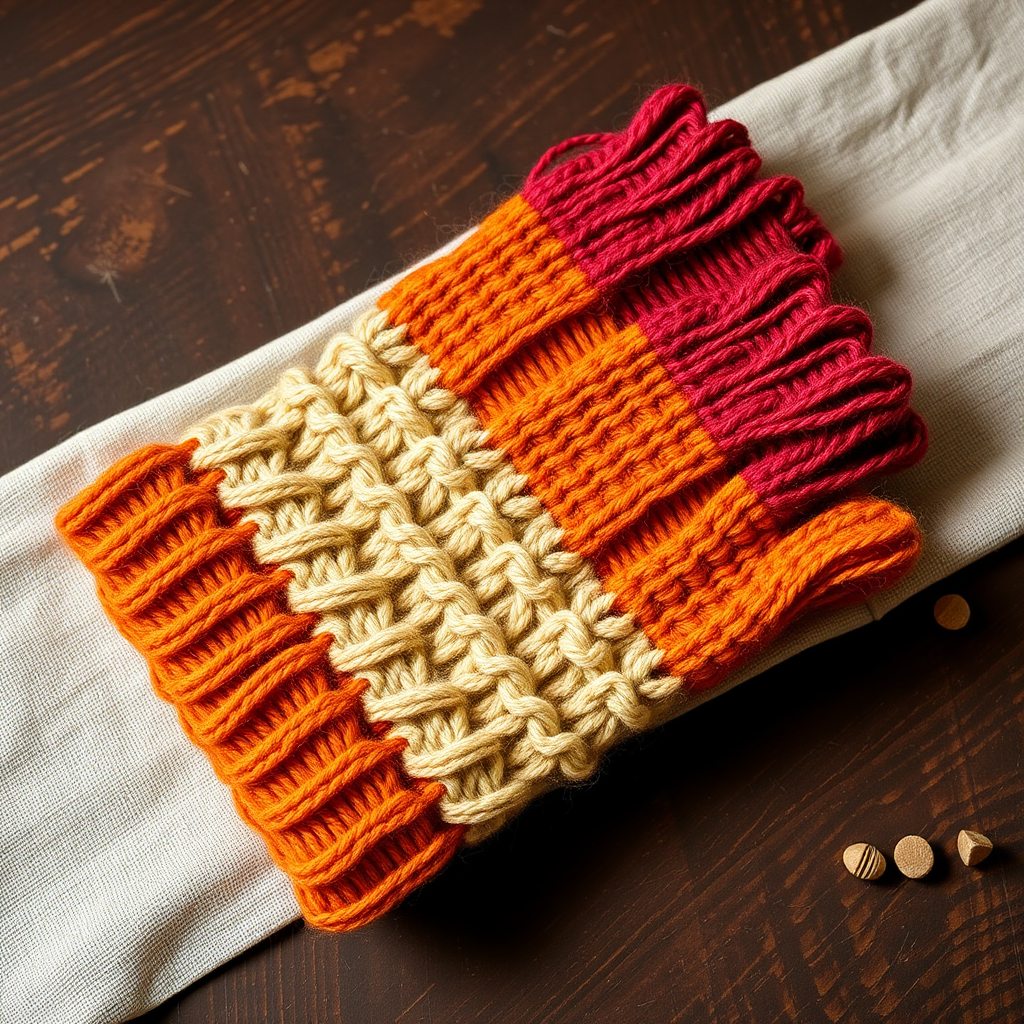
With its deep, ribbed brim and a body of alternating braided cables and moss stitch panels, this hat offers both visual interest and incredible warmth. The slouchy silhouette is relaxed and modern, while the heathered rust-orange color evokes the beauty of autumn leaves. Whether you're knitting for yourself or gifting to a loved one, this pattern is sure to become a favorite.
Materials Needed
Before you begin, gather the following materials to ensure a smooth knitting experience:
- Yarn: Worsted weight yarn in a heathered rust/orange tone (approx. 220 yards). Look for a yarn with good stitch definition to showcase the cable work—a wool or wool-blend works beautifully.
- Needles: US 8 (5.0 mm) 16-inch circular needle and double-pointed needles (or size needed to obtain gauge). The circular needle is used for the body, and you'll switch to DPNs for the crown decreases.
- Gauge: 18 stitches and 24 rows = 4 inches in stockinette stitch. Always knit a gauge swatch to ensure your hat fits correctly—this is crucial for achieving the right size.
- Notions: Cable needle, stitch marker, tapestry needle for weaving in ends, and scissors.
Step-by-Step Instructions
This pattern is worked in the round, from the brim up to the crown. Take your time with the cable rounds, and you'll be rewarded with a beautifully textured hat. The pattern includes a detailed crown decrease section that shapes the slouchy top.
Sizes and Abbreviations
Sizes: Adult (fits head circumference 21-23 inches)
Abbreviations:
- CO: cast on
- K: knit
- P: purl
- K2tog: knit two stitches together
- P2tog: purl two stitches together
- C4B: slip 2 stitches to cable needle, hold to back, knit next 2 stitches, then knit 2 stitches from cable needle
- C4F: slip 2 stitches to cable needle, hold to front, knit next 2 stitches, then knit 2 stitches from cable needle
- St(s): stitch(es)
- Rnd: round
Ribbing
CO 96 sts. Join in the round, being careful not to twist. Place marker for beginning of round.
Rnds 1-8: *K2, P2; repeat from * to end. This creates a deep, stretchy ribbed brim that will hug the head comfortably.
Body
Now you'll begin the textured body of the hat. The pattern alternates between knit/purl rounds and cable rounds to create the braided effect.
Rnd 9: *K4, P2; repeat from * to end. (96 sts)
Rnd 10: *C4B, P2; repeat from * to end. (This is your first cable round—the twist goes to the back.)
Rnd 11: *K4, P2; repeat from * to end.
Rnd 12: *K4, P2; repeat from * to end.
Rnd 13: *C4F, P2; repeat from * to end. (Now the twist goes to the front.)
Rnd 14: *K4, P2; repeat from * to end.
Rnd 15: *K4, P2; repeat from * to end.
Rnd 16: *C4B, P2; repeat from * to end.
Rnd 17: *K4, P2; repeat from * to end.
Rnd 18: *K4, P2; repeat from * to end.
Rnd 19: *C4F, P2; repeat from * to end.
Rnd 20: *K4, P2; repeat from * to end.
Rnd 21: *K4, P2; repeat from * to end.
Rnd 22: *C4B, P2; repeat from * to end.
Rnd 23: *K4, P2; repeat from * to end.
Rnd 24: *K4, P2; repeat from * to end.
Rnd 25: *C4F, P2; repeat from * to end.
Rnd 26: *K4, P2; repeat from * to end.
Rnd 27: *K4, P2; repeat from * to end.
Rnd 28: *C4B, P2; repeat from * to end.
Rnd 29: *K4, P2; repeat from * to end.
Rnd 30: *K4, P2; repeat from * to end.
Rnd 31: *C4F, P2; repeat from * to end.
Rnd 32: *K4, P2; repeat from * to end.
Rnd 33: *K4, P2; repeat from * to end.
Rnd 34: *C4B, P2; repeat from * to end.
Rnd 35: *K4, P2; repeat from * to end.
Rnd 36: *K4, P2; repeat from * to end.
Tip: The purl stitches between the cables create the moss stitch texture, giving the hat its cozy, dimensional look.
Crown Decreases
Now it's time to shape the crown. Switch to double-pointed needles when the circular needle becomes too long for the decreasing stitch count.
Rnd 37: *C4F, P2tog; repeat from * to end. (80 sts) Note: You're decreasing the purl stitches here.
Rnd 38: *K4, P1; repeat from * to end.
Rnd 39: *K2tog, K2, P1; repeat from * to end. (64 sts)
Rnd 40: *K3, P1; repeat from * to end.
Rnd 41: *K2tog, K1, P1; repeat from * to end. (48 sts)
Rnd 42: *K2, P1; repeat from * to end.
Rnd 43: *K2tog, P1; repeat from * to end. (32 sts)
Rnd 44: *K1, P1; repeat from * to end.
Rnd 45: *K2tog; repeat from * to end. (16 sts)
Rnd 46: *K2tog; repeat from * to end. (8 sts)
Cut yarn, leaving a long tail. Thread tail through remaining sts, pull tight, and weave in end. This cinches the top of the hat, creating the soft, slouchy silhouette that makes this beanie so stylish.
Finishing Touches
Once you've woven in all ends, give your beanie a gentle block. Wet blocking will help the cables relax and even out the stitch tension. Simply soak the hat in lukewarm water with a drop of wool wash, gently squeeze out excess water (never wring!), and lay flat to dry, shaping it as it dries.
Your Emberwood Slouchy Beanie is now ready to wear! The rich texture and warm color make it a versatile accessory that pairs beautifully with everything from chunky sweaters to casual coats. This pattern is also a wonderful canvas for experimenting with different colorways—imagine it in deep forest green, creamy oatmeal, or classic charcoal.
Happy knitting, and enjoy your new favorite autumn accessory!