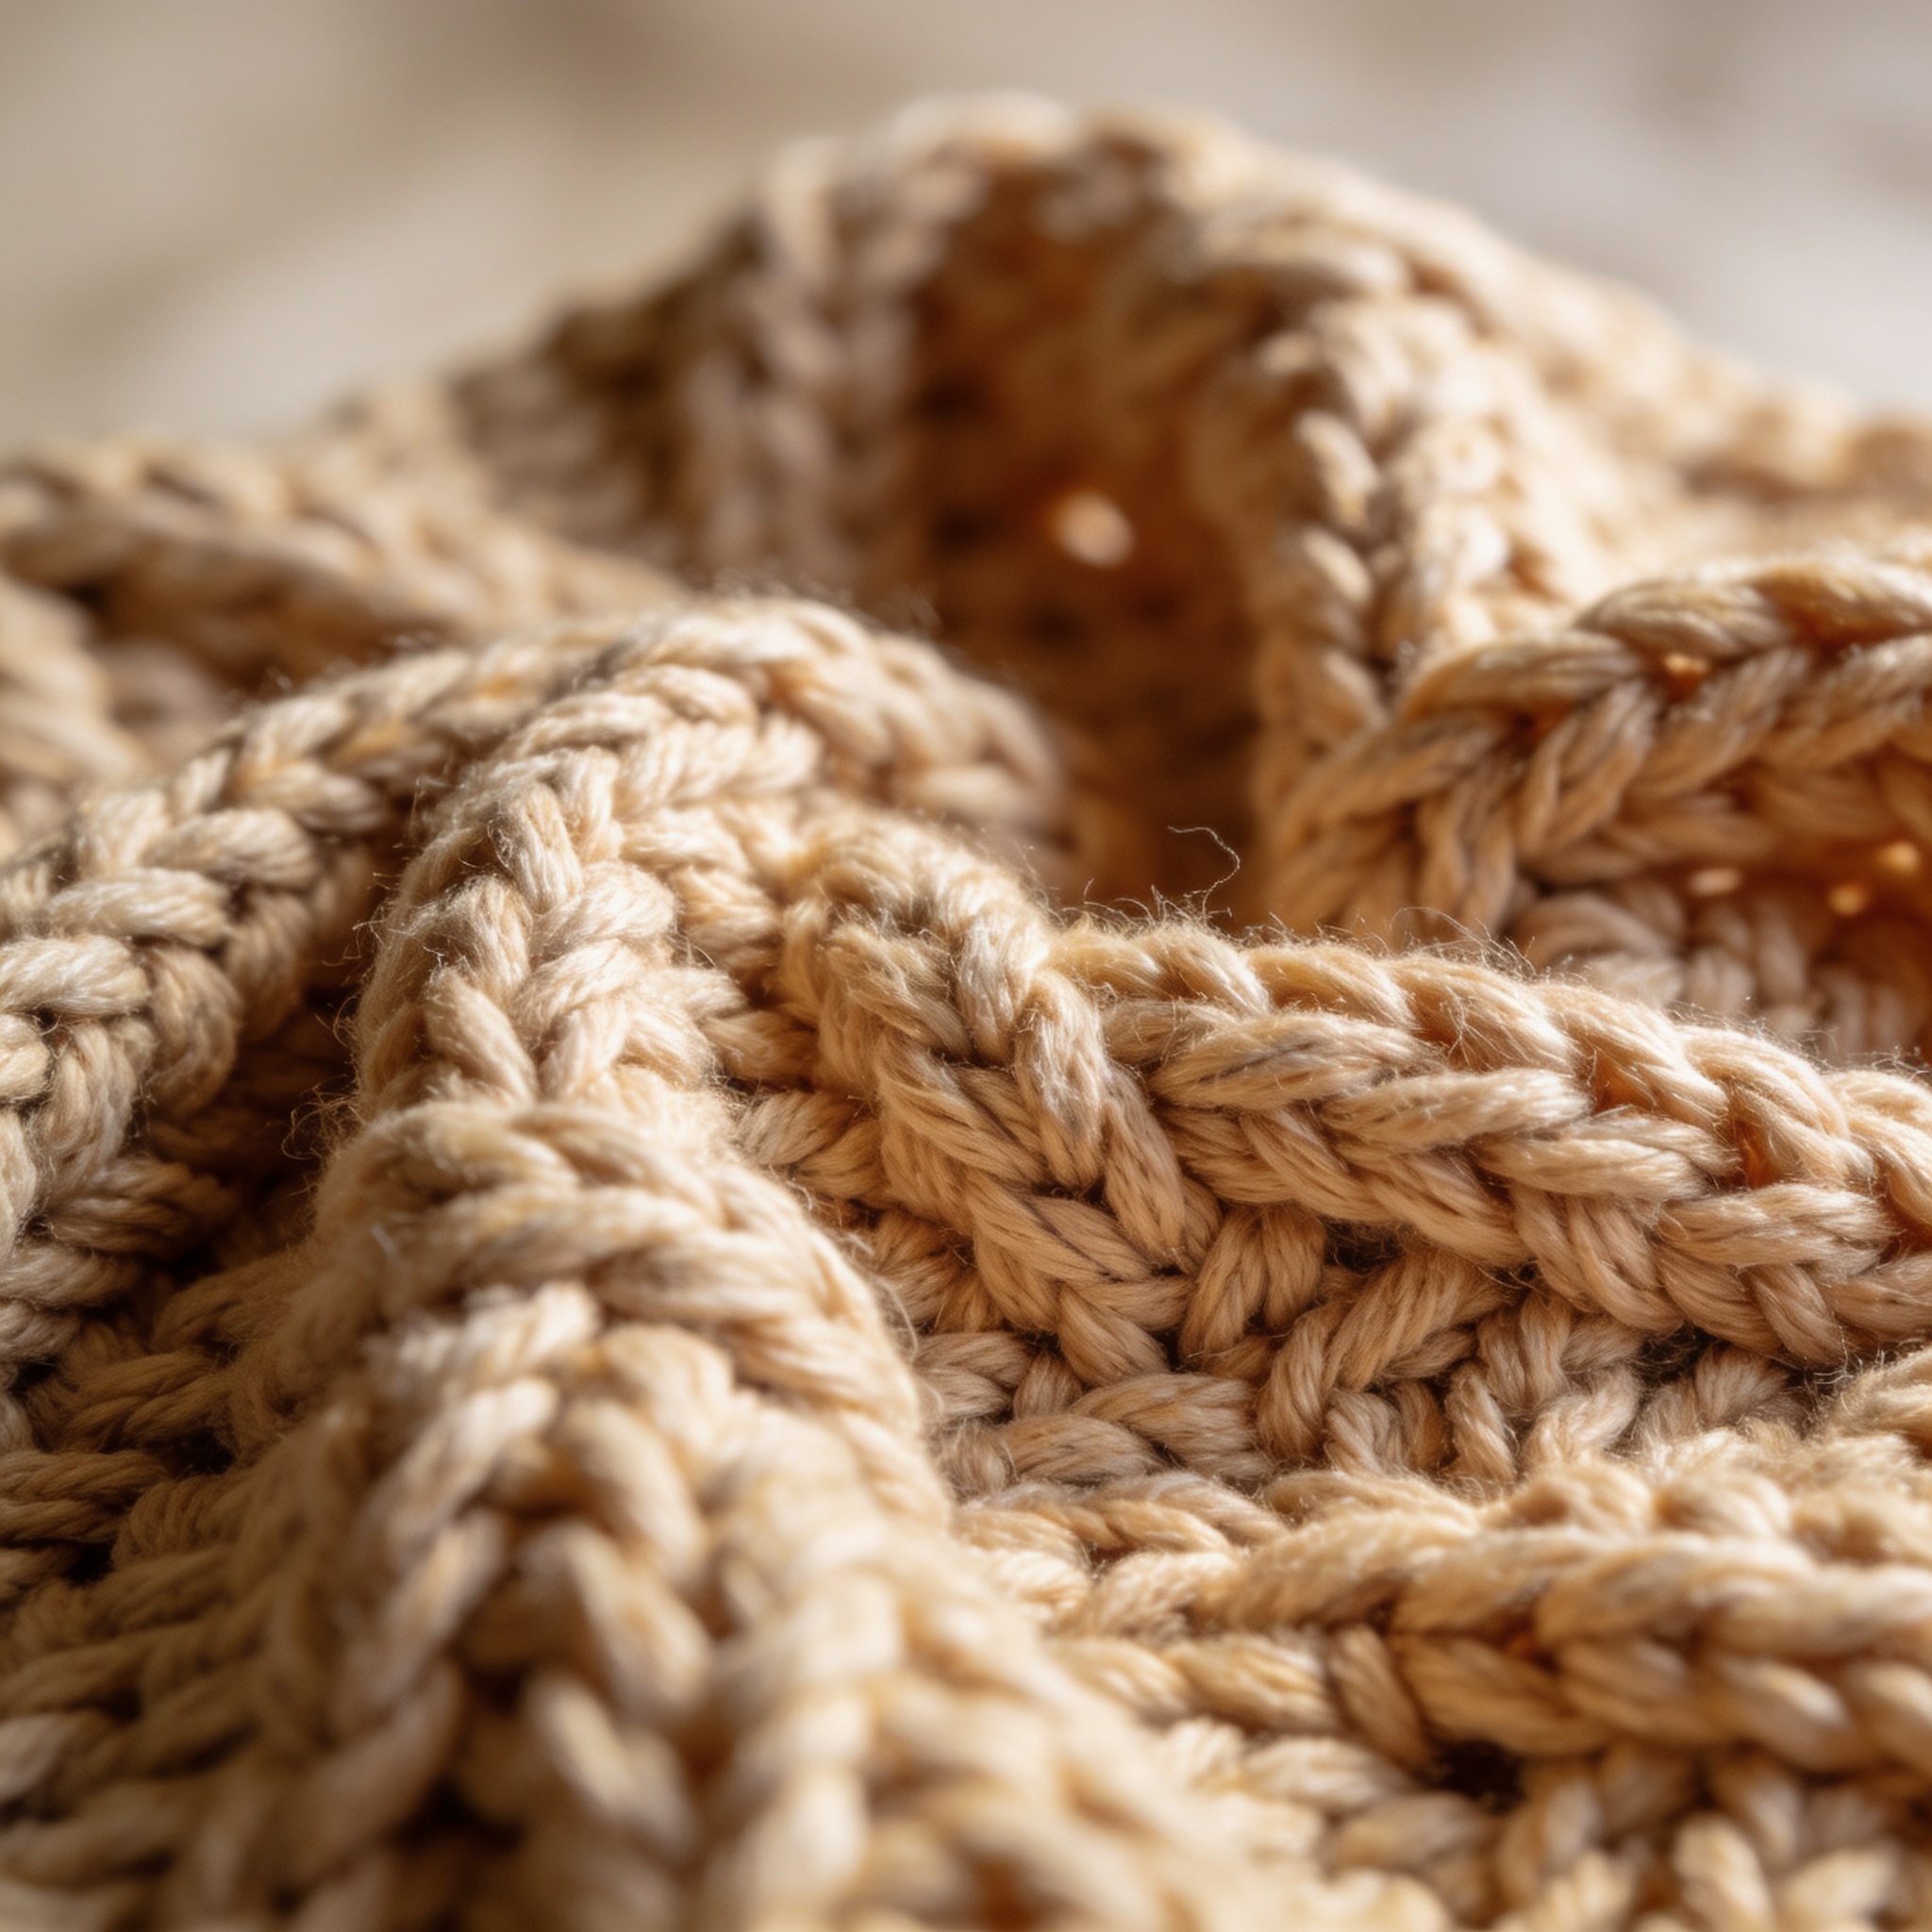
Chunky Crochet Ribbed Beanie Pattern

Chunky Crochet Ribbed Beanie Pattern
Introduction
Welcome to your next cozy project! In this blog post, we will guide you through creating a beautiful and warm Chunky Crochet Ribbed Beanie. This pattern is perfect for beginners and is designed to keep you stylish and warm during those chilly days. With its textured ribbed design and super bulky yarn, you'll find this beanie not only functional but also a delightful addition to your winter wardrobe.
Materials Needed
- Yarn: Super bulky yarn in coral pink
- Hook: 10mm crochet hook
- Gauge: 4 stitches and 4 rows = 4 inches in ribbed pattern
Step-by-Step Instructions
- Start with a Magic Ring:
To create a magic ring, hold the yarn in your hand, wrap it around your fingers, and pull a loop through. This will form the base for your beanie.
- Round 1:
Chain 2 (this counts as your first half double crochet (hdc)). Now, work 9 hdc into the magic ring. To do this, yarn over, insert your hook into the ring, yarn over again, pull through, yarn over once more, and pull through all three loops on your hook. After completing 9 hdc, join the round by slip stitching (sl st) into the top of your starting chain-2. You should have a total of 10 stitches.
- Round 2:
Chain 2 again (counts as first hdc). Now, you will create the ribbed texture. For this round, you will alternate between front post double crochet (fpdc) and back post double crochet (bpdc).
- Yarn over, insert your hook from the front to the back around the post of the next stitch (this is your fpdc), yarn over, pull through, yarn over again, and pull through two loops twice to complete the fpdc.
- Next, yarn over, insert your hook from the back to the front around the post of the next stitch (this is your bpdc), yarn over, pull through, yarn over again, and pull through two loops twice to complete the bpdc.
Repeat this sequence (fpdc, bpdc) around the entire round. Join with a sl st to the top of your chain-2.
- Continue Rounds:
Repeat Round 2 until your beanie reaches your desired height. Measure from the base of your magic ring to the top of the beanie to ensure it's the right length for you.
- Finish Off:
Once you have reached the desired height, fasten off your yarn by cutting it and pulling it through the last loop on your hook. Weave in any loose ends using a yarn needle to keep your beanie looking neat and tidy.
Congratulations! You have successfully created your very own Chunky Crochet Ribbed Beanie. Wear it proudly or gift it to someone special. Happy crocheting!