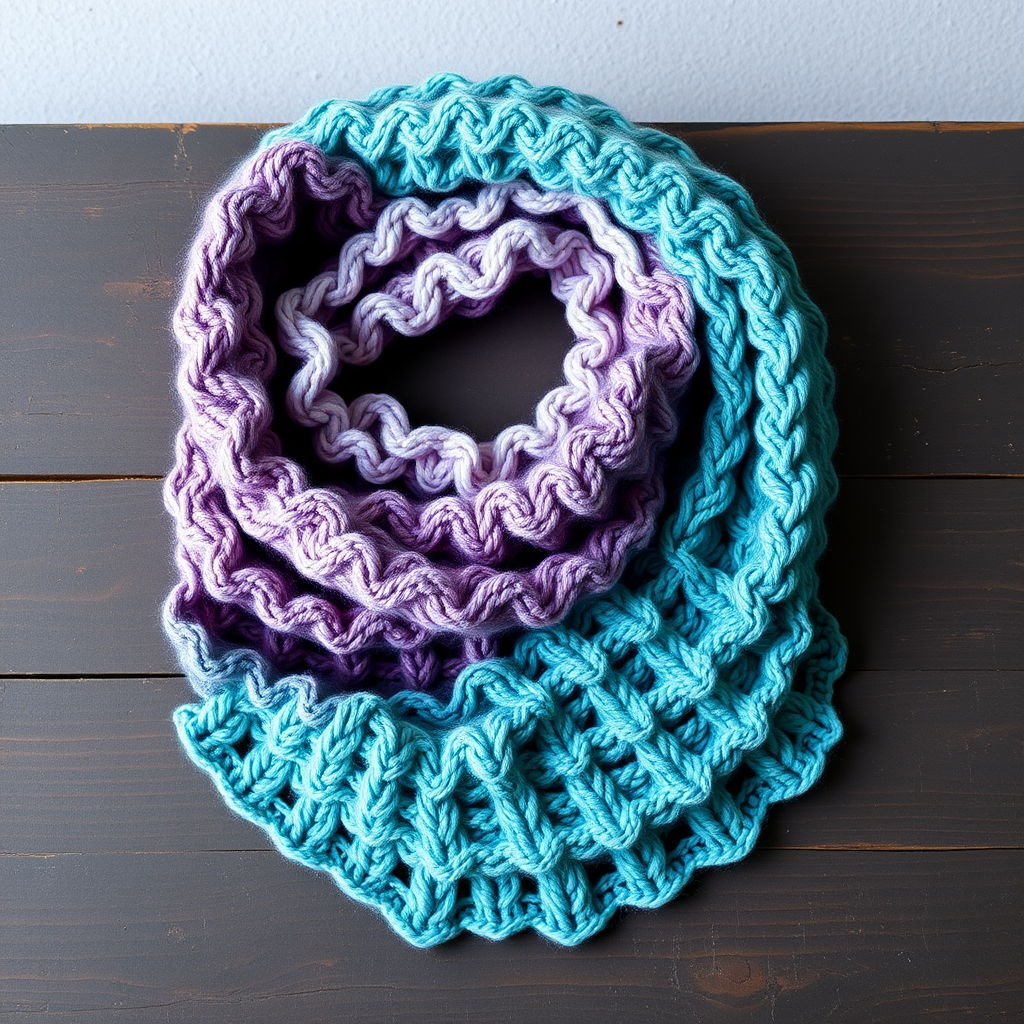
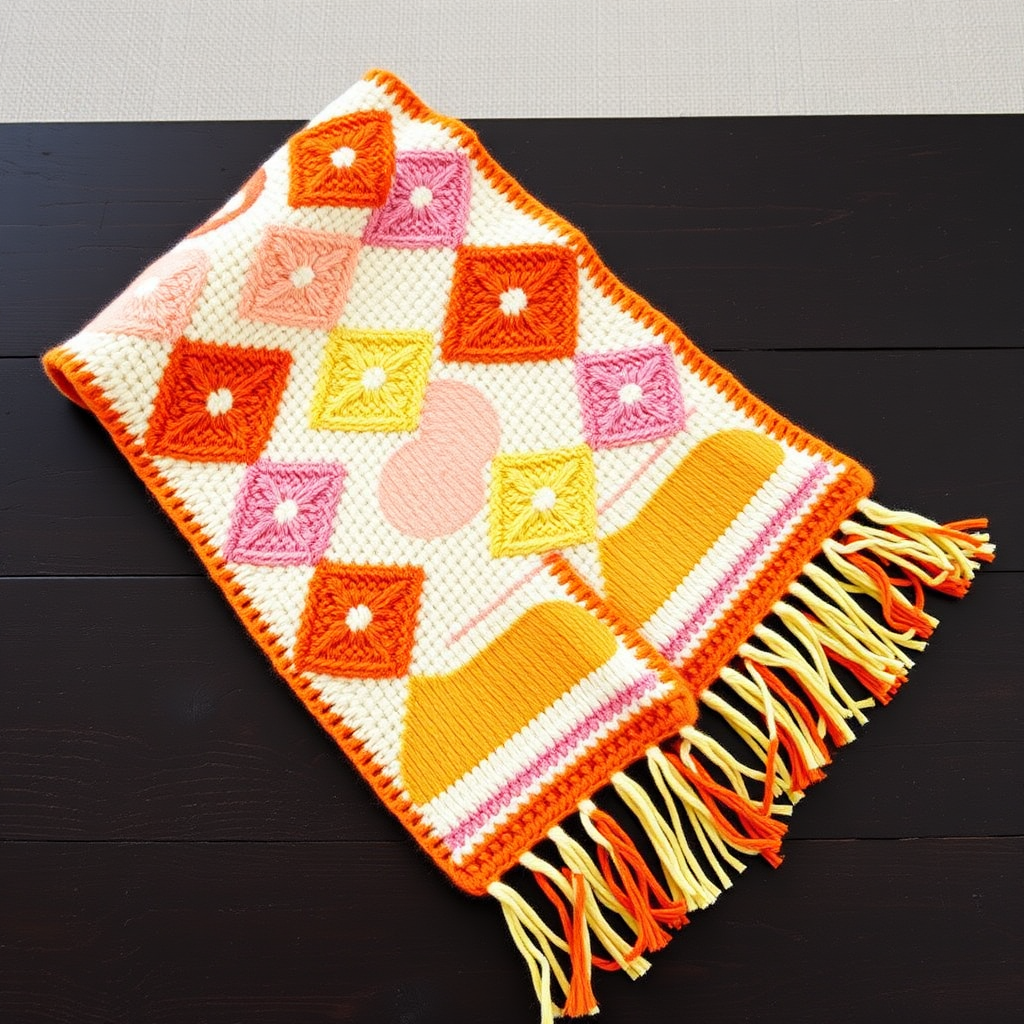
Cherry Blossom Cascade Infinity Scarf Free Knitting Pattern

Cherry Blossom Cascade Infinity Scarf: A Free Knitting Pattern for Spring
Wrap yourself in the delicate beauty of spring with this stunning infinity scarf. The Cherry Blossom Cascade Infinity Scarf features a cascading lace pattern that blooms across soft, blush-toned yarn, creating a romantic accessory perfect for crisp morning walks, evening gatherings, or simply adding a touch of elegance to any outfit. This cozy knit is worked seamlessly in the round, making it a rewarding project for knitters ready to explore lacework while creating a wearable piece of art.
In this comprehensive guide, I'll walk you through every step—from gathering your materials to blocking your finished scarf—so you can create this breathtaking accessory with confidence. Let's dive into the world of cherry blossoms and lace!
Materials Needed
Before you begin, gather the following supplies. Having everything ready will make your knitting experience smooth and enjoyable.
Yarn
- Main Color (MC): Worsted weight yarn in a soft blush pink. You'll need approximately 350 yards.
- Contrast Color (CC): Worsted weight yarn in a slightly darker rose pink for the cherry blossom motifs. You'll need approximately 100 yards.
Pro Tip: Choose a yarn with good stitch definition, such as a merino wool or a cotton blend, to make the lace pattern and blossom details truly pop.
Needles & Notions
- Circular Knitting Needle: US Size 8 (5.0 mm), 24 inches long (or longer for magic loop if preferred)
- Stitch Markers: At least one to mark the beginning of the round
- Tapestry Needle: For weaving in ends
- Blocking Mats and Pins: For finishing your scarf beautifully
Gauge
18 stitches and 24 rows = 4 inches in stockinette stitch (after blocking). Achieving the correct gauge is essential for the scarf to drape properly and fit as intended. Always knit a swatch first!
Step-by-Step Instructions
This pattern is worked in the round to create a seamless infinity loop. The cherry blossom lace pattern is a 12-stitch repeat, and the CC yarn is used only for the blossom motifs, which are worked as you go. Follow along carefully, and you'll have a gorgeous scarf in no time.
Pattern Notes
- The scarf is worked in the round, so there is no seaming required.
- Use a stitch marker to mark the beginning of each round.
- The pattern is a 12-stitch repeat, so ensure your stitch count remains divisible by 12.
- Read through all instructions before beginning.
Special Stitches
Familiarize yourself with these abbreviations and techniques:
- yo: yarn over (creates an eyelet and adds a stitch)
- k2tog: knit two stitches together (decrease, leaning right)
- ssk: slip, slip, knit (slip two stitches knitwise one at a time, then knit them together through the back loop—decrease, leaning left)
- p2tog: purl two stitches together (decrease on the purl side)
- M1L: make one left (increase, leaning left)
- M1R: make one right (increase, leaning right)
Getting Started: Cast On & Garter Edge
Cast On: With MC, cast on 144 stitches using your preferred method (long-tail cast on works well). Place a stitch marker and join in the round, being very careful not to twist your stitches.
Rounds 1-4: Knit all stitches. This creates a garter stitch edge that will frame your lace beautifully and prevent curling.
The Cherry Blossom Lace Pattern
Now we begin the main lace pattern. The pattern is a 12-stitch repeat, and you will repeat the bracketed section 12 times around each round. Take your time with these rounds—the lace will emerge beautifully as you go.
Round 5: *K1, yo, k2tog, k3, yo, k2tog, k1, ssk, yo, k3, ssk, yo*; repeat from * to * around.
Round 6: Knit all stitches.
Round 7: *K2, yo, k2tog, k2, yo, k2tog, k1, ssk, yo, k2, ssk, yo, k1*; repeat from * to * around.
Round 8: Knit all stitches.
Round 9: *K3, yo, k2tog, k1, yo, k2tog, k1, ssk, yo, k1, ssk, yo, k2*; repeat from * to * around.
Round 10: Knit all stitches.
Round 11: *K4, yo, k2tog, yo, k2tog, k1, ssk, yo, ssk, yo, k3*; repeat from * to * around.
Round 12: Knit all stitches.
You've completed the first lace repeat! Notice how the eyelets and decreases create a cascading, diagonal pattern that mimics falling petals.
Creating the Cherry Blossom Motifs
Now it's time to introduce the CC yarn to create the delicate blossoms. These rounds build the flower shapes right into your knitting.
Round 13: With MC, *K5, k2tog, yo, k1, yo, ssk, k4*; repeat from * to * around.
Round 14: With MC, knit all stitches.
Round 15: Switch to CC. *K5, k2tog, yo, k1, yo, ssk, k4*; repeat from * to * around. (This creates the base of the blossoms.)
Round 16: With CC, *K5, k2tog, yo, k1, yo, ssk, k4*; repeat from * to * around.
Round 17: With CC, *K5, k2tog, yo, k1, yo, ssk, k4*; repeat from * to * around. (The CC rounds form the petals.)
Round 18: Switch back to MC. Knit all stitches.
Round 19: With MC, *K5, k2tog, yo, k1, yo, ssk, k4*; repeat from * to * around.
Round 20: With MC, knit all stitches.
You've just completed one full blossom motif! The CC yarn creates a raised, textured flower shape against the lace background. Continue alternating the lace pattern and blossom motifs to create the cascading effect.
Repeating the Pattern
Repeat Rounds 5-20 until the scarf measures approximately 50 inches from the cast-on edge, ending with a Round 12 or Round 20. This ensures you finish at a clean point in the pattern.
Tip: Measure your work periodically to ensure you're on track. The scarf should be long enough to wrap comfortably around your neck twice.
Finishing the Scarf
Rounds 1-4: Knit all stitches with MC to create the matching garter stitch edge on the other end.
Bind Off: Bind off loosely in knit. Important: A tight bind-off will prevent the scarf from stretching properly. Use a larger needle for binding off if needed, or bind off with a loose tension.
Weave in Ends: Using your tapestry needle, carefully weave in all loose ends on the wrong side of the work. Be sure to weave in the CC yarn ends securely, as they'll be visible if not properly hidden.
Blocking: The Final Magic Touch
Blocking is essential for lace knitting—it opens up the pattern and makes the blossoms truly shine. Here's how to do it:
- Soak your scarf in lukewarm water with a gentle wool wash for 15-20 minutes.
- Gently squeeze out excess water (never wring or twist!).
- Lay the scarf on a clean towel and roll it up to remove additional moisture.
- Place the scarf on blocking mats and pin it out to your desired dimensions. For this pattern, aim for a width of about 8-10 inches and let the lace open up naturally.
- Pay special attention to the blossom motifs—gently shape them so the petals are visible and defined.
- Let it dry completely before unpinning and wearing. This can take 24-48 hours depending on humidity.
Once dry, your Cherry Blossom Cascade Infinity Scarf is ready to wear! The lace will have opened up beautifully, and the blossoms will pop against the delicate blush background.
Wearing & Caring for Your Scarf
This infinity scarf is incredibly versatile. Wear it looped once for a relaxed look, or wrap it twice for extra warmth and coziness. The soft pink tones pair beautifully with neutrals, denim, and even deeper jewel tones.
To care for your handmade treasure, hand wash in cold water with a gentle detergent and lay flat to dry. Avoid hanging, as the weight of the wet yarn can stretch the lace out of shape.
Final Thoughts
Knitting this Cherry Blossom Cascade Infinity Scarf is a journey through spring itself. The rhythmic lace pattern is meditative, and watching the blossoms emerge in the CC yarn is deeply satisfying. Whether you're knitting this for yourself or as a heartfelt gift, the result is a stunning, wearable piece of art that captures the ephemeral beauty of cherry blossom season.
I'd love to see your finished scarves! Share your progress and completed projects in the comments below, and don't hesitate to ask if you have any questions along the way. Happy knitting, and may your days be filled with blossoms and beautiful yarn!