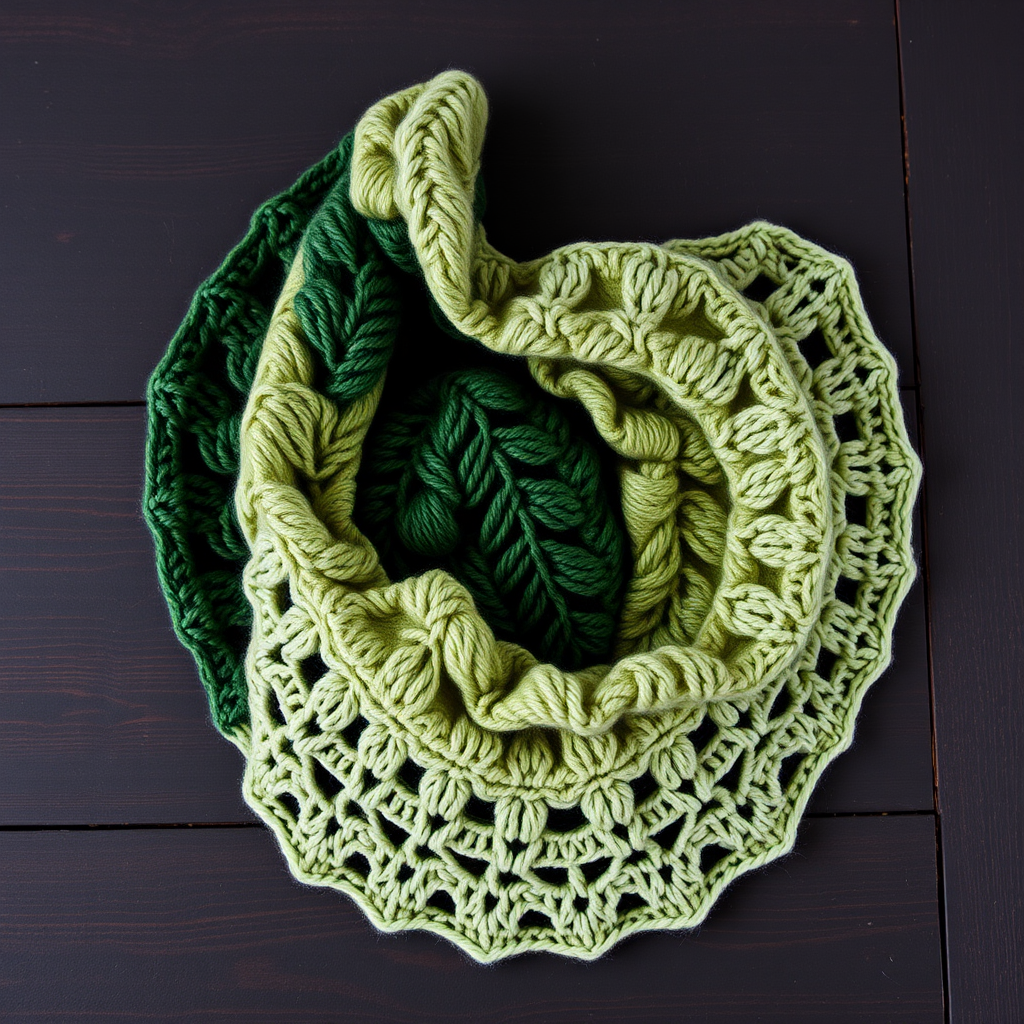
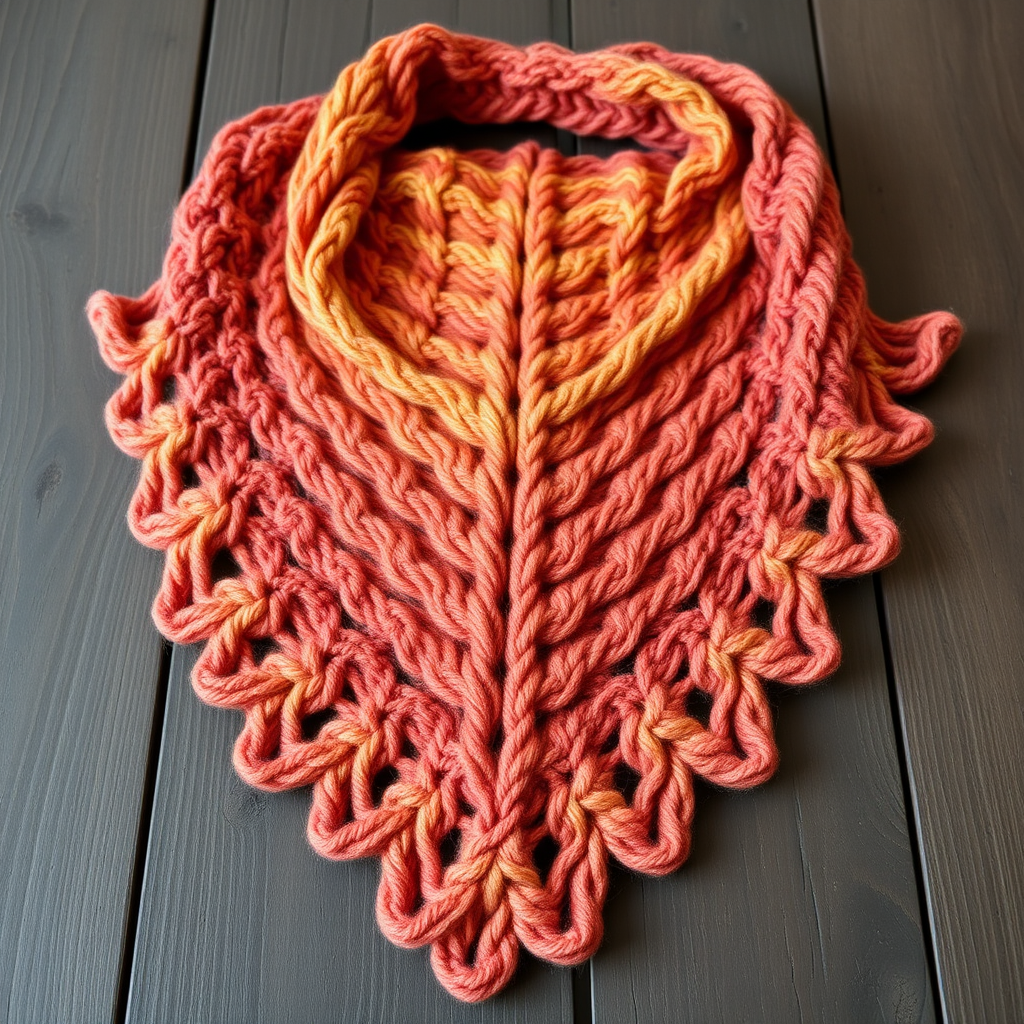
Aurora Dusk Mosaic Shawl Free Pattern – Gradient Ombre Knit Wrap

Aurora Dusk Mosaic Shawl: A Beginner-Friendly Guide to Knitting a Gradient Ombre Wrap
Imagine wrapping yourself in the shifting colors of a twilight sky—deep indigo melting into dusty rose, then warming into soft gold. That’s the magic of the Aurora Dusk Mosaic Shawl. This stunning knit wrap combines a modern mosaic slipped-stitch pattern with a breathtaking gradient ombre effect, creating an heirloom-quality accessory that looks far more complex than it actually is.
Despite its intricate, tapestry-like appearance, this shawl is surprisingly beginner-friendly. The mosaic technique only requires you to knit and slip stitches—no complicated colorwork stranding or weaving in dozens of ends. Worked from the top center down, the triangular shape grows naturally with simple increases, making it a relaxing, meditative project that yields spectacular results.
Whether you’re looking for a cozy shoulder wrap for cool evenings or a statement piece to elevate your wardrobe, this free knitting pattern will guide you through every step. Let’s dive in and create something beautiful together.
Materials Needed
Before you begin, gather the following supplies. The beauty of this project lies in its simplicity—you only need three colors of worsted weight yarn and one circular needle.
Yarn
- Worsted weight yarn in 3 colors (approximately 400g total):
- Color A: Deep indigo (for the cast-on, increase section, and beginning of mosaic pattern)
- Color B: Dusty rose (for the middle mosaic section)
- Color C: Soft gold (for the gradient transition and final section)
Pro tip: Choose yarns with similar fiber content and weight for consistent drape. A soft wool or wool-blend works beautifully for blocking and wearability.
Needles & Notions
- US 8 (5.0 mm) circular knitting needle with a 32-inch cable (the long cable accommodates the growing number of stitches)
- Stitch markers (optional, but helpful for marking edge stitches)
- Tapestry needle for weaving in ends
- Blocking mats and rust-proof pins
- Gentle wool wash for blocking
Gauge
18 stitches and 24 rows = 4 inches in stockinette stitch (blocked). While gauge isn’t critical for a shawl, matching it ensures your finished piece has the intended size and drape. If your gauge is off, adjust your needle size accordingly.
Step-by-Step Instructions
This shawl is worked from the top center down, increasing at the edges and center to form a triangular shape. The mosaic pattern uses slipped stitches and two-color rows to create geometric motifs. Follow along carefully, and you’ll have a gorgeous shawl in no time.
Abbreviations
- CO: cast on
- K: knit
- P: purl
- Sl: slip stitch purlwise
- Yo: yarn over
- K2tog: knit two together
- Kfb: knit front and back (increase)
- RS: right side
- WS: wrong side
Setup Section
Let’s start at the very beginning. This small triangular base will form the top center of your shawl.
- CO 3 stitches with Color A.
- Row 1 (RS): Kfb, K1, Kfb (5 stitches)
- Row 2 (WS): K2, P1, K2
- Row 3 (RS): Kfb, K1, Yo, K1, Yo, K1, Kfb (9 stitches)
- Row 4 (WS): K2, P5, K2
You now have 9 stitches on your needle. The edge stitches (first and last 2) will remain as knit stitches throughout the entire shawl, creating a neat, finished edge.
Increase Section (Worked with Color A)
This section builds the foundation of your shawl, creating the triangular shape with simple edge increases.
- Row 5 (RS): Kfb, K to last stitch, Kfb (11 stitches)
- Row 6 (WS): K2, P to last 2 stitches, K2
Repeat Rows 5-6 until you have 45 stitches on your needle, ending with a WS row. Your shawl should now have a nice, even triangular base with a stockinette stitch center and garter stitch edges.
Mosaic Pattern Section
Now comes the fun part—the mosaic pattern! This technique creates stunning geometric designs by slipping stitches and alternating colors every two rows. The pattern is worked over a multiple of 4 stitches plus 3, with edge stitches on each side.
Important: When slipping stitches, always slip them purlwise with the yarn held to the wrong side of the work. This keeps the slipped stitches loose and creates the characteristic mosaic texture.
Here’s the 8-row mosaic pattern repeat:
- Row 1 (RS, Color B): K2 (edge), *Sl 1, K3* repeat to last 3 stitches, Sl 1, K2 (edge)
- Row 2 (WS, Color B): K2, *P1, Sl 1, P2* repeat to last 3 stitches, P1, K2
- Row 3 (RS, Color A): K2, *K1, Sl 1, K2* repeat to last 3 stitches, K1, K2
- Row 4 (WS, Color A): K2, *P2, Sl 1, P1* repeat to last 3 stitches, P2, K2
- Row 5 (RS, Color B): K2, *Sl 1, K3* repeat to last 3 stitches, Sl 1, K2
- Row 6 (WS, Color B): K2, *P1, Sl 1, P2* repeat to last 3 stitches, P1, K2
- Row 7 (RS, Color A): K2, *K1, Sl 1, K2* repeat to last 3 stitches, K1, K2
- Row 8 (WS, Color A): K2, *P2, Sl 1, P1* repeat to last 3 stitches, P2, K2
Increase while maintaining mosaic pattern: On every RS row, work Kfb at the beginning and end of the row to increase by 2 stitches. Continue the mosaic pattern across the increased stitches, incorporating them into the pattern as they appear. The pattern will naturally expand as you add stitches.
Work the mosaic pattern rows 1-8 repeatedly, increasing on each RS row, until the shawl measures approximately 28 inches from the center cast-on edge, ending with a WS row.
Gradient Transition
This is where the ombre magic happens! Instead of switching colors abruptly, you’ll gradually blend Color B into Color C for a seamless, sunset-like transition.
- After completing 6 full mosaic repeats, introduce Color C by working 2 rows of Color C at the beginning of the next repeat, then continue with Color B for the remaining rows.
- On the next repeat, work 4 rows of Color C, then 4 rows of Color B.
- Continue this pattern of increasing Color C rows and decreasing Color B rows until you are working entirely in Color C.
Tip: Don’t cut your yarn between color changes—simply carry the unused color loosely up the side of your work. You’ll weave in the ends at the end.
Final Section (Worked in Color C)
Once you’re working entirely in Color C, it’s time to finish the body of the shawl.
- Continue increasing on RS rows while working in stockinette stitch (K on RS, P on WS) for 10 rows, maintaining edge stitches as K2 on each side.
This smooth section provides a beautiful contrast to the textured mosaic pattern and prepares your shawl for the delicate edging.
Edging
Now we’ll add a lovely picot edge that gives the shawl a feminine, airy finish.
- Row 1 (RS): K2, *Yo, K2tog* repeat to last 2 stitches, K2
- Row 2 (WS): K2, P to last 2 stitches, K2
Repeat these 2 rows 3 more times for a total of 4 picot rows. The yarn overs create small decorative holes along the edge, while the K2tog keeps the stitch count consistent.
Bind Off (Loosely)
A loose bind-off is essential to ensure your shawl’s edge remains stretchy and drapes beautifully.
- K2, *slip both stitches back to left needle, K2tog through back loop, K1* repeat to end.
- Cut yarn, leaving a 6-inch tail, and pull through the last loop.
- Weave in all ends with your tapestry needle.
Blocking
Blocking is the secret to a professional-looking shawl. It opens up the mosaic pattern, evens out the stitches, and gives the shawl its beautiful drape.
- Soak the shawl in lukewarm water with a gentle wool wash for 20 minutes.
- Gently squeeze out excess water (do not wring—this can felt the wool).
- Lay flat on a blocking mat, pin out the edges to form a crescent shape, and allow to dry completely.
Once dry, your Aurora Dusk Mosaic Shawl is ready to wear! The gradient ombre effect will be fully revealed, showcasing the beautiful transition from deep indigo through dusty rose to soft gold.
Final Thoughts
This pattern is a wonderful way to explore mosaic knitting while creating a truly stunning accessory. The combination of simple techniques—knit, purl, slip, and increase—produces a sophisticated result that looks like it came from a high-end boutique.
Don’t be intimidated by the mosaic pattern. Take it row by row, trust the process, and you’ll be amazed at the geometric beauty that emerges. The gradient transition adds an extra layer of artistry, making each shawl unique based on your color choices.
Happy knitting, and enjoy wrapping yourself in the colors of the twilight sky!