Aurora Bloom Diagonal Shawl Free Pattern – Knit with Gradient Yarn and Lace Waves

Introducing the Aurora Bloom Diagonal Shawl
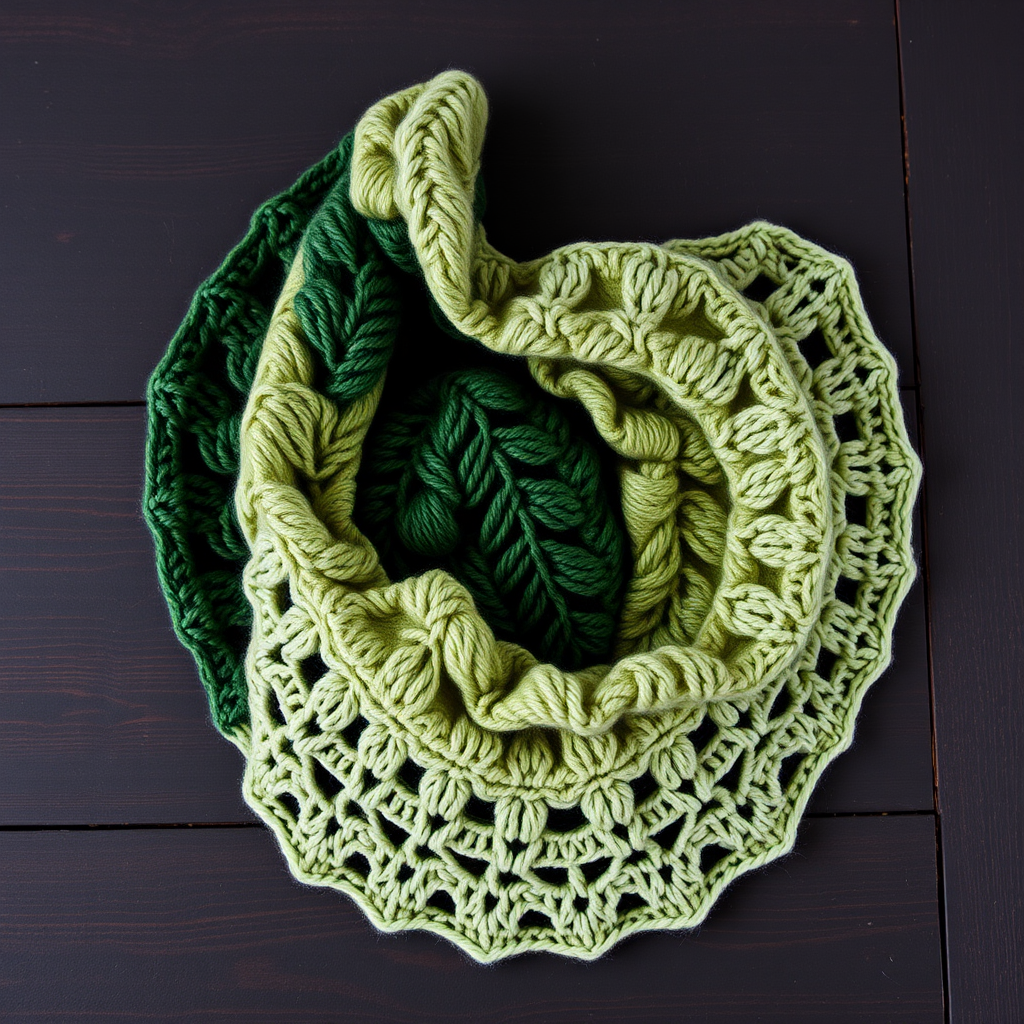
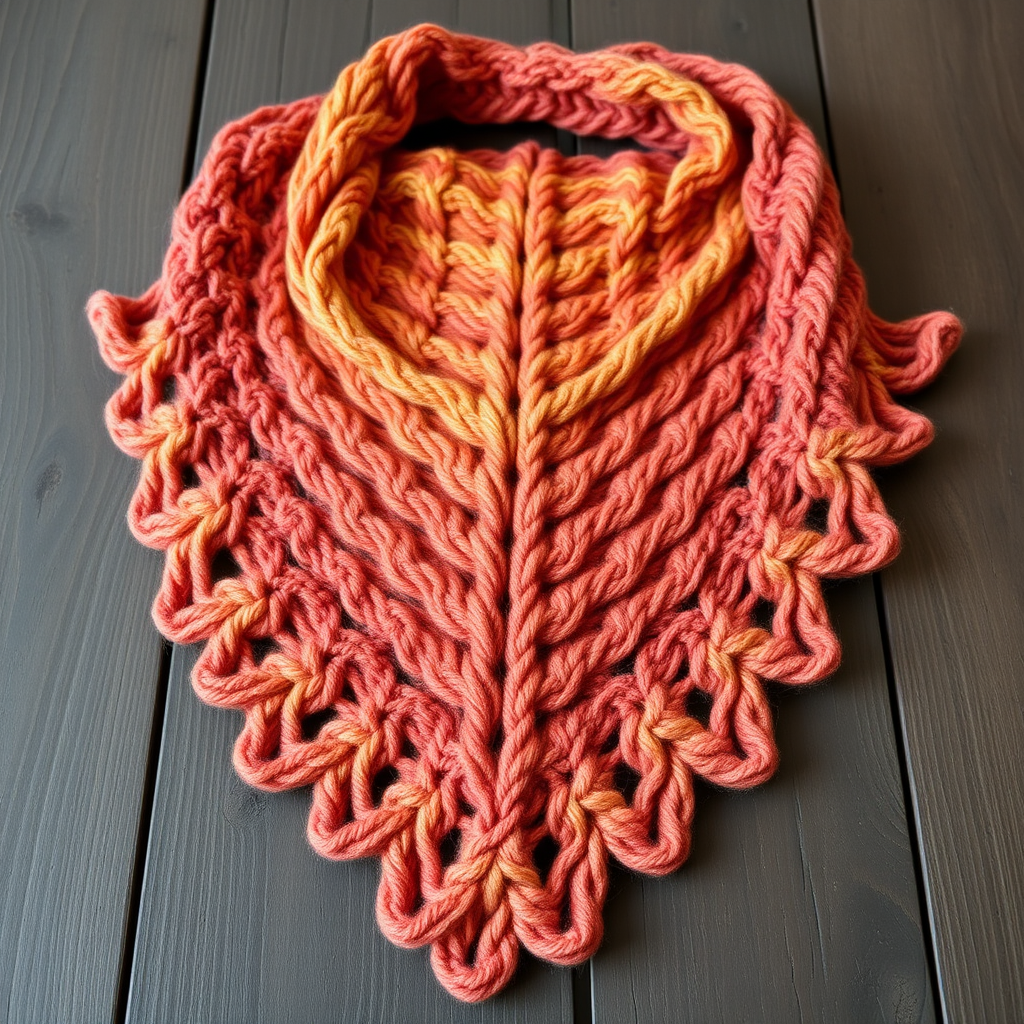
Wrap yourself in the ethereal beauty of the Aurora Bloom Diagonal Shawl, a knitted masterpiece that captures the shifting colors of the northern lights. This free pattern uses gradient yarn and delicate lace waves to create a flowing, diagonal silhouette that drapes elegantly over any outfit. Whether you're a seasoned knitter looking for a meditative project or a confident beginner ready to stretch your skills, this shawl is a rewarding journey into lacework and color.
The magic of this design lies in its clever construction. Worked diagonally from one corner, the shawl grows asymmetrically, with increases along one edge and decreases along the other. The result is a gentle crescent shape that sits beautifully on the shoulders. As you knit, the gradient yarn does the heavy lifting—each row shifts subtly in color, creating a breathtaking ombré effect that mimics a sunset over a calm ocean. The lace waves, formed by simple yarn overs and decreases, ripple across the fabric like blooming petals, adding texture and light.
This pattern is perfect for using up that special skein of gradient yarn you've been saving. The rhythmic repeat of Rows 5-12 is easy to memorize, making it an ideal travel project or a soothing evening knit. By the time you bind off, you'll have a stunning, one-of-a-kind accessory that's sure to become a wardrobe staple.
Materials Needed
Before you begin, gather the following supplies. The quality of your materials will directly impact the final drape and sheen of your shawl, so choose wisely.
Yarn
- Fingering weight gradient yarn (e.g., Malabrigo Sock in 'Sunset' or 'Ocean' colorway)
- Yardage: 400-450 yards (366-411 meters)
Tip: A gradient yarn with long color transitions works best. Look for skeins that shift gradually from one hue to the next, like the deep indigo-to-coral pink spectrum described in the original design.
Needles
- US 6 (4.0 mm) circular knitting needle, 32-inch (80 cm) or longer. The long cord is essential to accommodate the growing number of stitches as the shawl expands.
Notions
- Stitch markers (at least 2)
- Yarn needle for weaving in ends
- Blocking mats and rust-proof pins (for finishing)
Gauge
- 20 stitches and 28 rows = 4 inches (10 cm) in stockinette stitch (blocked).
Note: Gauge is important for yardage, but since this is a shawl, exact gauge is less critical. However, matching the recommended gauge will ensure you have enough yarn to complete the project.
Step-by-Step Instructions
This shawl is worked diagonally from one corner, increasing along one edge and decreasing along the other to create a beautiful asymmetric crescent shape. Follow the instructions carefully, and you'll be amazed at how quickly the pattern emerges.
Abbreviations
- k = knit
- p = purl
- yo = yarn over
- k2tog = knit two together (right-leaning decrease)
- ssk = slip, slip, knit (left-leaning decrease)
- kfb = knit front and back (increase)
- pm = place marker
- sm = slip marker
Setup Rows
Let's start by creating the foundation of your shawl. This small triangular base will set the stage for the diagonal growth.
Cast on 3 stitches.
Row 1 (RS): kfb, k1, kfb (5 stitches)
Explanation: You're increasing at both edges to start the diagonal shape.
Row 2 (WS): k2, p1, k2
Explanation: The first and last 2 stitches are always knit (garter edge), and the center stitches are purled on wrong-side rows.
Row 3 (RS): kfb, k1, yo, k1, yo, k1, kfb (9 stitches)
Explanation: The yarn overs create the first lace eyelets. Notice how the increases at the edges are balanced by the yarn overs in the center.
Row 4 (WS): k2, p5, k2
Explanation: Purl all center stitches, keeping the 2-stitch garter border on each side.
Main Body (Repeat Rows 5-12)
Now we enter the heart of the pattern. This 8-row repeat is the engine that drives the shawl's growth. Each repeat adds 2 stitches, gradually widening the fabric while the lace pattern develops.
Row 5 (RS): kfb, k1, yo, k2tog, k1, ssk, yo, k1, kfb (11 stitches)
Explanation: The yarn over paired with k2tog creates a right-leaning eyelet, while the ssk paired with the next yarn over creates a left-leaning eyelet. The k1 between them forms the center spine of the lace wave.
Row 6 (WS): k2, p7, k2
Explanation: Simple purl row. The stitch count grows by 2 from the previous row.
Row 7 (RS): kfb, k2, yo, k2tog, k1, ssk, yo, k2, kfb (13 stitches)
Explanation: Notice how the knit stitches before and after the lace section increase by 1 each repeat. This is what creates the diagonal slant.
Row 8 (WS): k2, p9, k2
Row 9 (RS): kfb, k3, yo, k2tog, k1, ssk, yo, k3, kfb (15 stitches)
Row 10 (WS): k2, p11, k2
Row 11 (RS): kfb, k4, yo, k2tog, k1, ssk, yo, k4, kfb (17 stitches)
Row 12 (WS): k2, p13, k2
Repeat Rows 5-12, maintaining the pattern, until the shawl measures approximately 60 inches (152 cm) along the longest edge, ending with a WS row. The stitch count will increase by 2 stitches every 8 rows.
Pro Tip: To keep track of your repeats, place a marker after every 8-row repeat. This makes it easy to count progress and ensures you end on the correct row. The pattern is highly repetitive, so you'll quickly memorize the rhythm: increase, knit to lace, lace, knit to increase.
Edging
Once your shawl reaches the desired length, it's time to add a delicate, stretchy edging that complements the lace body. This edging adds a subtle scalloped effect while keeping the edge from curling.
Row 1 (RS): kfb, *yo, k2tog* repeat from * to * until last 2 stitches, k1, kfb
Explanation: This row creates a series of eyelets along the edge. The kfb at the beginning and end maintains the edge increases.
Row 2 (WS): k2, *p1, k1* repeat from * to * until last 2 stitches, k2
Explanation: The p1, k1 ribbing adds elasticity and structure to the edge.
Row 3 (RS): kfb, *k1, yo, k2tog* repeat from * to * until last 2 stitches, k1, kfb
Explanation: This row staggers the eyelets slightly, creating a more organic, wave-like edge.
Row 4 (WS): k2, *p1, k1* repeat from * to * until last 2 stitches, k2
Bind Off (Loosely)
The bind-off is crucial—if it's too tight, your shawl won't drape properly. Take your time and be generous with your tension.
Bind off all stitches knitwise, being careful not to pull too tight. Tip: If you're a tight binder-off, consider using a needle one size larger for this step, or use a stretchy bind-off method like the "Jeny's Surprisingly Stretchy Bind-Off."
Finishing
Weave in all ends using your yarn needle. Be sure to weave in securely, but avoid pulling too tight, as this can pucker the fabric.
Blocking is essential for this shawl. The lace pattern will look bunched and unimpressive until it's blocked. Here's how:
- Soak the shawl in lukewarm water with a drop of mild wool wash for 20-30 minutes.
- Gently squeeze out excess water (never wring or twist).
- Lay the shawl on a clean towel and roll it up to remove more water.
- Place the shawl on blocking mats and pin it out to its final dimensions. Focus on opening up the lace eyelets and straightening the edges.
- Let it dry completely—this can take 24-48 hours depending on humidity.
Once dry, unpin and admire your work! The blocking will transform the shawl, opening up the lace waves and enhancing the gradient color transitions. The deep indigo at one corner will melt into teal, then lavender, and finally warm coral pink at the opposite edge—a true aurora in yarn form.
Wear it draped over your shoulders, wrapped around your neck, or even as a lightweight summer wrap. The Aurora Bloom Diagonal Shawl is more than just an accessory—it's a wearable piece of art that captures the magic of the natural world. Happy knitting!