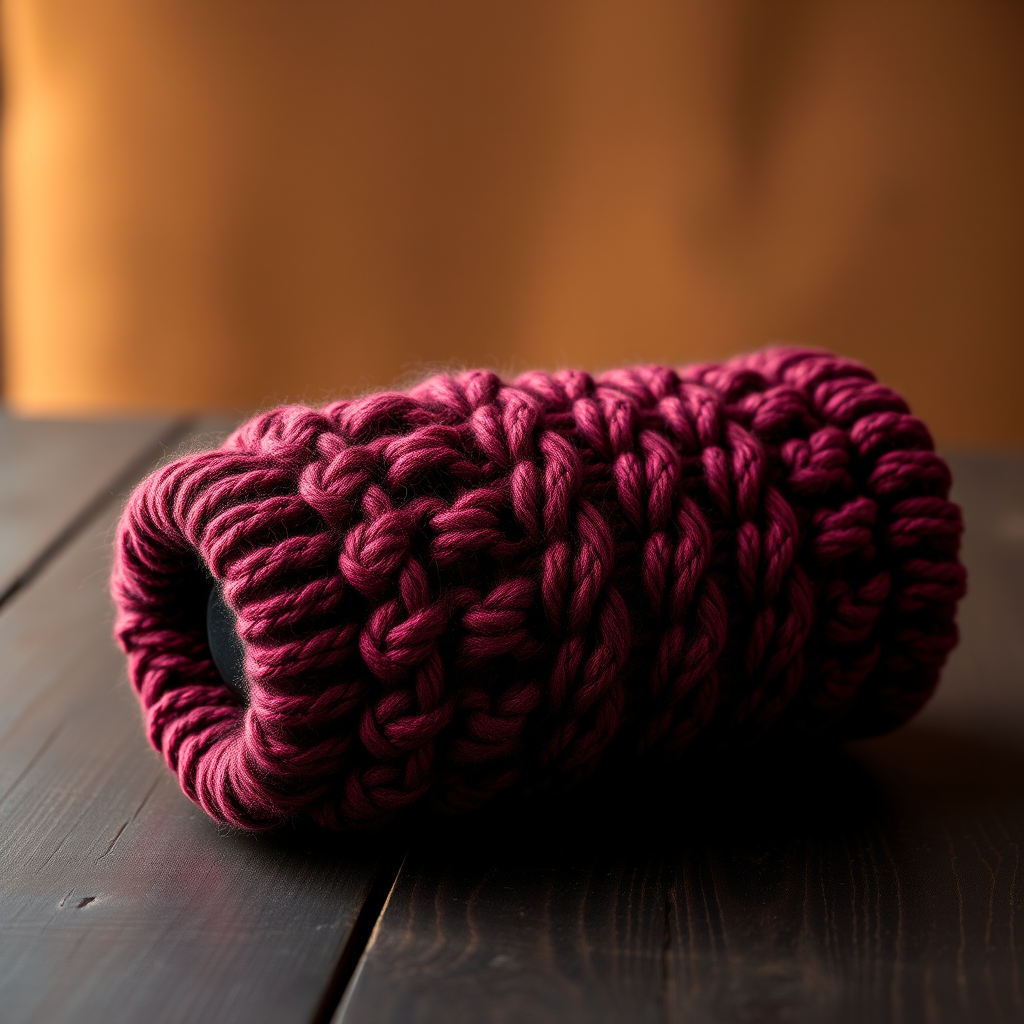
Willow Woven Storage Basket Free Pattern – Knit a Chunky Boho Organizer
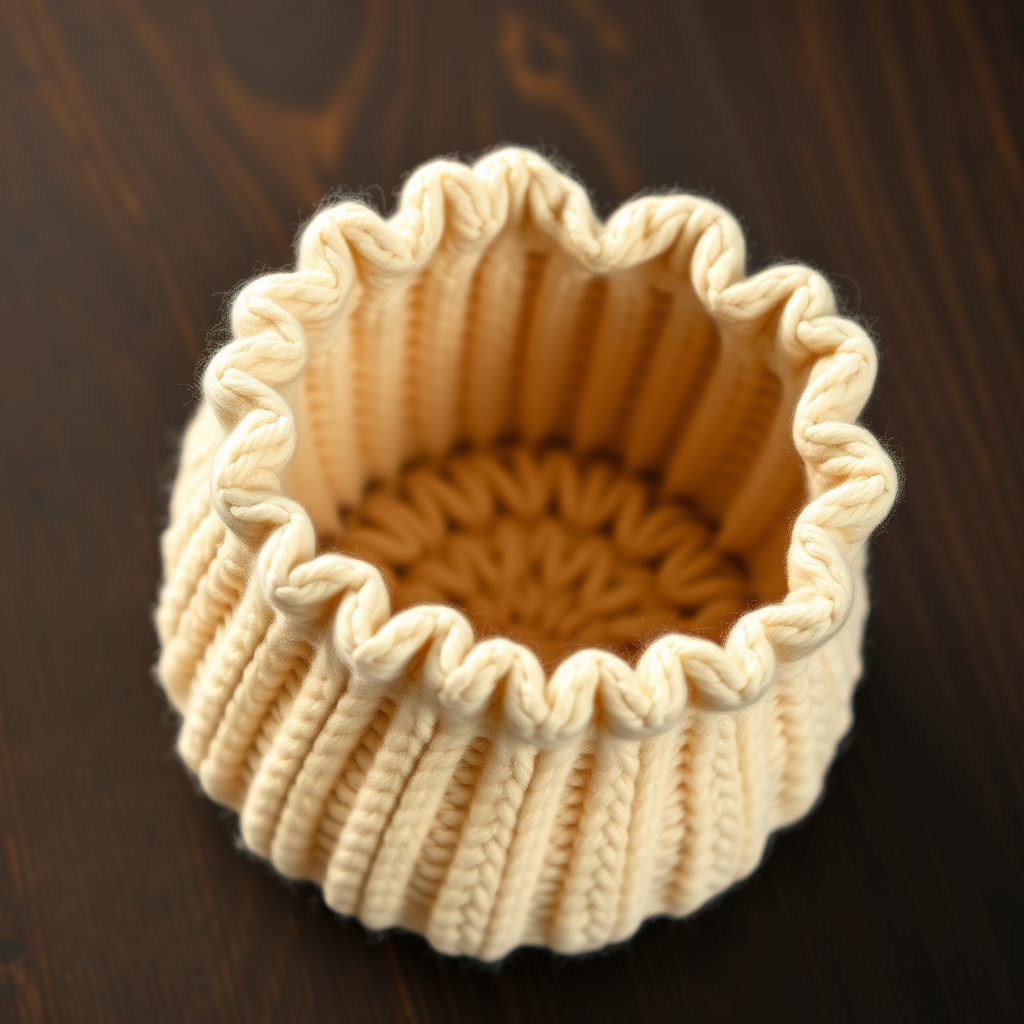
Introducing the Willow Woven Storage Basket: A Chunky Boho Organizer
Bring warmth, texture, and effortless organization to any room with the Willow Woven Storage Basket. This chunky knit basket is the perfect blend of form and function, offering a stylish way to store yarn, magazines, blankets, or toys while adding a cozy, boho touch to your decor. The simple yet striking stockinette stitch pattern creates a beautiful, handcrafted look that is surprisingly quick to knit. Whether you're a seasoned knitter or a confident beginner looking for a satisfying weekend project, this free pattern will guide you through creating a stunning, functional piece you'll be proud to display.
Materials Needed
Before you begin, gather the following materials to ensure a smooth and enjoyable knitting experience:
- Yarn: Super bulky weight yarn (approx. 250-300 yards) in a natural cream or warm oat color. The chunky weight is essential for creating a sturdy, plush basket.
- Needles: US 15 (10 mm) circular knitting needle with a 24-inch cable. The circular needle is necessary for working the basket in the round.
- Notions: A tapestry needle for weaving in ends, a stitch marker to mark the beginning of rounds, and scissors.
- Optional: Fabric liner or stiffening spray to give the basket extra structure, and a steam iron for blocking.
Gauge
8 stitches and 12 rows = 4 inches in stockinette stitch (lightly blocked). While gauge is important for size, this basket is forgiving—a slightly tighter or looser gauge will simply result in a smaller or larger basket.
Step-by-Step Instructions
This basket is knitted from the bottom up. You'll start with a flat base, then join in the round to create the sides, and finally shape the top with simple decreases. Follow these detailed instructions carefully for a flawless result.
Knitting the Base
- Cast On: Using the long-tail method, cast on 36 stitches onto your circular needle.
- Row 1 (Right Side): Knit all stitches across.
- Row 2 (Wrong Side): Purl all stitches across.
- Repeat Rows 1-2 until the base measures 8 inches long from the cast-on edge. It's important to end with a Wrong Side row (a purl row) so that your next stitch is ready to begin on the Right Side.
- Do Not Bind Off. You will now join the work in the round. Place a stitch marker on your right-hand needle to mark the beginning of the round.
Joining in the Round & Knitting the Sides
To create a seamless basket, you'll join the base into a circle. There are two methods to do this:
- Method 1 (Seamless Join): Pick up and knit 36 stitches evenly along the cast-on edge of the base. This creates a clean, professional look. Once you've picked up all stitches, you're ready to begin working in the round.
- Method 2 (Simple Join): Knit the first stitch of the next row together with the last stitch of the cast-on edge. This is a quick and easy way to join, though it may leave a small seam. If you prefer, you can knit the sides flat and seam them later, but working in the round is simpler and more seamless.
Once joined, follow these rounds:
- Round 1: Knit all 36 stitches around. This is your first round of the sides.
- Round 2: Purl all stitches around. This purl ridge will create a beautiful, subtle texture at the base of the basket.
- Repeat Rounds 1-2 (alternating knit and purl rounds) until the sides measure 6 inches from the base. This will create a lovely stockinette stitch with a purl ridge at the bottom.
Shaping the Top Rim
Now you'll shape the top of the basket with a series of simple decreases to create a gathered, tapered effect. Follow these rounds carefully:
- Round 1 (Decrease): *K2tog (knit two together), knit 4*; repeat from * to * around. You will now have 30 stitches.
- Round 2: Knit all stitches around.
- Round 3 (Decrease): *K2tog, knit 3*; repeat from * to * around. You will now have 24 stitches.
- Round 4: Knit all stitches around.
- Round 5 (Decrease): *K2tog, knit 2*; repeat from * to * around. You will now have 18 stitches.
- Round 6: Knit all stitches around.
- Round 7 (Decrease): *K2tog, knit 1*; repeat from * to * around. You will now have 12 stitches.
- Round 8: Knit all stitches around.
- Round 9 (Decrease): *K2tog*; repeat from * to * around. You will now have 6 stitches.
Finishing the Basket
- Close the Top: Cut your yarn, leaving a 12-inch tail. Thread the tail onto your tapestry needle and weave it through the remaining 6 stitches on your needle. Pull tight to cinch the top closed, creating a neat, gathered finish. Secure the yarn with a knot and weave in the end.
- Weave in Ends: Use your tapestry needle to weave in all loose ends securely, ensuring they are hidden within the stitches.
- Optional Structure: For a sturdier basket, you can line it with a fabric liner or apply a stiffening spray. For a softer, slouchy basket, leave it as is—the chunky yarn will naturally hold its shape.
- Blocking (Optional): Lightly steam block the basket to even out your stitches and shape it. Place a damp cloth over the basket and gently steam with an iron, being careful not to flatten the texture. Allow it to dry completely before using.
Your Willow Woven Storage Basket is now complete! This beautiful, functional piece will add a touch of boho charm to any space while keeping your belongings neatly organized. Enjoy your handcrafted creation!