The Dune Drifter Floor Pouf Free Pattern – Knit a Textured Boho Ottoman

The Dune Drifter Floor Pouf Free Pattern – Knit a Textured Boho Ottoman
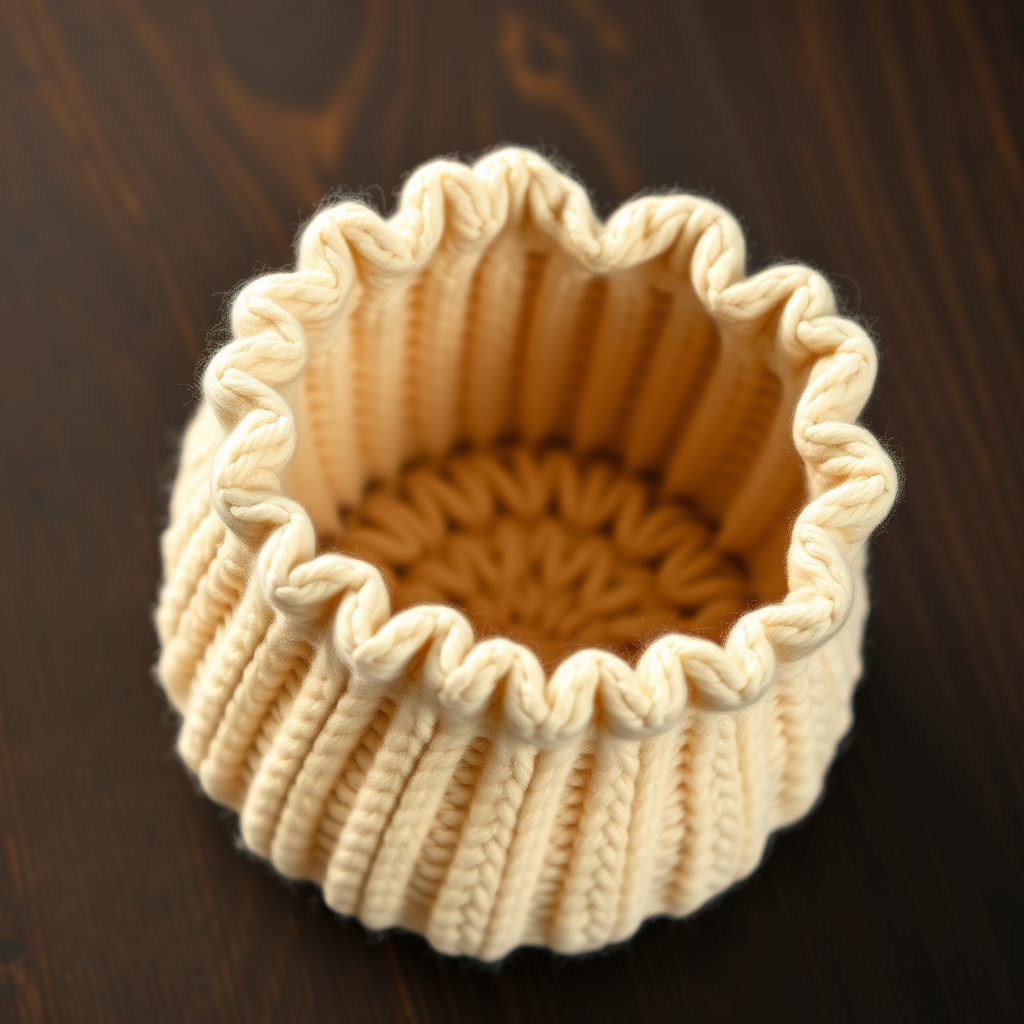
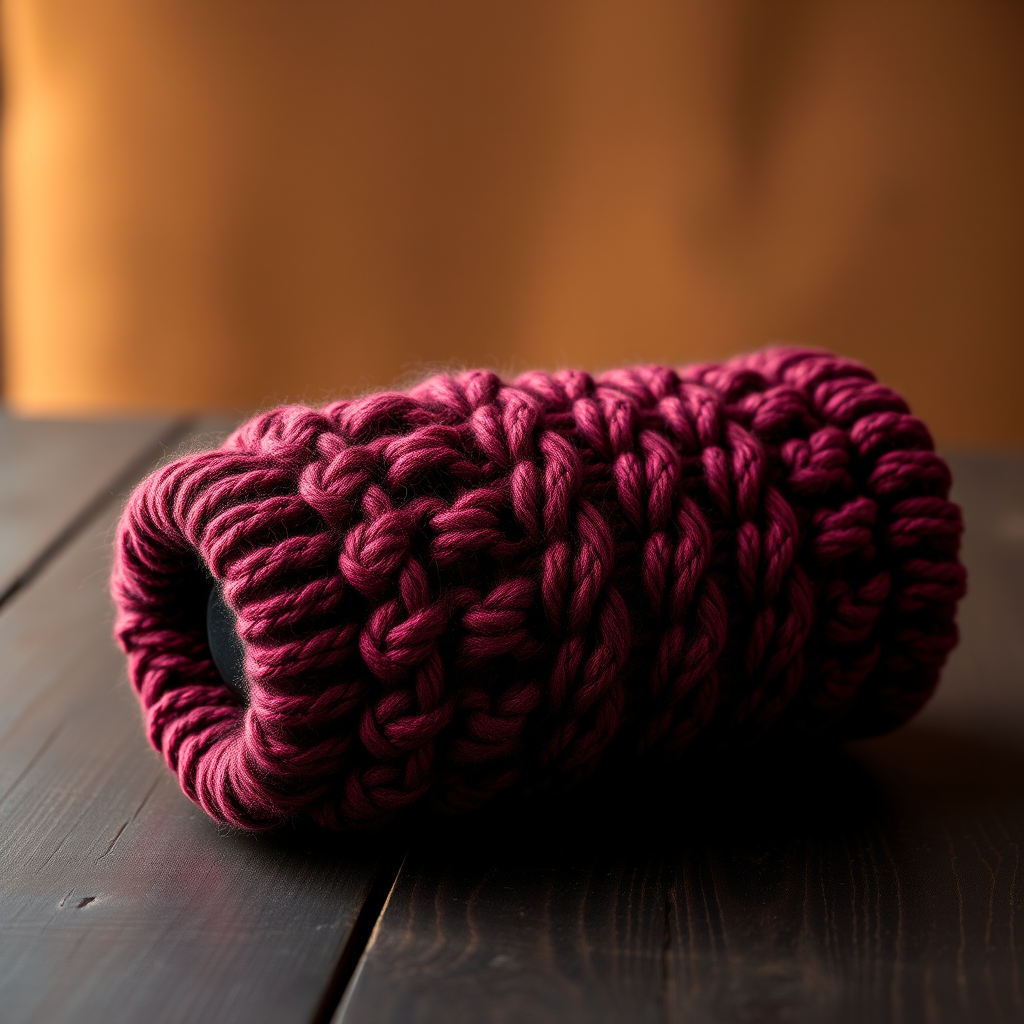
Transform your living space with this plush, textured floor pouf that blends coastal calm with boho charm. Knit in soft, chunky cotton, it's the perfect cozy accent for reading nooks and meditation corners. The Dune Drifter features a striking checkerboard texture created by alternating blocks of knit and purl stitches, giving it a woven, basket-like appearance that looks far more complex than it actually is. This beginner-friendly pattern works up quickly with super bulky yarn, making it an ideal weekend project for knitters of all skill levels.
Whether you're looking to add extra seating to a cozy corner, create a footrest for your favorite armchair, or simply introduce warm, tactile texture to your home decor, this floor pouf delivers on all fronts. The combination of sandy beige and oatmeal cream evokes sun-washed beaches and driftwood, bringing a serene, coastal atmosphere to any room.
Materials Needed
Before you begin, gather the following supplies. All items are readily available at most craft stores or online retailers.
Yarn
- Lion Brand Wool-Ease Thick & Quick (super bulky, weight category 6)
- Color A (Sand): 3 skeins
- Color B (Oatmeal): 3 skeins
Needles & Notions
- US 13 (9 mm) circular needle, 24-inch length
- US 13 (9 mm) double-pointed needles (set of 4 or 5)
- Stitch markers (at least 2)
- Tapestry needle for weaving in ends
- Polyester fiberfill or old pillows for stuffing (approximately 2-3 standard pillow inserts)
Gauge
9 stitches and 12 rows = 4 inches in stockinette stitch (knit every round). Always check your gauge before beginning to ensure your pouf turns out the correct size. If your gauge is off, adjust your needle size accordingly.
Step-by-Step Instructions
This pouf is knit in the round from the bottom up, with a simple cable-like twist created by alternating knit and purl stitches. It's beginner-friendly but looks intricate. The entire project is worked in one piece, so there's minimal seaming required.
Abbreviations
- CO: cast on
- K: knit
- P: purl
- K2tog: knit two stitches together (decrease)
- P2tog: purl two stitches together (decrease)
- M1: make one stitch (increase) – pick up the horizontal bar between stitches and knit through the back loop
- St(s): stitch(es)
- Rnd(s): round(s)
- SM: slip marker
Bottom of the Pouf
Step 1: With Color A (Sand), CO 8 stitches. Distribute these stitches evenly onto 3 double-pointed needles (3 stitches on needle 1, 3 stitches on needle 2, 2 stitches on needle 3). Join in the round, being careful not to twist the stitches. Place a stitch marker to indicate the beginning of the round.
Step 2: Rnd 1: Knit all stitches around. This is your base round.
Step 3: Rnd 2 (Increase round): *K1, M1* repeat from * to * around. You should now have 16 stitches total.
Step 4: Rnd 3: Knit all stitches around.
Step 5: Rnd 4 (Increase round): *K2, M1* repeat from * to * around. You should now have 24 stitches total.
Step 6: Continue increasing every other round, adding 8 stitches each increase round. The pattern for each increase round follows this sequence: K3, M1; then K4, M1; then K5, M1, and so on. Continue this pattern until you have 96 stitches total. This will take 10 increase rounds total (from 8 to 96 stitches).
Step 7: Once you have 96 stitches, work even in stockinette stitch (knit every round) for 2 inches. This creates a smooth, solid base for your pouf.
Body of the Pouf
Step 8: Switch to Color B (Oatmeal). Work in pattern as follows:
- Rnds 1-4: *K4, P4* repeat from * to * around for 4 rounds.
- Rnds 5-8: *P4, K4* repeat from * to * around for 4 rounds.
This creates a beautiful checkerboard texture. The first 4 rounds form one set of blocks, and the next 4 rounds offset them to create the woven, basket-like appearance.
Step 9: Repeat these 8 rounds (Rnds 1-8) until the body measures 12 inches from the bottom of the pouf, measured from the cast-on edge. You'll need to repeat the 8-round pattern approximately 6-7 times, depending on your gauge. Be sure to measure periodically to ensure you're on track.
Step 10: When the body reaches 12 inches, switch back to Color A (Sand). Work in stockinette stitch (knit every round) for 1 inch. This creates a smooth transition before the top decreases begin.
Top of the Pouf
Step 11: Begin decreasing to shape the top. Work the following decrease rounds:
- Decrease Rnd 1: *K10, K2tog* repeat from * to * around. You should now have 88 stitches.
- Next Rnd: Knit all stitches around.
- Decrease Rnd 2: *K9, K2tog* repeat from * to * around. You should now have 80 stitches.
- Next Rnd: Knit all stitches around.
Step 12: Continue decreasing every other round, reducing by 8 stitches each decrease round. The pattern continues as follows:
- Decrease Rnd 3: *K8, K2tog* repeat around – 72 stitches
- Next Rnd: Knit all stitches
- Decrease Rnd 4: *K7, K2tog* repeat around – 64 stitches
- Next Rnd: Knit all stitches
- Decrease Rnd 5: *K6, K2tog* repeat around – 56 stitches
- Next Rnd: Knit all stitches
- Decrease Rnd 6: *K5, K2tog* repeat around – 48 stitches
- Next Rnd: Knit all stitches
- Decrease Rnd 7: *K4, K2tog* repeat around – 40 stitches
- Next Rnd: Knit all stitches
- Decrease Rnd 8: *K3, K2tog* repeat around – 32 stitches
- Next Rnd: Knit all stitches
- Decrease Rnd 9: *K2, K2tog* repeat around – 24 stitches
- Next Rnd: Knit all stitches
- Decrease Rnd 10: *K1, K2tog* repeat around – 16 stitches
- Next Rnd: Knit all stitches
- Decrease Rnd 11: *K2tog* repeat around – 8 stitches remain
Step 13: Cut the yarn, leaving a long tail (at least 12 inches). Thread the tail through a tapestry needle, then thread it through the remaining 8 stitches. Pull tight to close the top of the pouf, and secure with a knot.
Finishing
Step 14: Before closing the top completely, stuff the pouf firmly with fiberfill or old pillows to achieve a plush, supportive shape. This is a critical step – the pouf should be stuffed generously so it holds its shape when someone sits on it. Use your hands to distribute the filling evenly, making sure the sides are smooth and the top is nicely rounded.
Step 15: Once the pouf is fully stuffed, close the remaining opening by pulling the yarn tail tight and weaving it securely through the stitches. Weave in all loose ends with your tapestry needle, hiding them within the fabric of the pouf.
Step 16 (Optional): For extra durability and to prevent the stuffing from showing through, you can add a fabric liner. Cut a circle of fabric to match the bottom of the pouf and a rectangle for the sides, sew them together, and insert the liner before stuffing. This is especially helpful if you're using old pillows for stuffing, as it keeps everything contained.
Care Instructions
To keep your Dune Drifter looking its best, spot clean with a damp cloth and mild soap as needed. Avoid machine washing, as the super bulky yarn and stuffing may not survive the agitation. If the pouf becomes flattened over time, simply fluff it by hand or add a bit more stuffing through the top opening.
Customization Ideas
While the pattern calls for Sand and Oatmeal, feel free to experiment with your own color combinations. Try a deep navy and cream for a nautical vibe, or terracotta and ivory for a warm, earthy feel. You can also adjust the size by increasing or decreasing the number of stitches in the base – just remember to maintain the 8-stitch increase/decrease pattern for even shaping.
The Dune Drifter Floor Pouf is a rewarding project that combines simple techniques with stunning results. The checkerboard texture adds visual interest and depth, while the chunky yarn ensures quick progress. Whether you're knitting for your own home or as a handmade gift, this pouf is sure to become a beloved piece of decor. Happy knitting!