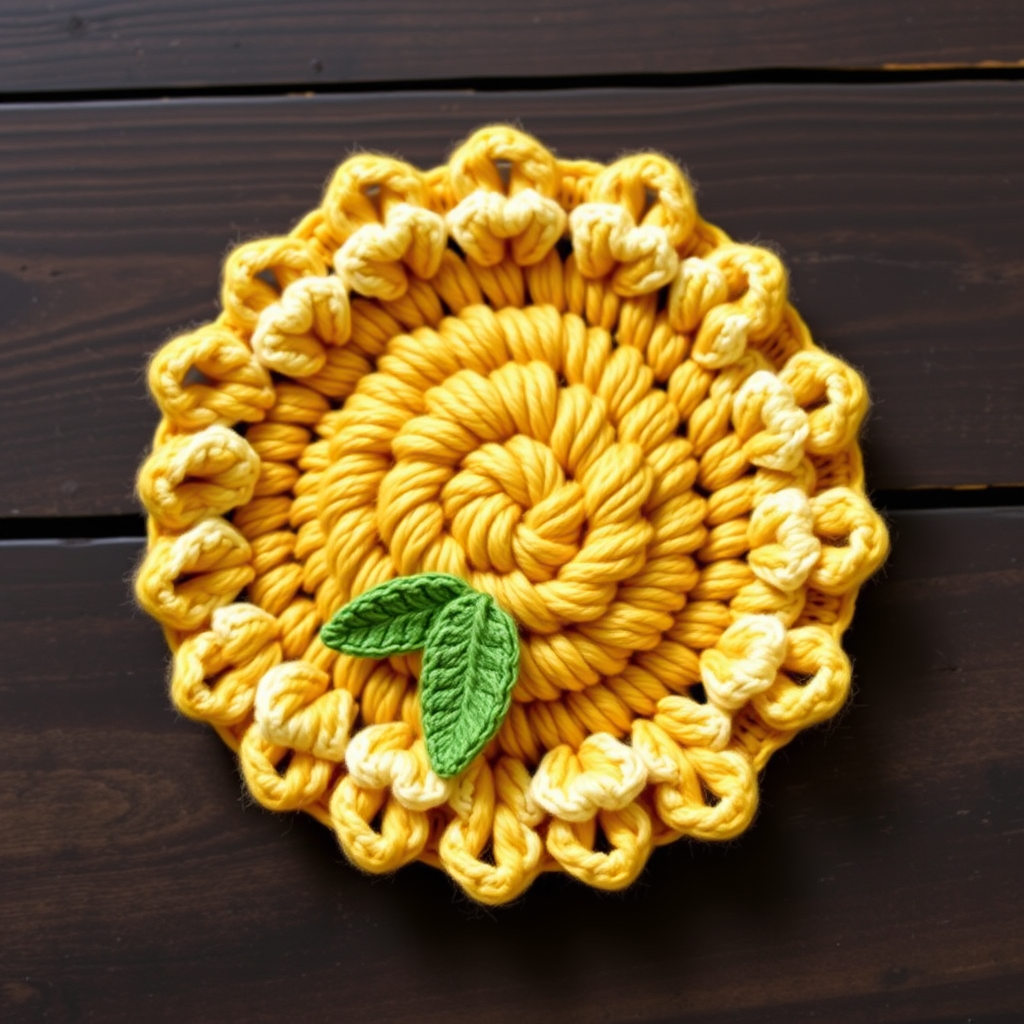
Whispering Pines Textured Wall Hanging Free Pattern

Whispering Pines Textured Wall Hanging: A Free Crochet Pattern
Bring the serene beauty of a pine forest into your home with this richly textured crochet wall hanging. The interplay of bobbles and ridges creates a stunning, tactile piece that adds warmth and depth to any room. Whether you're looking to add a boho touch to your living space or searching for a mindful, rewarding project, this pattern is perfect for intermediate beginners ready to explore new stitches. The finished piece measures approximately 18 inches wide by 24 inches long, making it a striking focal point for any wall.
Materials Needed
Before you begin, gather the following supplies to ensure a smooth crochet experience:
- Yarn: Worsted weight cotton or cotton-blend yarn in three shades of green (e.g., Forest, Sage, and Moss) and one neutral cream/off-white for the background. You will need approximately 200 yards of cream and 100 yards of each green shade.
- Hook: 5.0 mm crochet hook (US H-8)
- Gauge: 14 dc x 8 rows = 4 inches (10 cm) in standard dc. Gauge is important for achieving the correct finished size, though slight variations will not ruin the project.
- Extras: Yarn needle for weaving in ends, scissors, and a measuring tape.
Special Stitches & Pattern Notes
This pattern uses a few special stitches that create the beautiful texture. Don't worry—they are easier than they look!
Bobble (BO)
Yarn over, insert hook into stitch, yarn over, pull up a loop, yarn over, pull through two loops (2 loops on hook). Repeat this 3 more times in the same stitch (you will have 5 loops on hook). Yarn over and pull through all 5 loops. Bobble complete. This creates a puffy, 3D bump.
Front Post Double Crochet (FPdc)
Yarn over, insert hook from front to back around the post (the vertical part) of the next stitch, yarn over, pull up a loop, complete as a standard double crochet. This creates a raised ridge.
Pattern Notes:
- Worked flat, from bottom to top.
- Chain 2 at beginning of row counts as first double crochet unless otherwise stated.
- Color changes are made in the last yarn over of the previous stitch. This means when you are about to complete a stitch in the old color, yarn over with the new color and pull through the final two loops.
Step-by-Step Instructions
Follow these detailed instructions carefully, and you'll have a gorgeous wall hanging in no time.
Foundation & Base Rows
Foundation Row: With cream yarn, chain 64.
Row 1: Dc in 4th chain from hook and in each chain across. (62 dc) Turn.
Row 2: Chain 2 (counts as dc), dc in each stitch across. Turn.
Color Setup Row
Row 3 (Color setup): Chain 2, dc in next 2 stitches with cream. Switch to Forest green, dc in next 4 stitches. Switch to Sage, dc in next 4 stitches. Switch to Moss, dc in next 4 stitches. Repeat from * to * across (continuing the 4-stitch color blocks of Forest, Sage, Moss), ending with cream dc in last 3 stitches. Turn. (This creates a striped base for the texture.)
Bobble Row
Row 4 (Bobble row): Chain 2, dc in next 2 stitches with cream. *With Forest, work BO in next stitch, dc in next 3 stitches. With Sage, work BO in next stitch, dc in next 3 stitches. With Moss, work BO in next stitch, dc in next 3 stitches.* Repeat from * to * across, ending with cream dc in last 3 stitches. Turn.
Tip: The bobble replaces the first stitch of each 4-stitch color block, so you still have 4 stitches per block (1 bobble + 3 dc).
Plain Row
Row 5: Chain 2, dc in each stitch across, maintaining the same color sequence as Row 3 (cream for first 3, then Forest, Sage, Moss blocks of 4, ending with cream for last 3). Turn.
Ridge Row
Row 6 (Ridge row): Chain 2, dc in next 2 stitches with cream. *With Forest, FPdc in next 4 stitches. With Sage, FPdc in next 4 stitches. With Moss, FPdc in next 4 stitches.* Repeat from * to * across, ending with cream dc in last 3 stitches. Turn.
Note: The FPdc stitches are worked around the posts of the stitches from the row below, creating vertical ridges that stand out beautifully.
Repeating the Pattern
Row 7: Repeat Row 5 (plain dc row with color blocks).
Row 8: Repeat Row 4 (bobble row).
Rows 9-40: Repeat Rows 5-8 eight more times, or until the piece measures approximately 22 inches from the foundation row. End with a Row 5 repeat (a plain row).
Final Border
With cream yarn, chain 1, sc evenly across the top edge (about 62 sc). Do not turn. Continue to sc evenly down the left side, across the bottom, and up the right side, working 2 sc in each corner. Join with slip stitch to first sc. Fasten off and weave in all ends.
Tip: When working the side borders, aim for approximately 1 sc per row end to keep the edge neat and flat.
Hanging Loops
Cut 6 strands of cream yarn, each 12 inches long. Fold the group in half. Insert the folded end through the top corner of the wall hanging (through the border stitches), pull the loose ends through the loop, and tighten. Repeat at the other top corner and at two evenly spaced points along the top edge (about 6 inches from each corner). Trim ends evenly to create a tidy fringe.
Once all ends are woven in and your loops are attached, your Whispering Pines Textured Wall Hanging is ready to display. The tactile bobbles and ridges will catch the light beautifully, bringing a touch of the forest indoors. Enjoy your handmade creation!