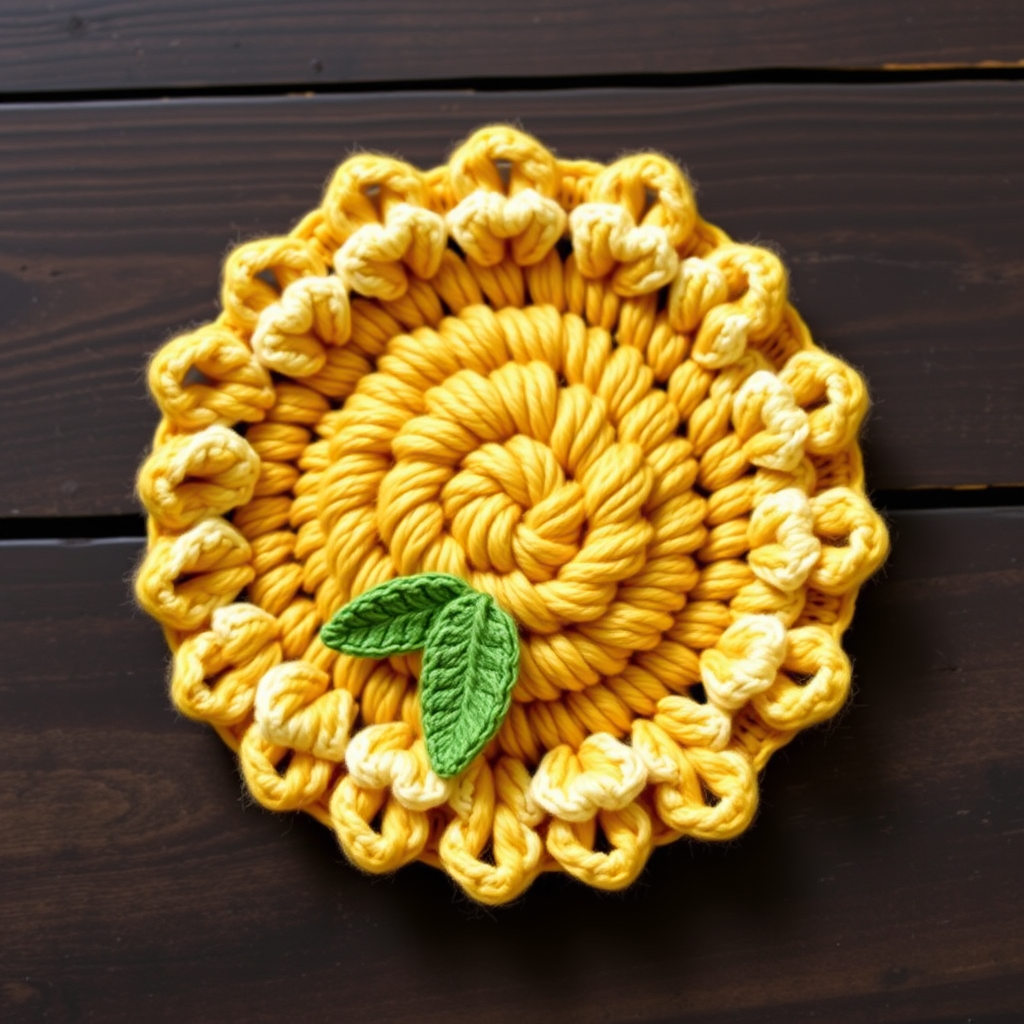
Whimsical Woodland Mushroom Coaster Set Free Pattern

Bring Enchanted Forest Charm to Your Table: Free Whimsical Woodland Mushroom Coaster Pattern
Are you looking to add a touch of whimsical, rustic charm to your home decor? These adorable crocheted mushroom coasters are the perfect project! Whether you're an experienced crafter or a complete beginner, this free pattern will guide you through creating a set of four delightful coasters that look straight out of an enchanted forest. Featuring textured, domed caps and sturdy cream stems, these coasters are not only functional—protecting your surfaces in style—but also make wonderful handmade gifts for lovers of woodland aesthetics.
This pattern is designed with beginners in mind, using simple single crochet stitches and basic shaping. The result is a thick, absorbent cotton coaster that is as practical as it is pretty. Let's dive into the magical world of crochet and create these charming mushroom coasters for your coffee table.
Materials Needed
Before you begin, gather the following supplies. This project is highly portable and requires minimal materials, making it perfect for on-the-go crafting.
- Yarn: Worsted weight cotton yarn in three colors:
- Red (for 2 mushroom caps)
- Brown (for 2 mushroom caps)
- Cream (for 4 stems)
- Crochet Hook: Size G/6 (4.0 mm) hook.
- Yarn Needle: For weaving in ends and sewing pieces together.
- Scissors: For cutting yarn.
- Fiberfill Stuffing: A small amount for lightly stuffing the stems.
- White Embroidery Floss or Yarn: (Optional) For adding decorative dots to the red caps.
Gauge: 4 single crochet (sc) = 1 inch. Note: Gauge is not critical for this project, but maintaining consistent tension will ensure your coasters are uniform in size.
Step-by-Step Instructions
This pattern creates a total of 4 coasters: 2 with red caps and 2 with brown caps. Each coaster is made up of two parts: the cap and the stem. We'll start with the caps, then move to the stems, and finally assemble them.
Part 1: The Mushroom Cap (Make 2 in Red, 2 in Brown)
The cap is worked in continuous rounds from the top down. The back-loop-only row creates a subtle ridge that gives the mushroom its classic, textured look.
Round 1: With your chosen cap color (red or brown), make a magic ring. Chain 1 (does not count as a stitch). Work 6 single crochet (sc) into the ring. Pull the tail tight to close the ring. (6 stitches)
Round 2: Work 2 sc in each stitch around. (12 stitches)
Round 3: *Sc in the next stitch, 2 sc in the next stitch*; repeat from * to * around. (18 stitches)
Round 4: *Sc in the next 2 stitches, 2 sc in the next stitch*; repeat from * to * around. (24 stitches)
Round 5: *Sc in the next 3 stitches, 2 sc in the next stitch*; repeat from * to * around. (30 stitches)
Round 6: This round creates the ridge. Working in the back loops only, sc in each stitch around. (30 stitches)
Round 7-8: Sc in each stitch around (working through both loops as normal). (30 stitches)
Fasten off, leaving a long tail (approximately 12-15 inches) for sewing the stem to the cap later. Set aside.
Part 2: The Stem (Make 4 in Cream)
The stem is worked in a tube shape and lightly stuffed to give it a sturdy, three-dimensional look.
Round 1: With cream yarn, make a magic ring. Chain 1 (does not count as a stitch). Work 6 sc into the ring. Pull tight. (6 stitches)
Round 2: Work 2 sc in each stitch around. (12 stitches)
Round 3-5: Sc in each stitch around for 3 rounds. (12 stitches)
Round 6: *Sc in the next stitch, single crochet 2 together (sc2tog)*; repeat from * to * around. (8 stitches)
Fasten off, leaving a long tail for sewing. Before closing the top completely, stuff the stem lightly with fiberfill. Do not overstuff; you want it to be firm but not bulging.
Part 3: Assembly and Finishing
Now it's time to bring your mushroom to life!
Step 1: Position the Stem. Take one cap and one stem. Identify the "flat" side of the cap—this is the side opposite the bumpy top (the side where you wove in the initial magic ring tail). The ridge created by the back-loop-only row should be facing upwards, towards the top of the cap. Place the open end of the stem against the center of the cap's flat side.
Step 2: Sew the Stem to the Cap. Thread your yarn needle with the long tail from the stem. Sew the stem securely to the cap using a whip stitch or running stitch, going through the stitches of the stem's last round and the stitches of the cap's center. Make sure it is centered and secure. Weave in the yarn tail.
Step 3: Secure the Cap. Use the long tail from the cap to reinforce the seam if needed, or simply weave it in securely. Ensure all ends are woven in neatly to prevent unraveling.
Step 4: Add Decorative Dots (Optional). For a classic, storybook look, add small white dots to the red caps. Using white embroidery floss or yarn and a yarn needle, create small French knots or tiny straight stitches scattered across the top of the red caps. This step is optional but adds significant charm.
Step 5: Repeat. Repeat the assembly process for the remaining three coasters.
Final Touches
Once all four coasters are assembled, give them a gentle block if desired. Simply mist them with water and lay them flat to dry to help them lay perfectly. Your whimsical woodland mushroom coasters are now ready to use or gift!
These coasters are perfect for adding a touch of nature-inspired coziness to any room. They also make fantastic gifts for housewarmings, birthdays, or any occasion. We hope you enjoyed this pattern—happy crocheting!