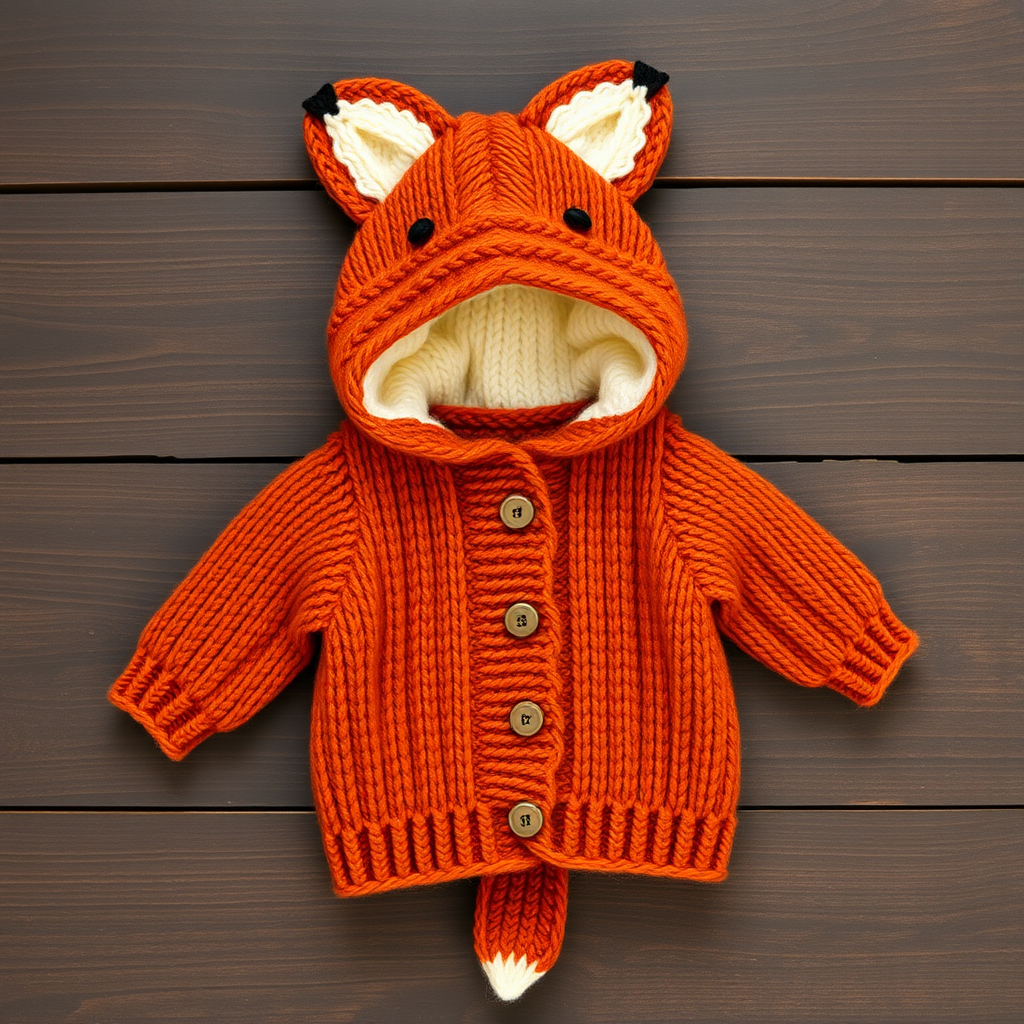
Whispering Pines Baby Bolero Free Pattern

Tip: Choose a soft, washable wool blend or acrylic yarn for easy care and maximum comfort against baby's delicate skin.
Needles and Notions
- US 7 (4.5 mm) knitting needles (straight or circular for working back and forth)
- Stitch holders (for holding stitches while working other sections)
- Tapestry needle (for weaving in ends and seaming)
- Scissors
- 3 small buttons (approximately ½ inch in diameter)
- Stitch markers (optional, for keeping track of rows)
Gauge
- 20 stitches x 28 rows = 4 inches in moss stitch (blocked)
Important: Always check your gauge before starting. If your gauge is off, adjust your needle size accordingly. Getting the correct gauge ensures your finished bolero will match the intended measurements.
Sizing and Measurements
This pattern includes six sizes to accommodate growing babies. Choose the size that best fits your little one:
- Sizes: 0-3 (3-6, 6-12, 12-18, 18-24, 24-36) months
- Finished Chest: 18 [19, 20, 21, 23, 25] inches
- Length: 9 [9.5, 10.5, 11.5, 12.5, 13.5] inches
When reading the pattern, the numbers are presented in order of size. For example, if you're knitting the 6-12 month size, you'll follow the third number in each set of brackets.
Understanding the Moss Stitch Pattern
The moss stitch creates a beautiful, textured fabric that looks like tiny seeds scattered across the surface. It's simple to work and creates a dense, cozy fabric perfect for a baby garment. Here's how to work it:
Moss Stitch Pattern (multiple of 2 + 1 stitches):
- Row 1 (RS): *K1, P1; repeat from * to last stitch, K1.
- Row 2: *P1, K1; repeat from * to last stitch, P1.
Repeat these 2 rows for the pattern. The key is that on Row 2, you're working the opposite stitch of what you see – purling the knits and knitting the purls from the row below. This creates the lovely seed-like texture.
Step-by-Step Instructions
Now let's get to the fun part – knitting your Whispering Pines Baby Bolero! Follow these detailed instructions carefully, and you'll have a beautiful finished garment in no time.
Back Panel
Step 1: With your Main Color (MC) yarn, cast on 45 [49, 53, 57, 63, 69] stitches.
Step 2: Work in moss stitch pattern until the piece measures 4 [4.5, 5, 5.5, 6, 6.5] inches from the cast-on edge, ending with a wrong side (WS) row. This forms the body of the back panel.
Step 3: Shape Armholes: At the beginning of the next 2 rows, bind off 3 [3, 4, 4, 5, 5] stitches. This creates the initial armhole shaping on both sides.
Step 4: Decrease 1 stitch at each edge every right side (RS) row 2 [2, 3, 3, 4, 4] times. To decrease at the beginning of a row, simply knit 2 stitches together (k2tog). At the end of the row, work to the last 2 stitches and knit them together through the back loop (k2tog tbl) for a neat edge.
After completing all decreases, you should have 35 [39, 41, 45, 49, 55] stitches remaining.
Step 5: Continue working even (without shaping) in moss stitch until the armhole depth measures 4 [4.5, 5, 5.5, 6, 6.5] inches. Place all stitches on a stitch holder and set aside.
Left Front Panel
Step 1: With MC yarn, cast on 23 [25, 27, 29, 32, 35] stitches.
Step 2: Work in moss stitch, but keep the first 5 stitches at the center front edge in garter stitch (knit every row) for the button band. This means your row will look like: K5 (garter band), then work moss stitch across the remaining stitches to the end of the row.
Step 3: Continue working in this pattern until the piece measures the same length as the back panel did before armhole shaping, ending at the armhole edge (the side opposite your button band).
Step 4: Shape Armhole: At the armhole edge (beginning of RS rows), bind off 3 [3, 4, 4, 5, 5] stitches once. Then decrease 1 stitch at the armhole edge every RS row 2 [2, 3, 3, 4, 4] times. You should now have 18 [20, 20, 22, 23, 26] stitches remaining.
Step 5: Work even until the armhole depth is 2 [2.5, 3, 3, 3.5, 3.5] inches less than the back armhole depth. This means you'll be creating a lower neckline on the front than the back. End at the center front edge (the button band side).
Step 6: Shape Neck: At the center front edge, bind off 5 [5, 6, 6, 7, 7] stitches once. Then decrease 1 stitch at the neck edge every RS row 3 [3, 3, 4, 4, 5] times. You should now have 10 [12, 11, 12, 12, 14] stitches remaining.
Step 7: Work even until the armhole matches the back armhole depth. Bind off all stitches loosely.
Right Front Panel
Step 1: Work the right front panel exactly as you did the left front, but mirror the shaping. Your button band will now be at the end of rows rather than the beginning.
Step 2: Create Buttonholes: Place 5 buttonholes evenly spaced along the center front band. To create a buttonhole on a RS row: Work to the last 7 stitches, then k2tog, yarn over (yo), and knit the remaining 5 stitches. This creates a neat, small buttonhole.
Space your buttonholes approximately 1.5 inches apart, starting about ½ inch from the bottom edge and ending about ½ inch from the top. The first buttonhole should be placed after you've worked about 1 inch of the band.
Step 3: Complete the armhole and neck shaping exactly as for the left front, but mirrored. When you bind off for the neck, you'll do so at the beginning of WS rows instead of RS rows.
Sleeves (Make 2)
Step 1: With MC yarn, cast on 25 [27, 29, 31, 33, 35] stitches.
Step 2: Work in moss stitch pattern. Increase 1 stitch at each edge every 6th row 4 [5, 6, 7, 8, 9] times. To increase, simply knit into the front and back of the first and last stitch of the row (kfb). This creates a subtle, even increase.
After all increases, you should have 33 [37, 41, 45, 49, 53] stitches.
Step 3: Continue working even until the sleeve measures 6 [6.5, 7.5, 8.5, 9.5, 10.5] inches from the cast-on edge.
Step 4: Shape Sleeve Cap: Bind off 3 [3, 4, 4, 5, 5] stitches at the beginning of the next 2 rows.
Step 5: Decrease 1 stitch at each edge every RS row 6 [7, 8, 9, 10, 11]