Chunky Knit Sweater Patterns
The Whimsical Cloudburst Sweater Free Pattern
Anonymous
•
July 03, 2026

The Whimsical Cloudburst Sweater Free Pattern
Introduction
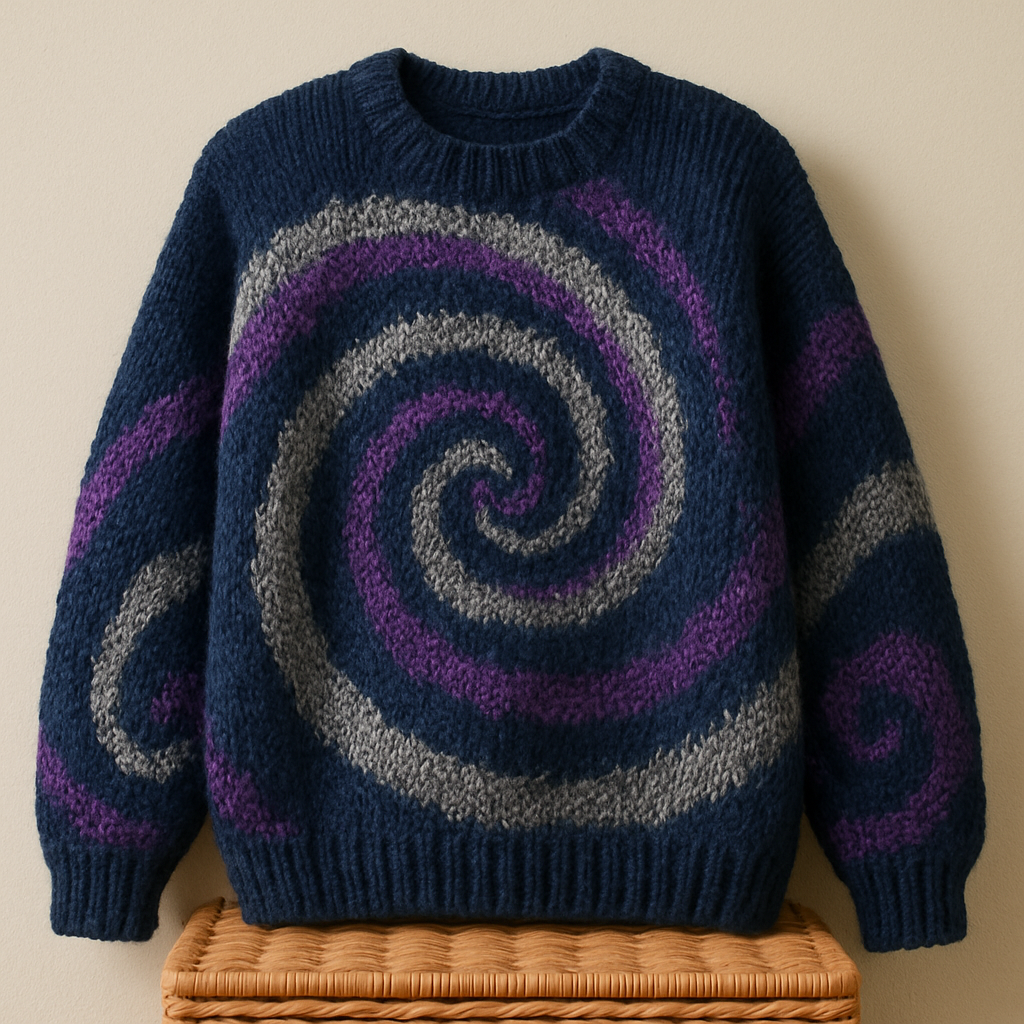
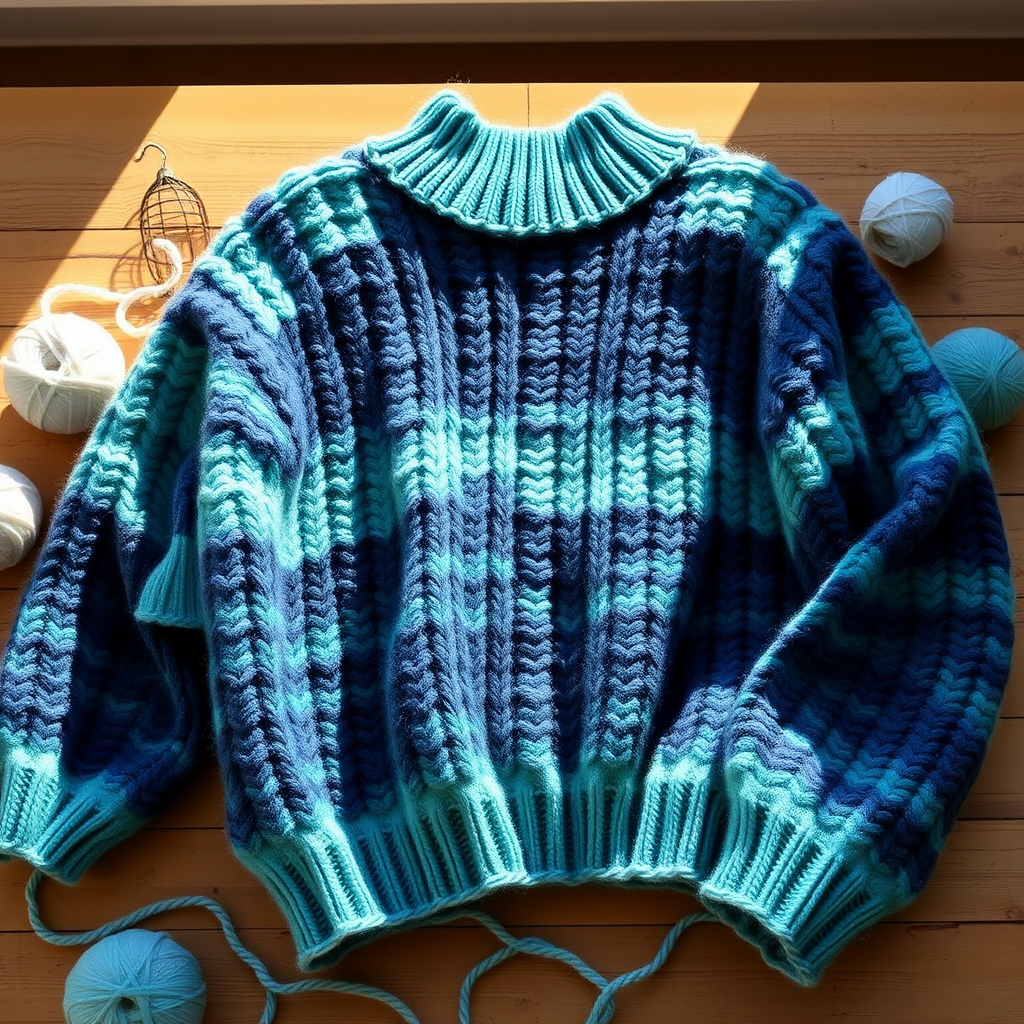
Embrace the art of texture with the Whimsical Cloudburst Sweater, a captivating chunky knit project that combines bold stitches and a playful design. This pattern is perfect for those looking to create a statement piece that is both cozy and stylish. With its voluminous silhouette, oversized sleeves, and delightful bobble details, this sweater will not only keep you warm but also elevate your wardrobe.
Materials Needed
- Yarn: Super bulky weight yarn, 100% wool
- Needles: US 15 (10 mm) knitting needles
- Gauge: 8 stitches and 12 rows = 4 inches in stockinette stitch
Step-by-Step Instructions
Back Panel
- Cast on 40 stitches using the long tail cast-on method for a stretchy edge.
- Work in stockinette stitch (knit one row, purl the next) for 4 inches. This will create a smooth fabric.
- Switch to the textured pattern:
- Row 1 (Right Side): *K2, P2* repeat to end.
- Row 2 (Wrong Side): *P2, K2* repeat to end.
- Continue in this textured pattern for 20 inches, measuring from the cast-on edge.
- Once you reach 20 inches, bind off all stitches loosely to maintain elasticity.
Front Panel
- Repeat steps 1-5 of the back panel to create the front panel.
- For neckline shaping, when the piece measures 18 inches, bind off the center 10 stitches. This will create the opening for the neck.
- Work each side separately:
- Bind off 1 stitch at the neck edge every other row, for a total of 3 times.
- Bind off remaining stitches when the piece measures 20 inches.
Sleeves
- Cast on 20 stitches using the same method as before.
- Work in stockinette stitch for 2 inches.
- To shape the sleeves, increase 1 stitch at each end every 6th row until you have a total of 40 stitches.
- Continue knitting until the sleeve measures 18 inches from the cast-on edge.
- Bind off all stitches loosely.
Assembly
- Using a tapestry needle, sew the shoulder seams together carefully.
- Set in the sleeves by aligning them with the armholes and sewing them in place.
- Sew the side seams and the sleeve seams to complete the body of the sweater.
- Weave in all ends using the tapestry needle to ensure a neat finish.
Congratulations! You have now completed your Whimsical Cloudburst Sweater. Enjoy wearing your cozy and stylish creation!