The Textured Waves Chunky Sweater Free Pattern

The Textured Waves Chunky Sweater Free Pattern
Introduction
Dive into the world of bold textures with this chunky sweater pattern, perfect for making a statement in any season. With its unique wave-like stitch and cozy fit, this sweater is both a fashion-forward and comfortable addition to your wardrobe. Whether you're a beginner or an experienced knitter, this pattern will guide you step-by-step to create your very own Textured Waves Chunky Sweater.
Materials Needed
- Yarn: Super bulky weight yarn, approximately 500-700 yards
- Needles: US size 15 (10 mm) knitting needles
- Gauge: 8 stitches and 12 rows = 4 inches in stockinette stitch
Step-by-Step Instructions
1. Casting On
Begin by casting on 60 (70, 80) stitches using the long-tail cast-on method. This method provides a stretchy edge, which is perfect for the ribbing at the bottom of your sweater.
2. Working the Ribbing
Work in 1x1 ribbing for 2 inches. To do this, knit 1 stitch, then purl 1 stitch across the row. Repeat this pattern for each row until you reach 2 inches in height.
3. Switching to the Textured Wave Stitch Pattern
Now, we will switch to the textured wave stitch pattern. Follow these rows carefully:
- Row 1 (Right Side): *K4, P4; repeat from * to end.
- Row 2 (Wrong Side): *P4, K4; repeat from * to end.
- Row 3: *K2, P4, K2; repeat from * to end.
- Row 4: *P2, K4, P2; repeat from * to end.
Repeat these 4 rows until the piece measures 20 (22, 24) inches from the cast-on edge. Make sure to measure from the bottom of the ribbing to ensure accuracy.
4. Binding Off
Once you reach the desired length, bind off all stitches loosely. This will help maintain the elasticity of the edge. To bind off, knit the first two stitches, then use the left needle to lift the first stitch over the second stitch and off the needle. Continue this process until all stitches are bound off.
5. Knitting the Sleeves
For the sleeves, pick up and knit 30 (35, 40) stitches around the armhole. Ensure that the stitches are evenly distributed. Work in the textured wave stitch pattern for 18 (20, 22) inches, following the same instructions as before. After reaching the desired sleeve length, switch to 1x1 ribbing for 2 inches.
6. Finalizing the Sleeves
Bind off all stitches for the sleeves loosely, just as you did for the body of the sweater.
7. Assembling the Sweater
Now it’s time to sew the pieces together. Sew the side seams and underarm seams using a yarn needle and a length of yarn. Make sure to align the edges neatly for a polished finish.
8. Weaving in Ends
Finally, weave in all ends using a yarn needle. This step is crucial for a clean look and to prevent any unraveling.
Conclusion
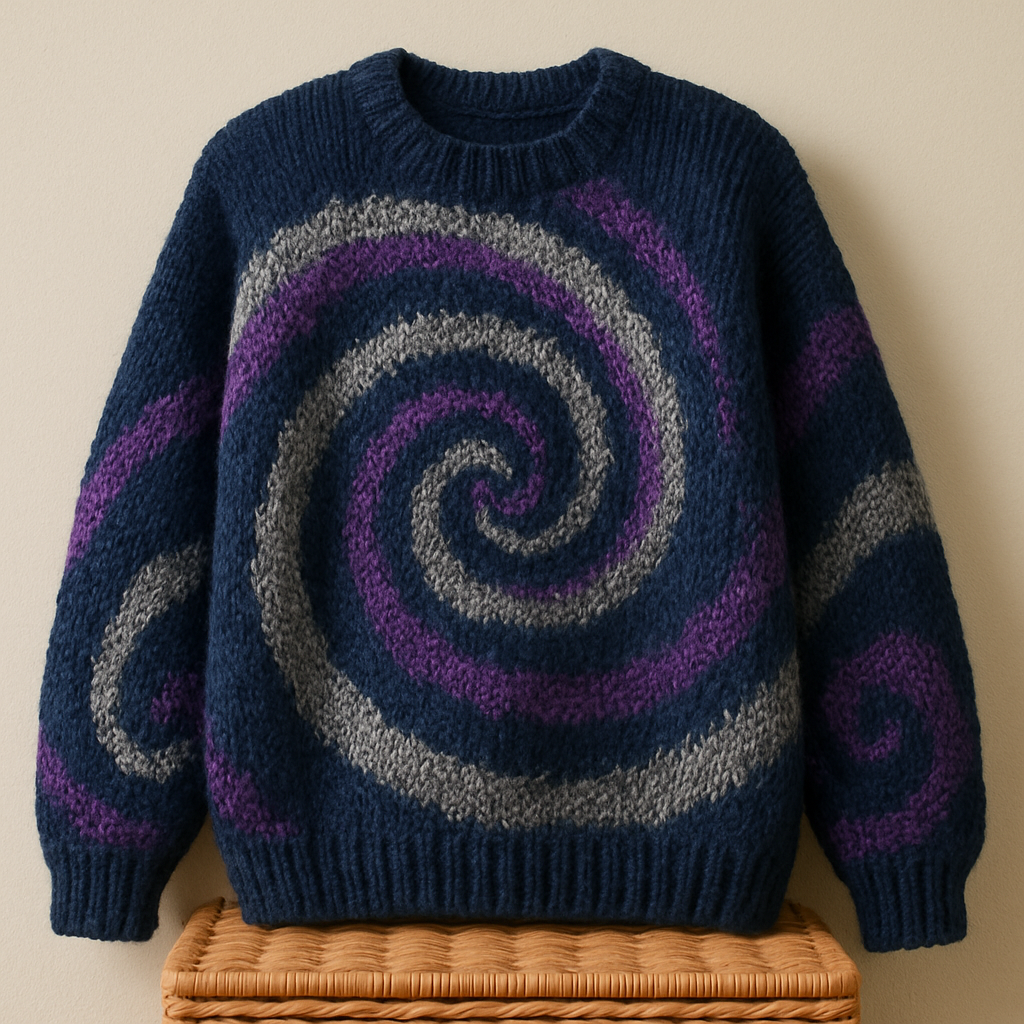
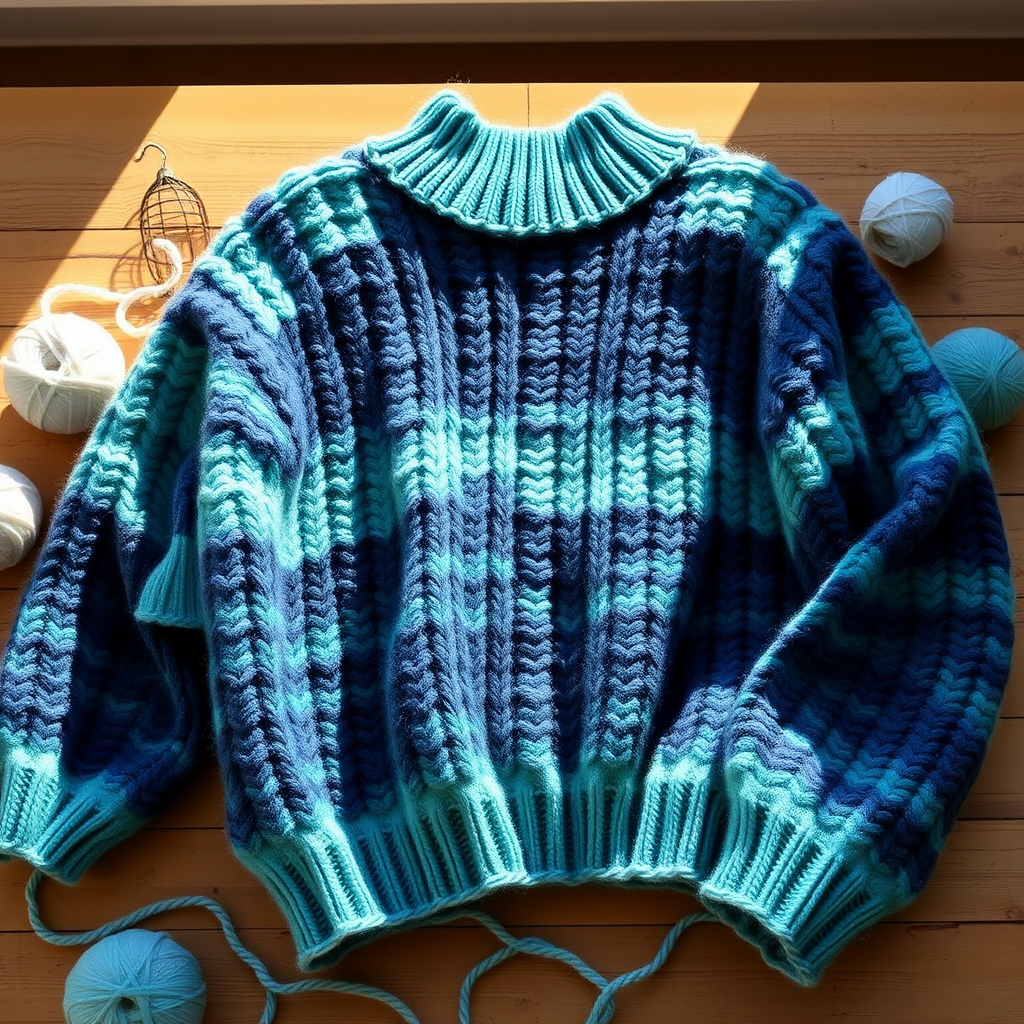
Congratulations on completing your Textured Waves Chunky Sweater! This voluminous, oversized garment features a prominent wave-like texture that is sure to catch the eye. Enjoy wearing your handmade creation and show off your knitting skills!