Chunky Knit Patterns
The Textured Waves Chunky Blanket Free Pattern
Anonymous
•
July 02, 2026

The Textured Waves Chunky Blanket Free Pattern
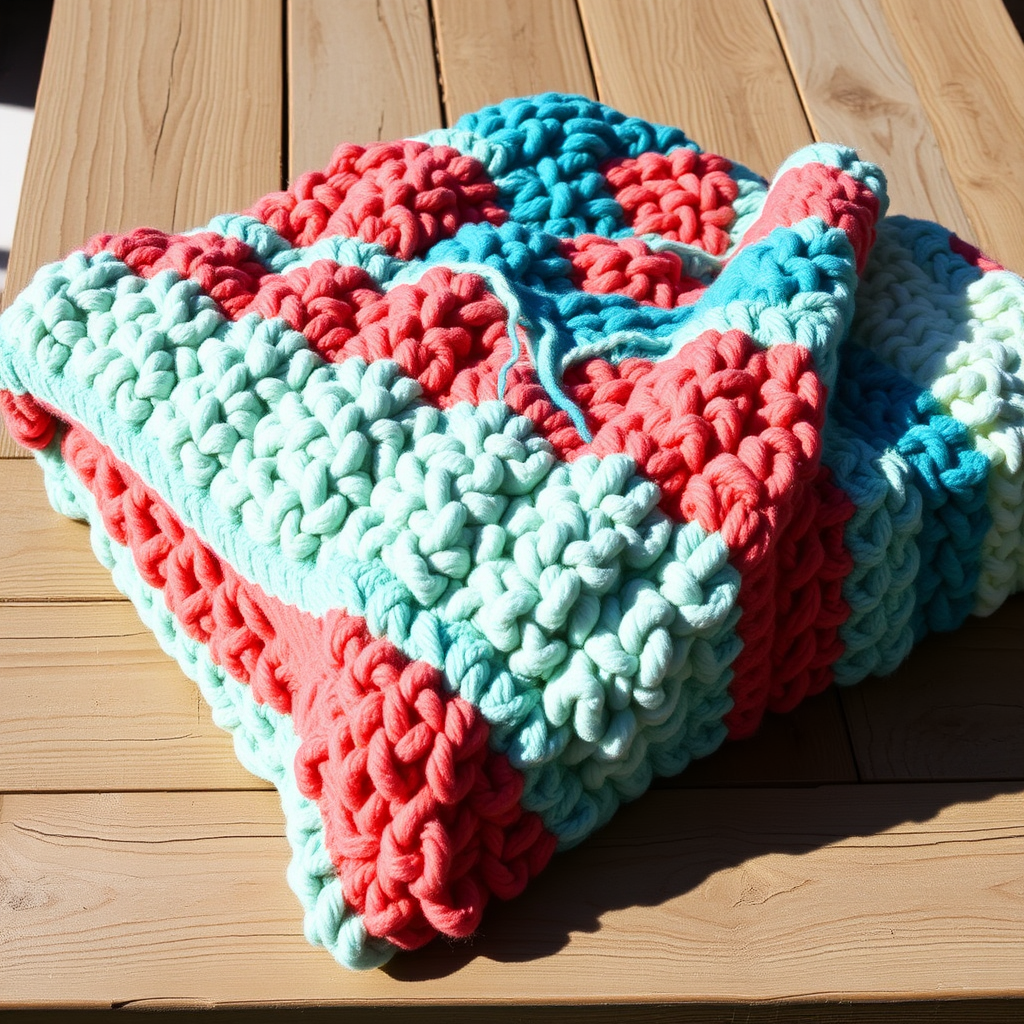
Dive into the world of texture with the Textured Waves Chunky Blanket, a cozy and modern project that adds a touch of elegance to any space. This pattern is perfect for knitters looking to explore the beauty of highly textured stitches in a chunky format. Whether you're draping it over your sofa or using it as a bedspread, this blanket will surely become a beloved addition to your home decor.
Materials Needed
- Yarn: Super bulky weight yarn, approximately 800 yards
- Needles: US size 15 (10mm) knitting needles
- Gauge: 8 stitches and 12 rows = 4 inches in stockinette stitch
Step-by-Step Instructions
- Cast On: Begin by casting on 80 stitches onto your knitting needle. Ensure that your stitches are not too tight to allow for ease of movement.
- Row 1 (Right Side): Knit all stitches across the row. This establishes the stockinette stitch base for your blanket.
- Row 2 (Wrong Side): Purl all stitches across the row. This will create the foundation for the textured pattern.
- Row 3: Begin the textured pattern. Work *K2, P2; repeat from * to end of the row. This alternating pattern creates the waves.
- Row 4: Continue the textured pattern. Work *P2, K2; repeat from * to end of the row. This will enhance the wave effect.
- Repeat Rows 3-4: Continue to repeat these two rows until the piece measures approximately 10 inches in length. This will form the first section of your textured waves.
- Next Row: Knit all stitches across the row. This will transition you back to the stockinette stitch.
- Following Row: Purl all stitches across the row. This will create a smooth section of fabric.
- Repeat Stockinette Rows: Continue to repeat these two rows (knit and purl) for an additional 5 inches. This gives a nice break from the texture.
- Return to Textured Pattern: Now, repeat the textured pattern (Rows 3-4) for another 10 inches, just like before.
- Continue Alternating: Keep alternating between the textured pattern and stockinette sections until your blanket measures approximately 60 inches long. Make sure to end with a textured section for a cohesive look.
- Bind Off: Once you reach the desired length, bind off all stitches loosely to avoid tight edges. This will help your blanket maintain its shape and drape beautifully.
- Weave in Ends: Finally, use a tapestry needle to weave in all loose ends. This step is crucial for a polished finish.
Your finished blanket will measure approximately 40 inches wide and 60 inches long, featuring alternating sections of highly textured waves that create a dynamic, three-dimensional appearance. Enjoy the cozy, inviting feel of your new Textured Waves Chunky Blanket!