Chunky Knit Patterns
The Textured Mountain Peaks Blanket Free Pattern
Anonymous
•
July 02, 2026

The Textured Mountain Peaks Blanket Free Pattern
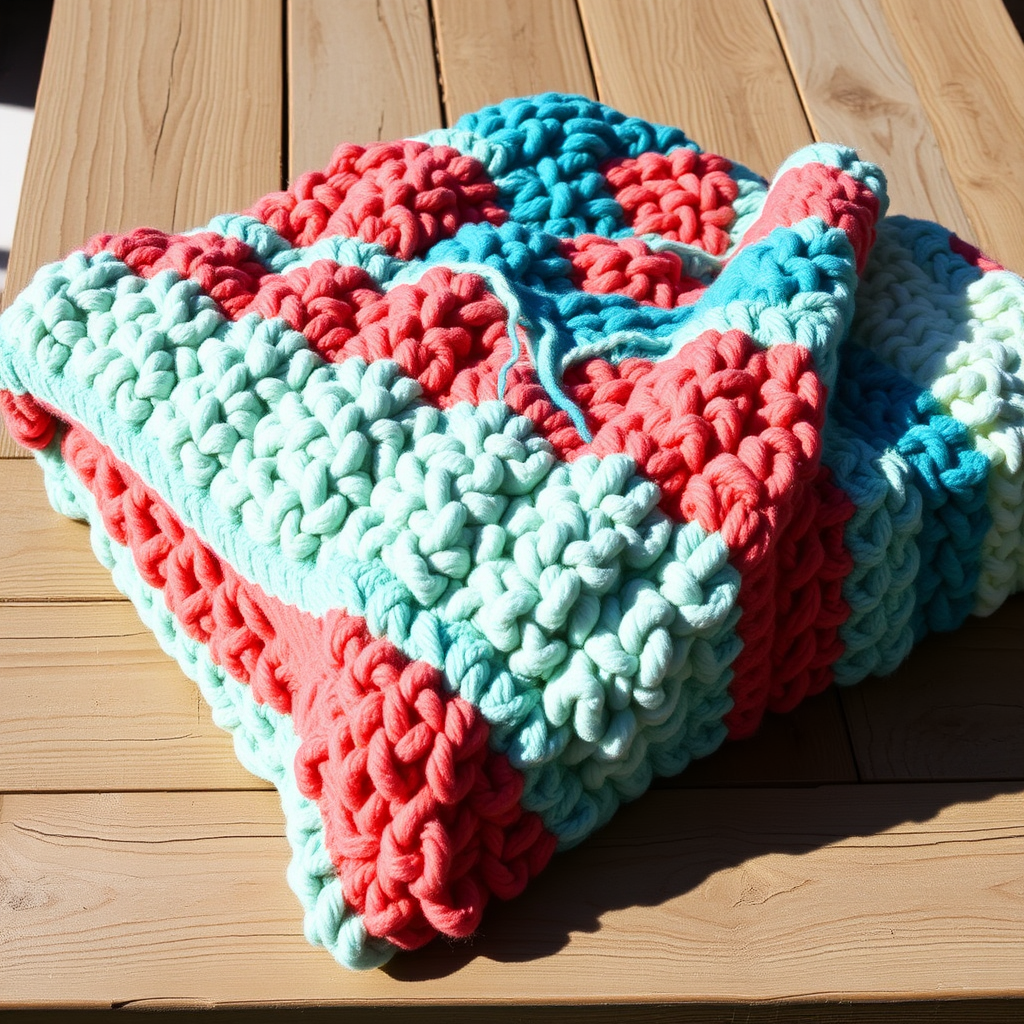
Embrace the warmth and grandeur of the mountains with this highly textured chunky knit blanket. Perfect for cozy nights, this pattern features bold peaks and valleys that create a stunning visual and tactile experience. With its deep, earthy charcoal gray color and pronounced texture, this blanket is not only functional but also a beautiful addition to your home decor.
Materials Needed
- Yarn: Super bulky weight yarn, 100% wool
- Needles: US Size 15 (10 mm) circular needles, 36 inches long
- Gauge: 8 stitches and 12 rows = 4 inches in stockinette stitch
Step-by-Step Instructions
- Cast On: Begin by casting on 96 stitches onto your circular needles. Ensure that your stitches are not twisted before you start knitting.
- Row 1 (Right Side): Knit all stitches across the row. This establishes the first row of your blanket.
- Row 2 (Wrong Side): Purl all stitches across the row. This will create the foundation for the textured pattern.
- Textured Pattern Rows:
- Row 3: *K4, P4; repeat from * to the end of the row. This creates the first set of peaks.
- Row 4: *P4, K4; repeat from * to the end of the row. This creates the valleys in between the peaks.
- Repeat Rows 3-4: Continue repeating Rows 3 and 4 until your work measures 10 inches from the cast-on edge. This will give you a bold textured section.
- Change to Garter Stitch:
- Row 1: Knit all stitches across the row.
- Row 2: Knit all stitches across the row again.
- Continue in Garter Stitch: Keep knitting in garter stitch for an additional 5 inches. This will create a smooth section that contrasts with the textured peaks.
- Switch Back to Textured Pattern:
- Row 1: *P4, K4; repeat from * to the end of the row.
- Row 2: *K4, P4; repeat from * to the end of the row.
- Repeat Rows 1-2: Continue repeating these two rows until your work measures another 10 inches. This will add another set of peaks and valleys to your blanket.
- Finish with Garter Stitch: Knit in garter stitch for the final 5 inches to complete the blanket. This will give a nice border around your textured pattern.
- Bind Off: Once you have completed the final garter stitch section, bind off all stitches loosely to ensure the edge is not tight.
- Weave in Ends: Use a tapestry needle to weave in any loose ends from your yarn. This will give your blanket a clean finish.
Your Textured Mountain Peaks Blanket is now complete! Enjoy the cozy warmth and beautiful texture as you snuggle up on chilly nights.