The Misty Morning Duster: A Free Crochet Pattern for a Textured, Open-Front Cardigan

Wrap Yourself in Elegance: The Misty Morning Duster Crochet Pattern
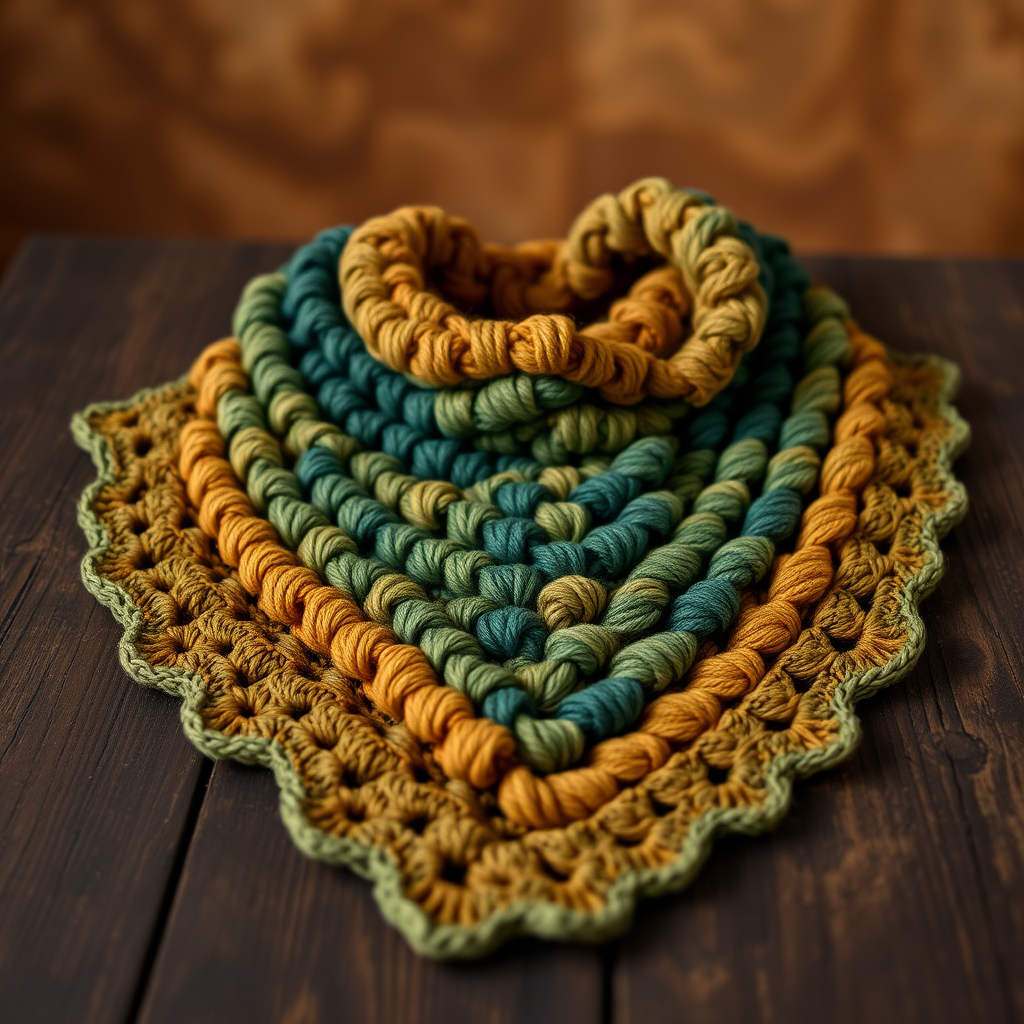
Imagine a garment that feels like a soft, ethereal cloud draped around your shoulders—light, airy, and effortlessly elegant. The Misty Morning Duster is exactly that: a textured, open-front cardigan designed to bring a touch of bohemian sophistication to your wardrobe. Using delicate lace stitches and a gentle color gradient, this pattern creates a flowing silhouette that is both comfortable and stunning. Whether you're a seasoned crocheter or a confident beginner looking for a rewarding project, this free pattern will guide you through every step to create a handmade masterpiece you'll cherish.
Materials Needed
Before you begin, gather the following supplies to ensure a smooth and enjoyable crocheting experience.
- Yarn: Light Weight Yarn (Category 3, DK weight) in two complementary colors:
- Color A (Main): 800 yards (e.g., Lion Brand Coboo in 'Mist')
- Color B (Contrast): 400 yards (e.g., Lion Brand Coboo in 'Dew')
- Hook: US Size G/6 (4.0 mm) crochet hook, or size needed to obtain gauge
- Other: Yarn needle for weaving in ends, scissors, stitch markers (optional), measuring tape
Gauge: 16 stitches and 10 rows = 4 inches in pattern stitch (after blocking). Always check your gauge to ensure your finished garment matches the intended size.
Step-by-Step Instructions
This pattern is worked flat in pieces and then seamed. The lace pattern is a simple 4-row repeat that creates a beautiful, textured fabric. Follow each step carefully for a flawless finish.
Sizes and Finished Measurements
Choose your size: S (M, L, XL). Finished bust circumference: 36 (40, 44, 48) inches. All instructions are written for size S first, with larger sizes in parentheses.
Stitches and Abbreviations
- ch – chain
- sc – single crochet
- dc – double crochet
- tr – treble crochet
- sl st – slip stitch
- V-stitch – (dc, ch 1, dc) all in the same stitch
- picot – ch 3, sl st in the 3rd chain from hook
Pattern Notes
- The duster is made from three main pieces: one back panel and two front panels. These are seamed at the shoulders and sides.
- Sleeves are worked directly into the armholes after seaming.
- The lace pattern is a 4-row repeat (Rows 2-5). Always turn your work at the end of each row unless stated otherwise.
- Chain stitches at the beginning of rows count as a stitch unless noted.
Back Panel
- Foundation: With Color A, chain 82 (90, 98, 106).
- Row 1 (Setup Row): Single crochet in the 2nd chain from the hook and in each chain across. Turn. You will have 81 (89, 97, 105) single crochet stitches.
- Row 2 (Pattern Row 1): Chain 3 (this counts as a double crochet). *Skip 2 stitches, work a V-stitch (dc, ch 1, dc) in the next stitch, skip 2 stitches, double crochet in the next stitch; repeat from * across the row. Turn.
- Row 3 (Pattern Row 2): Chain 1, single crochet in the first double crochet. *Chain 3, single crochet in the chain-1 space of the V-stitch, chain 3, single crochet in the next double crochet; repeat from * across, ending with a single crochet in the top of the turning chain (the 3rd chain from the beginning of the previous row). Turn.
- Row 4 (Pattern Row 3): Chain 3. *Work a shell: treble crochet in the next single crochet, chain 1, treble crochet in the same single crochet. Skip the next chain-3 space, single crochet in the next single crochet; repeat from * across, ending with a treble crochet in the last single crochet. Turn.
- Row 5 (Pattern Row 4): Chain 1, single crochet in the first treble crochet. *Chain 3, single crochet in the chain-1 space of the shell, chain 3, single crochet in the next single crochet; repeat from * across, ending with a single crochet in the top of the turning chain. Turn.
- Repeat Pattern: Repeat Rows 2 through 5 for the pattern. Continue working even (without increasing or decreasing) until the piece measures 22 (23, 24, 25) inches from the beginning. Fasten off and cut yarn, leaving a tail for weaving.
Left Front Panel
- Foundation: With Color A, chain 42 (46, 50, 54).
- Work Body: Work the same pattern as the back panel (Rows 1-5, then repeat Rows 2-5) until the piece measures 18 (19, 20, 21) inches from the start, ending with a Row 5.
- Neck Shaping: Continue working in the pattern, but now you will decrease at the neck edge (the beginning of right-side rows). To decrease: at the start of the row, skip the first stitch and work the pattern across. This removes one stitch from the neck edge. Repeat this decrease every row 6 times total.
- Finish: After completing the 6 decreases, work even on the remaining stitches until the piece measures the same length as the back panel (22, 23, 24, 25 inches). Fasten off.
Right Front Panel
- Foundation: With Color A, chain 42 (46, 50, 54).
- Work Body: Work the same pattern as the back panel until the piece measures 18 (19, 20, 21) inches, ending with a Row 5.
- Neck Shaping: Continue in pattern, but decrease at the neck edge at the end of right-side rows. To decrease: work across the row until 2 stitches remain, then skip the next stitch and work the last stitch. Repeat this decrease every row 6 times total.
- Finish: Work even on remaining stitches until the piece matches the back panel length. Fasten off.
Assembly
- Shoulder Seams: Sew the top 4 inches of each front panel to the back panel at the shoulders. Use a yarn needle and whip stitch or mattress stitch for a neat seam.
- Side Seams: Sew the side seams from the bottom edge up, leaving 8 (9, 10, 11) inches open at the top for the armholes. This opening is where the sleeves will be attached.
Sleeves (Make Two)
- Attach Yarn: With Color B, attach the yarn at the underarm (the bottom of the armhole opening) using a slip stitch.
- Work in the Round: Work the same lace pattern (Rows 2-5) around the armhole opening. Since you are working in the round, you will not turn at the end of rows; instead, join with a slip stitch to the first stitch of the round and chain up to start the next round.
- Shape Sleeve: To taper the sleeve, decrease 1 stitch at each side (underarm area) every 4 rows. To decrease: at the underarm, skip one stitch before and after the underarm marker. Continue working in pattern.
- Finish Sleeve: Continue until the sleeve measures 12 (13, 14, 15) inches from the underarm. Fasten off. Repeat for the second sleeve.
Edging
- Single Crochet Border: With Color B, attach yarn at the bottom right corner of the front opening. Single crochet evenly around the entire front opening (including the neckline) and along the bottom edge. Work 1 single crochet in each stitch and 2-3 single crochets in each row end to keep the edge flat. Join with a slip stitch to the first single crochet.
- Picot Edging: *Single crochet in the next stitch, work a picot (chain 3, slip stitch in the 3rd chain from hook), skip 1 stitch; repeat from * around the entire edge. Join with a slip stitch to the first single crochet. Fasten off.
Finishing
- Weave in Ends: Use a yarn needle to carefully weave in all loose ends on the wrong side of the fabric. Trim any excess yarn.
- Blocking: To achieve the perfect drape and open lace pattern, block your duster. Soak the garment in cool water for 15-20 minutes, gently squeeze out excess water (do not wring), and lay it flat on a blocking mat. Pin it to the finished measurements, especially the lace sections, and allow it to dry completely. This step is crucial for the ethereal, airy look of the duster.
Your Misty Morning Duster is now complete! Enjoy the soft, textured elegance of your handmade creation—a perfect layering piece for any season.