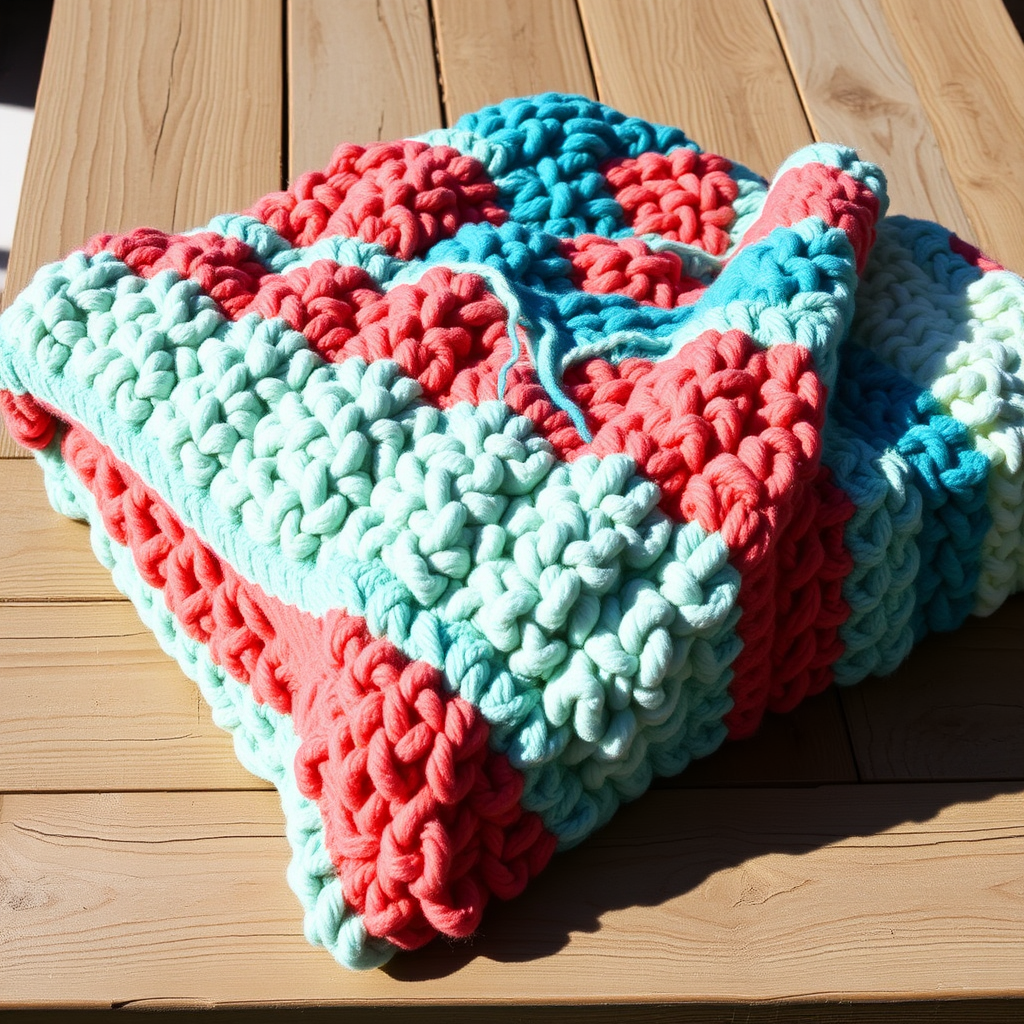
The Frosted Peaks Chunky Sweater Free Pattern

The Frosted Peaks Chunky Sweater Free Pattern
Discover the allure of the Frosted Peaks Chunky Sweater, a masterpiece of texture and warmth. This pattern guides you through creating a bold, avant-garde knit that captures the essence of winter's beauty. With its oversized fit and striking texture, this sweater is perfect for cozying up during the colder months while making a stylish statement.
Materials Needed
- Yarn: Super bulky weight yarn (6)
- Needles: US 15 (10mm) circular needles
- Gauge: 8 stitches and 12 rows = 4 inches in stockinette stitch
Step-by-Step Instructions
1. Casting On
Begin by casting on 48 stitches using the long-tail cast-on method. Make sure to leave a long enough tail for your cast-on to avoid running out of yarn.
2. Joining in the Round
Once you have cast on your stitches, carefully join them in the round. Ensure that the stitches are not twisted. You can do this by laying the cast-on stitches flat and checking that they are aligned correctly.
3. Ribbing
For the ribbing, follow these rounds:
- Rounds 1-4: *K2, P2* around. This creates a stretchy ribbed edge that will form the neckline and hem of your sweater.
4. Body of the Sweater
Now, you will begin the body of the sweater:
- Round 5: Knit all stitches.
- Round 6: *K1, P1* around.
- Repeat Rounds 5-6 until the piece measures 18 inches from the cast-on edge. This will form the main body of the sweater.
5. Creating Armholes
To create the armholes, bind off 4 stitches at the beginning of the next two rounds. This will create openings for your arms.
Continue working in pattern (K1, P1) for the body of the sweater, but now you will work flat instead of in the round.
6. Front and Back Panels
Work in pattern until each panel measures 10 inches from the armhole bind-off. This will form the front and back of your sweater.
7. Shoulder Shaping
For the shoulder shaping, bind off 8 stitches at the beginning of the next 2 rows for each shoulder. This will create a gentle slope for the shoulders.
8. Neckline
With the right side facing you, rejoin your yarn to the remaining stitches. Work in pattern for 2 inches to create the neckline. Once completed, bind off all stitches loosely to ensure the neckline has some give.
9. Sleeves
To create the sleeves, pick up and knit 24 stitches around the armhole. This will give you a nice fit for the sleeves.
- Work in *K1, P1* ribbing for 4 inches.
- Once you reach the desired length, bind off loosely to maintain elasticity.
10. Finishing Touches
Finally, weave in all ends using a tapestry needle. This will give your sweater a clean finish. To complete your project, block the sweater to measurements to enhance the texture and shape.
Congratulations! You have now completed your Frosted Peaks Chunky Sweater. Enjoy wearing your beautiful, handmade creation this winter!