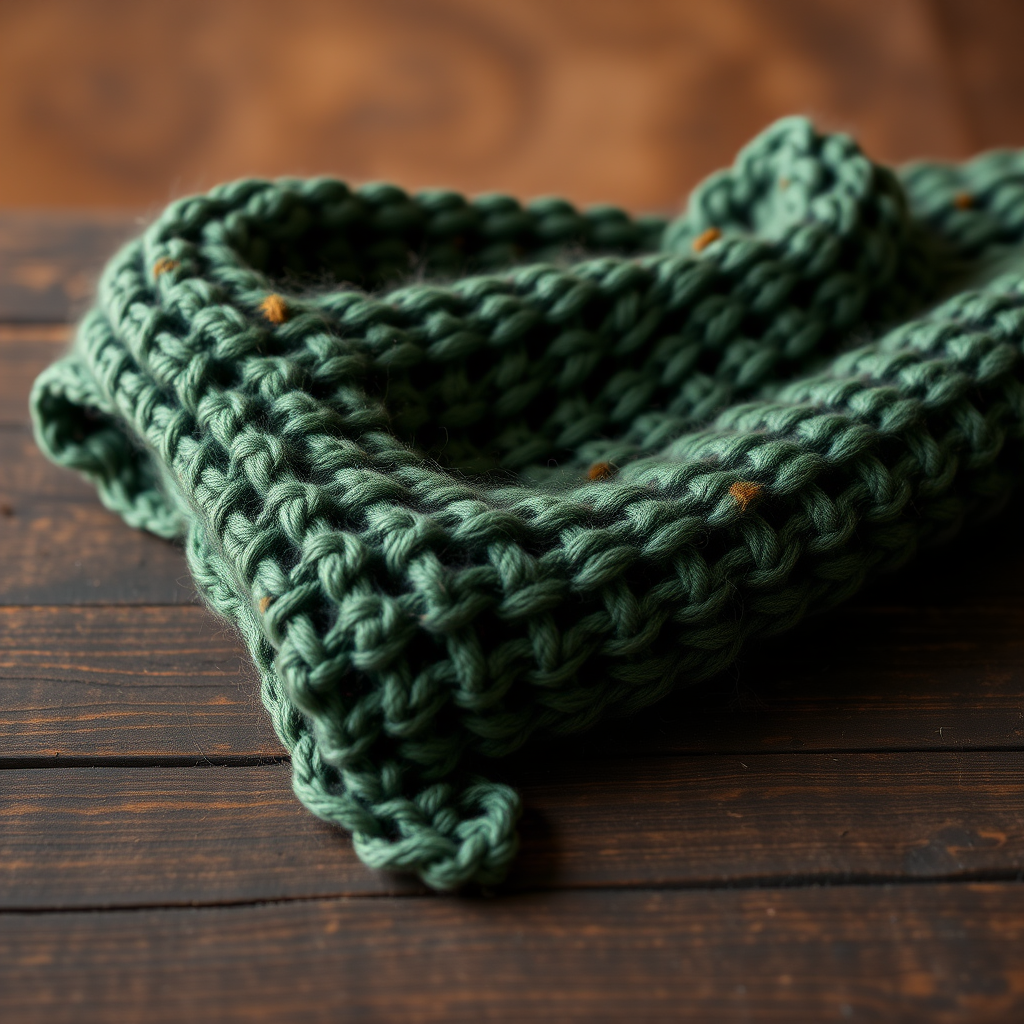
The Cloudburst Bubble Cushion: A Free Crochet Pattern for a Plush, Textured Floor Pillow
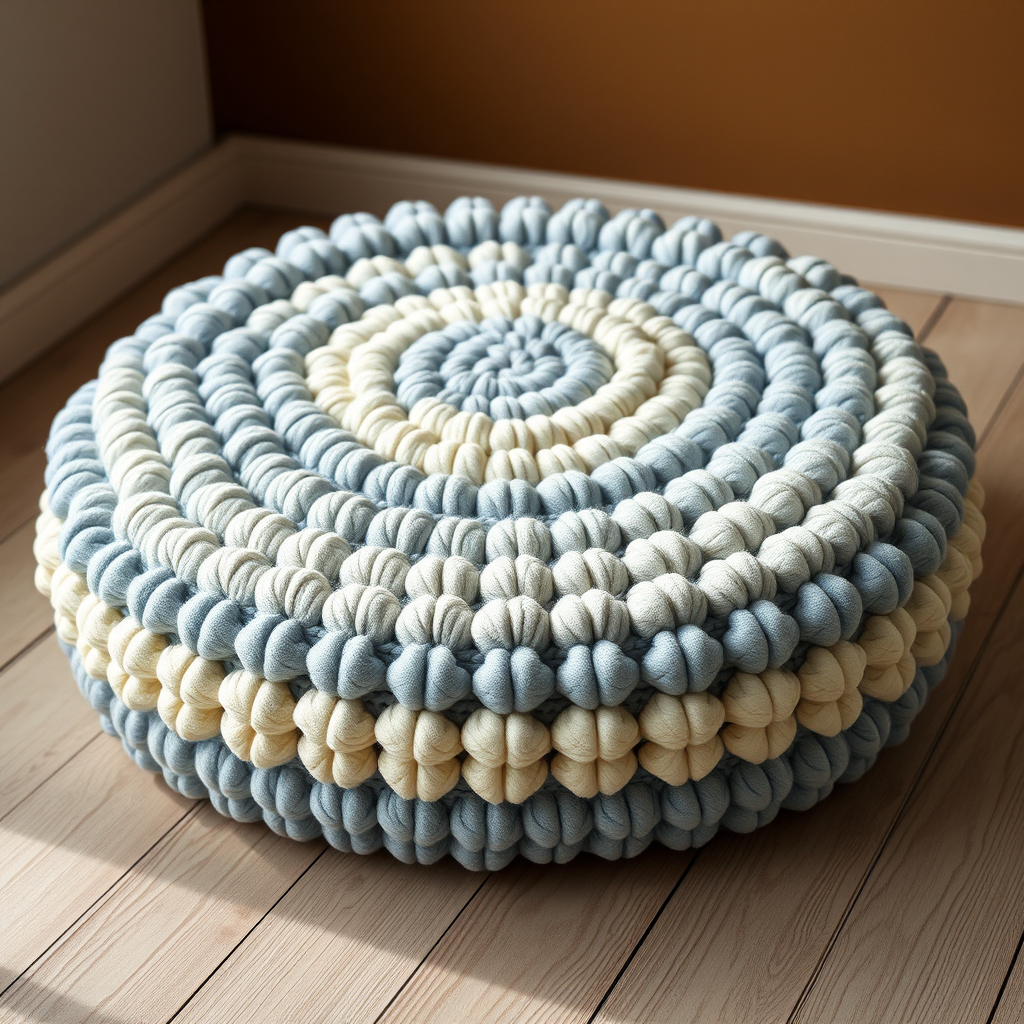
Introducing the Cloudburst Bubble Cushion
Transform your living space with this incredibly cozy and tactile floor cushion, featuring a mesmerizing bubble stitch pattern that creates a cloud-like, squishy surface. This free pattern guides you through creating a large, round cushion perfect for reading nooks or meditation spaces. The combination of a dense single crochet base and the puffy bubble stitch yields a plush, durable fabric that is both visually stunning and wonderfully comfortable. Whether you're a seasoned crocheter or a confident beginner, this project is a rewarding way to add a custom, handmade touch to your home decor.
Materials Needed
Before you begin, gather the following materials to ensure a smooth and enjoyable crocheting experience.
- Yarn: Super Bulky weight yarn (size 6). Approximately 800-1000 yards of main color (MC) (e.g., 'Stonewashed Blue') and 200-300 yards of contrasting color (CC) (e.g., 'Cream').
- Hook: US Size N/P (10 mm) crochet hook.
- Other: Yarn needle for weaving in ends, stitch markers (optional), and a round cushion form (approximately 24 inches in diameter) or polyester fiberfill for stuffing.
Gauge: 4 bubble stitches and 6 rows = 4 inches in bubble stitch pattern. Achieving the correct gauge is important for the final size and shape of your cushion.
Step-by-Step Instructions
This cushion is worked in continuous rounds from the center outwards, using a combination of single crochet and the bubble stitch to create a dense, plush fabric. Follow these detailed instructions carefully.
Abbreviations
- ch: chain
- sc: single crochet
- dc: double crochet
- bubble stitch (bs): Work 5 dc into the same stitch, then drop the loop from the hook, insert the hook into the first dc of the group, grab the dropped loop, and pull through. This creates a puff.
- sl st: slip stitch
- st(s): stitch(es)
- inc: increase (2 sc in same st)
- sc2tog: single crochet two stitches together (decrease)
Pattern
Base (Worked in Main Color - MC)
Start by creating a flat, circular base. This will be the bottom of your cushion.
- Round 1: Make a magic ring. Work 6 sc into the ring. Pull tight to close. (6 sts)
- Round 2: 2 sc in each st around. (12 sts)
- Round 3: *Sc in next st, 2 sc in next st* repeat around. (18 sts)
- Round 4: *Sc in next 2 sts, 2 sc in next st* repeat around. (24 sts)
- Round 5: *Sc in next 3 sts, 2 sc in next st* repeat around. (30 sts)
- Round 6: *Sc in next 4 sts, 2 sc in next st* repeat around. (36 sts)
- Round 7: *Sc in next 5 sts, 2 sc in next st* repeat around. (42 sts)
- Round 8: *Sc in next 6 sts, 2 sc in next st* repeat around. (48 sts)
- Round 9: *Sc in next 7 sts, 2 sc in next st* repeat around. (54 sts)
- Round 10: *Sc in next 8 sts, 2 sc in next st* repeat around. (60 sts)
- Round 11: *Sc in next 9 sts, 2 sc in next st* repeat around. (66 sts)
- Round 12: *Sc in next 10 sts, 2 sc in next st* repeat around. (72 sts)
- Round 13: *Sc in next 11 sts, 2 sc in next st* repeat around. (78 sts)
- Round 14: *Sc in next 12 sts, 2 sc in next st* repeat around. (84 sts)
- Round 15: *Sc in next 13 sts, 2 sc in next st* repeat around. (90 sts)
- Round 16: *Sc in next 14 sts, 2 sc in next st* repeat around. (96 sts)
- Round 17: *Sc in next 15 sts, 2 sc in next st* repeat around. (102 sts)
- Round 18: *Sc in next 16 sts, 2 sc in next st* repeat around. (108 sts)
- Round 19: *Sc in next 17 sts, 2 sc in next st* repeat around. (114 sts)
- Round 20: *Sc in next 18 sts, 2 sc in next st* repeat around. (120 sts)
Bubble Stitch Body
Now begin the bubble stitch pattern. The cushion will start to grow upward. You will alternate colors every round.
- Round 21 (MC): Ch 1 (does not count as st). *Work 1 sc in next st, skip 1 st, work 1 bubble stitch (bs) in next st, skip 1 st* repeat from * to * around. Join with sl st to first sc. (60 sc, 60 bs)
- Round 22 (CC): Ch 1. *Work 1 sc in next sc, work 1 bs in next bs* repeat around. Join with sl st to first sc. (60 sc, 60 bs)
- Round 23 (MC): Ch 1. *Work 1 sc in next sc, work 1 bs in next bs* repeat around. Join with sl st to first sc.
- Round 24 (CC): Ch 1. *Work 1 sc in next sc, work 1 bs in next bs* repeat around. Join with sl st to first sc.
- Round 25 (MC): Ch 1. *Work 1 sc in next sc, work 1 bs in next bs* repeat around. Join with sl st to first sc.
- Round 26 (CC): Ch 1. *Work 1 sc in next sc, work 1 bs in next bs* repeat around. Join with sl st to first sc.
- Round 27 (MC): Ch 1. *Work 1 sc in next sc, work 1 bs in next bs* repeat around. Join with sl st to first sc.
- Round 28 (CC): Ch 1. *Work 1 sc in next sc, work 1 bs in next bs* repeat around. Join with sl st to first sc.
- Round 29 (MC): Ch 1. *Work 1 sc in next sc, work 1 bs in next bs* repeat around. Join with sl st to first sc.
- Round 30 (CC): Ch 1. *Work 1 sc in next sc, work 1 bs in next bs* repeat around. Join with sl st to first sc.
- Round 31 (MC): Ch 1. *Work 1 sc in next sc, work 1 bs in next bs* repeat around. Join with sl st to first sc.
- Round 32 (CC): Ch 1. *Work 1 sc in next sc, work 1 bs in next bs* repeat around. Join with sl st to first sc.
- Round 33 (MC): Ch 1. *Work 1 sc in next sc, work 1 bs in next bs* repeat around. Join with sl st to first sc.
- Round 34 (CC): Ch 1. *Work 1 sc in next sc, work 1 bs in next bs* repeat around. Join with sl st to first sc.
- Round 35 (MC): Ch 1. *Work 1 sc in next sc, work 1 bs in next bs* repeat around. Join with sl st to first sc.
- Round 36 (CC): Ch 1. *Work 1 sc in next sc, work 1 bs in next bs* repeat around. Join with sl st to first sc.
- Round 37 (MC): Ch 1. *Work 1 sc in next sc, work 1 bs in next bs* repeat around. Join with sl st to first sc.
- Round 38 (CC): Ch 1. *Work 1 sc in next sc, work 1 bs in next bs* repeat around. Join with sl st to first sc.
- Round 39 (MC): Ch 1. *Work 1 sc in next sc, work 1 bs in next bs* repeat around. Join with sl st to first sc.
- Round 40 (CC): Ch 1. *Work 1 sc in next sc, work 1 bs in next bs* repeat around. Join with sl st to first sc.
Top Decrease (Worked in Main Color - MC)
Now begin decreasing to close the top of the cushion.
- Round 41: Ch 1. *Work 1 sc in next sc, skip next bs* repeat around. Join with sl st to first sc. (60 sts)
- Round 42: Ch 1. *Sc in next 8 sts, sc2tog* repeat around. (54 sts)
- Round 43: Ch 1. *Sc in next 7 sts, sc2tog* repeat around. (48 sts)
- Round 44: Ch 1. *Sc in next 6 sts, sc2tog* repeat around. (42 sts)
- Round 45: Ch 1. *Sc in next 5 sts, sc2tog* repeat around. (36 sts)
- Round 46: Ch 1. *Sc in next 4 sts, sc2tog* repeat around. (30 sts)
- Round 47: Ch 1. *Sc in next 3 sts, sc2tog* repeat around. (24 sts)
- Round 48: Ch 1. *Sc in next 2 sts, sc2tog* repeat around. (18 sts)
- Round 49: Ch 1. *Sc in next st, sc2tog* repeat around. (12 sts)
- Round 50: Ch 1. *Sc2tog* repeat around. (6 sts)
Fasten off, leaving a long tail. Thread the tail through the remaining 6 stitches and pull tight to close. Weave in all ends securely.
Finishing
Insert a round cushion form (approximately 24 inches in diameter) into the crocheted cover before closing the top completely. You can also stuff with polyester fiberfill for a softer feel. Ensure the filling is evenly distributed for a plush, comfortable cushion. Weave in any remaining ends and enjoy your new Cloudburst Bubble Cushion!