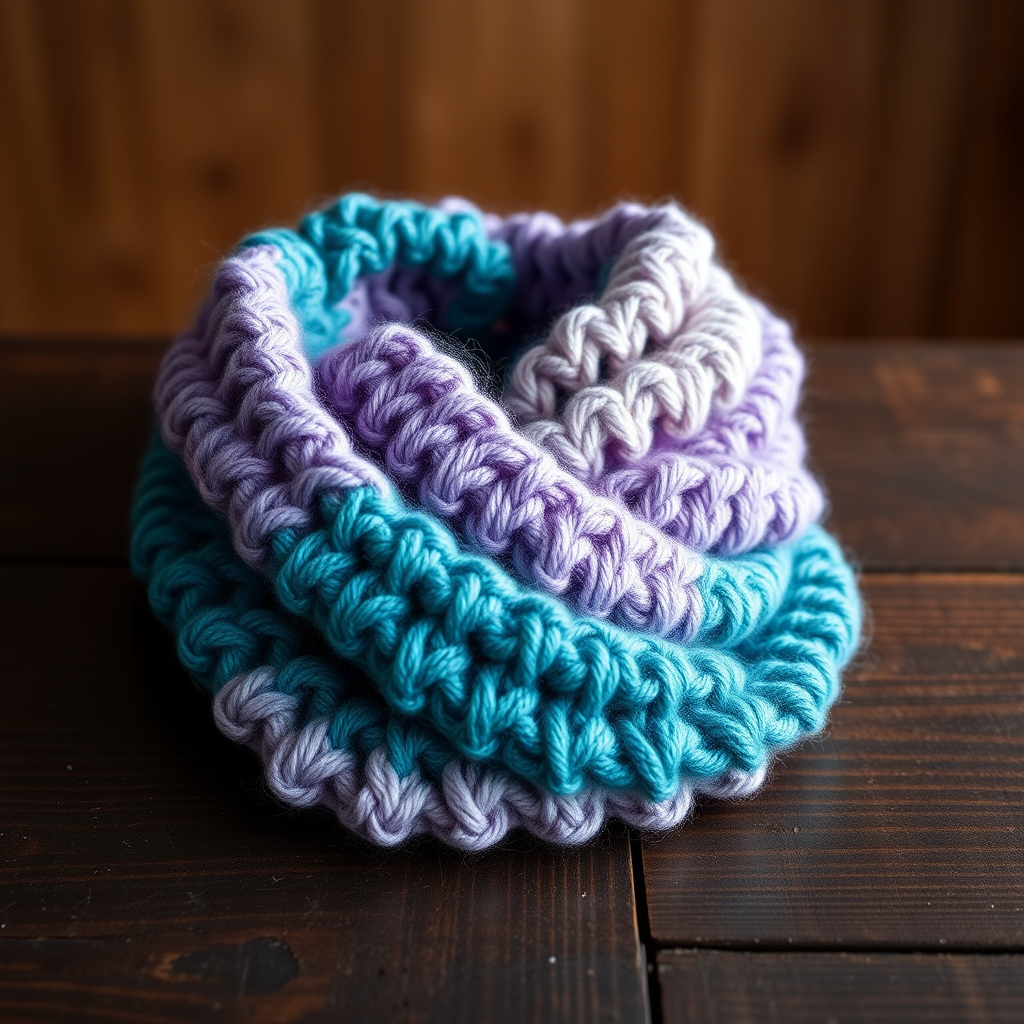
The Blossom Wrist Cocoon: A Dainty Bow Arm Warmer Free Pattern

Wrap Your Hands in Whimsy: The Blossom Wrist Cocoon Knitting Pattern
There's something magical about a knitted accessory that feels both cozy and elegant. The Blossom Wrist Cocoon is exactly that—a dainty arm warmer featuring a soft, integrated bow that appears to bloom directly from the fabric. Using a clever short-row technique, this pattern creates a seamless bow shape without any separate sewing or attaching. The result is a romantic, textured accessory that adds a touch of whimsy to any outfit, whether you're sipping tea, typing at your desk, or strolling through a crisp autumn day. Best of all, this free pattern is designed with beginners in mind, guiding you through every step with clear, detailed instructions.
Materials Needed
Before you begin, gather these supplies to ensure a smooth knitting experience:
- Yarn: Fingering weight yarn (approximately 200–250 yards). The sample uses Malabrigo Sock in 'Dusty Rose' and 'Natural' for a soft, romantic look with subtle color variation.
- Needles: US Size 2 (2.75 mm) knitting needles. You can use double-pointed needles (DPNs) or a circular needle for the magic loop method.
- Notions: Stitch markers, tapestry needle for weaving in ends, and a tape measure.
- Gauge: 32 stitches and 44 rows = 4 inches in stockinette stitch, blocked. Achieving this gauge is crucial for the correct fit and bow shape.
Step-by-Step Instructions
Sizes and Abbreviations
Sizes: S (M, L) to fit wrist circumference 5.5 (6, 6.5) inches.
Abbreviations:
- CO: Cast on
- K: Knit
- P: Purl
- K2tog: Knit two together
- SSK: Slip slip knit
- W&T: Wrap and turn (short row technique)
- PM: Place marker
- SM: Slip marker
Pattern Notes: The arm warmer is worked from the wrist up. The bow is created using short rows on a separate section, then joined seamlessly. Work one arm warmer at a time.
Cuff
CO 44 (48, 52) stitches. Join in the round, being careful not to twist. Place a marker to indicate the beginning of the round.
Work in K2, P2 ribbing for 1.5 inches. This creates a stretchy, snug cuff that will comfortably hug your wrist.
Body
Knit every round until the piece measures 3 inches from the cast-on edge. This forms the smooth stockinette body of the arm warmer.
Thumb Hole
Next Round: K22 (24, 26), CO 4 stitches using the backward loop method, K22 (24, 26). This creates an opening for your thumb. Continue knitting in the round for 1 inch, working all stitches as usual (the 4 cast-on stitches are now part of the round).
Bow Section
Now you will work back and forth in rows on the first 22 (24, 26) stitches (the front half of the arm warmer). Place the remaining 22 (24, 26) stitches on a holder or spare needle—these will be worked later for the upper arm.
Row 1 (RS): K across all 22 (24, 26) stitches.
Row 2 (WS): P across all stitches.
Repeat these 2 rows for 1.5 inches, ending with a WS row. This creates a rectangular flap that will become the bow.
Short Row Shaping for Bow
This is the key step that creates the rounded loops of the bow. Follow carefully:
Row 1 (RS): K18 (20, 22), W&T. (Knit to 4 stitches from the end, then wrap the next stitch and turn your work.)
Row 2 (WS): P14 (16, 18), W&T. (Purl to 4 stitches from the end, wrap and turn.)
Row 3: K10 (12, 14), W&T.
Row 4: P6 (8, 10), W&T.
Row 5: K across all 22 (24, 26) stitches. As you knit, pick up each wrap and knit it together with the wrapped stitch to hide the wraps.
Row 6: P across all stitches. Pick up each wrap and purl it together with the wrapped stitch.
Repeat these 6 rows once more. After the second repeat, you will have two sets of short-rowed curves that form the bow loops.
Bow Center
Knit 4 rows even on all 22 (24, 26) stitches. This small rectangle will become the knot of the bow.
Join Bow
Fold the bow section in half so that the short-rowed parts form the two loops on either side. The center 4 rows (the knot) should be at the fold. Using the Kitchener stitch (also called grafting), graft the live stitches on your needle to the cast-on edge of the bow section. This creates a seamless, invisible join that holds the bow together. If you're new to Kitchener stitch, practice on a swatch first—it's worth the effort for a professional finish.
Upper Arm
Rejoin yarn to the held stitches (the back half of the arm warmer). Knit in the round for 2 inches. This extends the arm warmer above the bow, covering your hand and wrist comfortably.
Finishing
Bind off loosely to ensure the edge is stretchy. Weave in all ends with a tapestry needle. Block gently by soaking in lukewarm water, squeezing out excess, and laying flat to dry. Gently stretch the bow loops to shape them into rounded curves. Repeat the entire process for the second arm warmer.
Your Blossom Wrist Cocoons are now ready to wear! The delicate bow, created entirely from the fabric itself, adds a touch of romance and sophistication. Whether you choose a soft dusty rose or a neutral natural, these arm warmers are sure to become a cherished handmade accessory. Happy knitting!