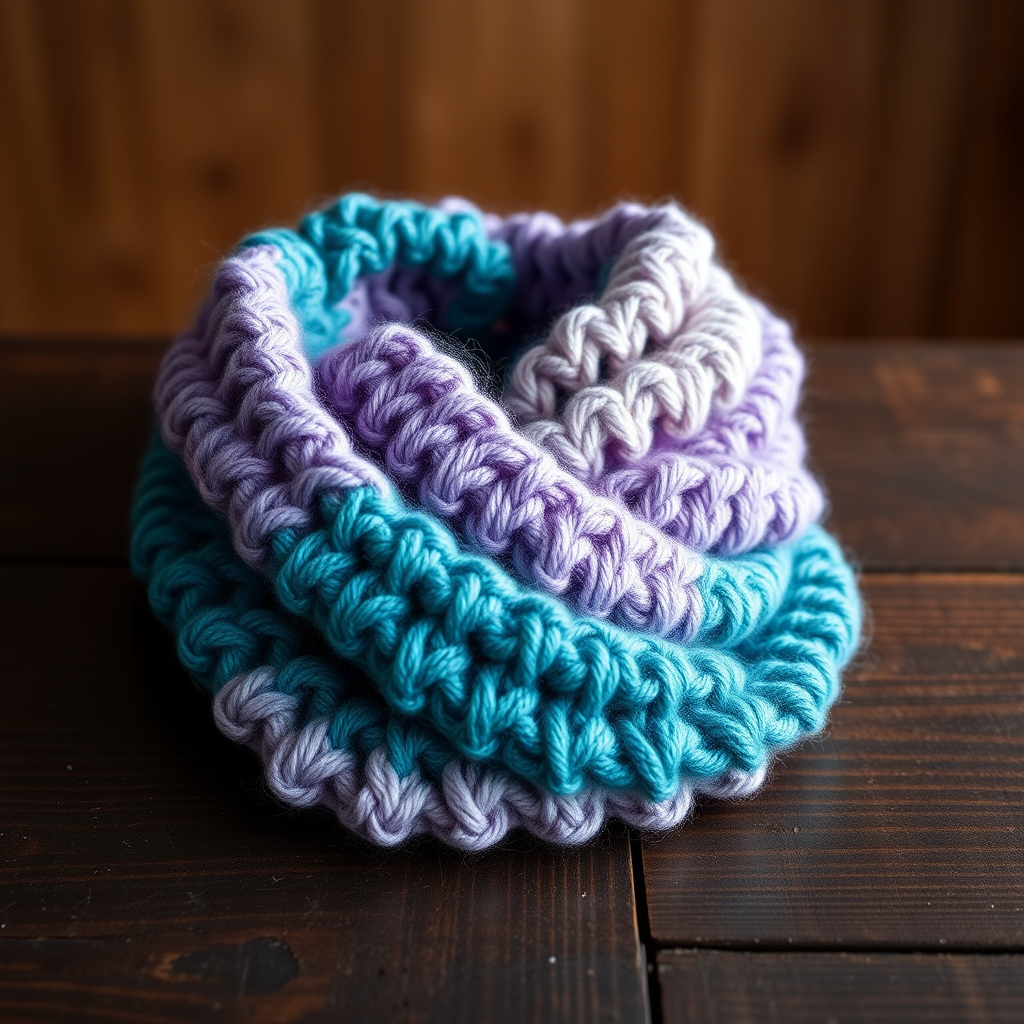
The Aurora Borealis Fingerless Mitts: A Textured Knit Free Pattern

Introduction: Capture the Magic of the Northern Lights
There's something truly magical about the way the Northern Lights dance across the Arctic sky—swirling ribbons of violet, blue, teal, and silver. Now, you can capture that ethereal beauty in a pair of hand-knit fingerless mitts. The Aurora Borealis Fingerless Mitts are designed to bring a touch of that celestial wonder to your everyday life.
This free knitting pattern features a unique slipped-stitch pattern that creates a stunning, woven, tapestry-like texture. Knit in a gradient of four jewel-toned colors, these mitts are not only warm and practical but also a statement piece. The rich texture and color shifts make them a joy to knit and an even greater joy to wear. Whether you're sipping coffee on a chilly morning or typing away at your desk, these mitts will keep your hands cozy while leaving your fingers free.
Designed for adventurous beginners and intermediate knitters alike, this pattern is fully detailed with step-by-step instructions. Let's dive in and create something beautiful!
Materials Needed
Before you begin, gather the following supplies. The materials are simple and easy to find at any craft store.
Yarn
- Lily Sugar 'n Cream (or any worsted weight cotton/acrylic blend) – 1 skein each of 4 colors:
- Color A: Deep Violet
- Color B: Midnight Blue
- Color C: Teal
- Color D: Silver Sage
- Total yardage: Approximately 200 yards (all colors combined).
Needles & Notions
- Needles: US Size 6 (4.0 mm) knitting needles. You can use a set of 4 double-pointed needles (DPNs) or a circular needle for the magic loop method.
- Stitch markers (2 recommended)
- Stitch holder or waste yarn (for holding thumb stitches)
- Tapestry needle (for weaving in ends)
- Scissors
Gauge
22 stitches and 32 rows = 4 inches in stockinette stitch (blocked). Getting the correct gauge is important for the fit. If your gauge is off, try a different needle size.
Size
Women's Medium (to fit 7-8 inch hand circumference). To adjust the size, change your needle size (larger needles for a larger mitt, smaller needles for a smaller mitt).
Step-by-Step Instructions
Follow these instructions carefully. The pattern is worked in the round from the cuff up. Take your time with the slipped stitch pattern—it's easier than it looks!
Abbreviations
- CO: Cast on
- K: Knit
- P: Purl
- Sl: Slip stitch purlwise with yarn in back
- K2tog: Knit two together
- M1L: Make one left (increase)
- St(s): Stitch(es)
- Rnd(s): Round(s)
- PM: Place marker
Pattern Notes
- The mitts are worked in the round from the cuff up.
- The slipped stitch pattern creates a woven texture. Always slip stitches purlwise with yarn held in back.
- Color changes are made every 8 rounds to create a gradient effect.
Instructions for Left Mitt
Cuff
- With Color A (Deep Violet), CO 36 stitches.
- Distribute the stitches evenly across 3 DPNs (12 stitches per needle) or use the magic loop method on a circular needle.
- Join in the round, being very careful not to twist the stitches. Place a stitch marker to mark the beginning of the round.
- Rounds 1-8: *K2, P2; repeat from * around. This creates a neat ribbed cuff.
Body – Setup Rounds
- Change to Color B (Midnight Blue).
- Round 9 (Setup): Knit all stitches around. (36 sts)
- Round 10: *K1, Sl1, K1, Sl1; repeat from * around. (Slip the stitch purlwise with yarn in back.)
- Round 11: Knit all stitches around.
- Round 12: *Sl1, K1, Sl1, K1; repeat from * around. (Slip the stitch purlwise with yarn in back.)
- Rounds 13-16: Repeat Rounds 9-12 once more. You will have completed 8 rounds with Color B.
Thumb Gusset – Left Mitt
Note: The thumb gusset is worked while continuing the slipped stitch pattern. The increases are made on the knit rounds (Rounds 9 and 11 of the pattern).
- Change to Color C (Teal).
- Round 17 (Increase round): K18, place marker (PM), M1L, K1, M1L, PM, K17. (38 sts total)
- Round 18: Knit all stitches around.
- Round 19 (Increase round): K18, slip marker, M1L, knit to marker, M1L, slip marker, K17. (40 sts)
- Round 20: Knit all stitches around.
- Round 21 (Increase round): K18, slip marker, M1L, knit to marker, M1L, slip marker, K17. (42 sts)
- Round 22: Knit all stitches around.
- Round 23 (Increase round): K18, slip marker, M1L, knit to marker, M1L, slip marker, K17. (44 sts)
- Round 24: Knit all stitches around.
- Round 25 (Increase round): K18, slip marker, M1L, knit to marker, M1L, slip marker, K17. (46 sts)
- Round 26: Knit all stitches around.
Separate Thumb
- Round 27: K18, remove marker, place the next 11 stitches onto a stitch holder or piece of waste yarn (these are the thumb stitches), remove the second marker, K17. (35 sts remain on needles for the hand.)
Hand – Continue Body
- Continue working the slipped stitch pattern (Rounds 9-12) with Color C (Teal) for 8 rounds total (Rounds 28-35).
- Change to Color D (Silver Sage). Continue the slipped stitch pattern for 8 rounds (Rounds 36-43).
Top Edge
- With Color D, work 4 rounds of K2, P2 ribbing (Rounds 44-47).
- Bind off loosely in pattern (knit the knits and purl the purls as you bind off). Do not pull the yarn tight—keep it stretchy so the mitt fits over your hand.
Thumb
- Transfer the 11 thumb stitches from the holder onto DPNs.
- With Color D, pick up and knit 3 stitches along the gap where the thumb was separated. (14 sts total)
- Knit 6 rounds even (no increases).
- Bind off loosely. Weave in the yarn tail.
Instructions for Right Mitt
The Right Mitt is worked exactly like the Left Mitt, except the thumb gusset is placed on the opposite side.
- Work the cuff and body setup exactly as for the Left Mitt (Rounds 1-16).
- Round 17 (Increase round for Right Mitt): K17, PM, M1L, K1, M1L, PM, K18. (38 sts)
- Continue the increases exactly as for the Left Mitt (Rounds 18-26), always working the increases between the markers.
- Round 27 (Separate thumb): K17, remove marker, place next 11 sts on holder, remove marker, K18. (35 sts)
- Complete the hand, top edge, and thumb exactly as for the Left Mitt.
Finishing
- Weave in all ends using a tapestry needle. Be sure to secure the yarn tails on the inside of the mitts.
- Block gently. Soak the mitts in lukewarm water for 10-15 minutes, then gently squeeze out excess water (do not wring). Lay flat on a towel and shape to the correct dimensions. Allow to dry completely. Blocking will open up the slipped stitch pattern and make the texture more defined.
Congratulations! You've just created a pair of Aurora Borealis Fingerless Mitts. Wear them with pride, and let the colors of the Northern Lights inspire your day.