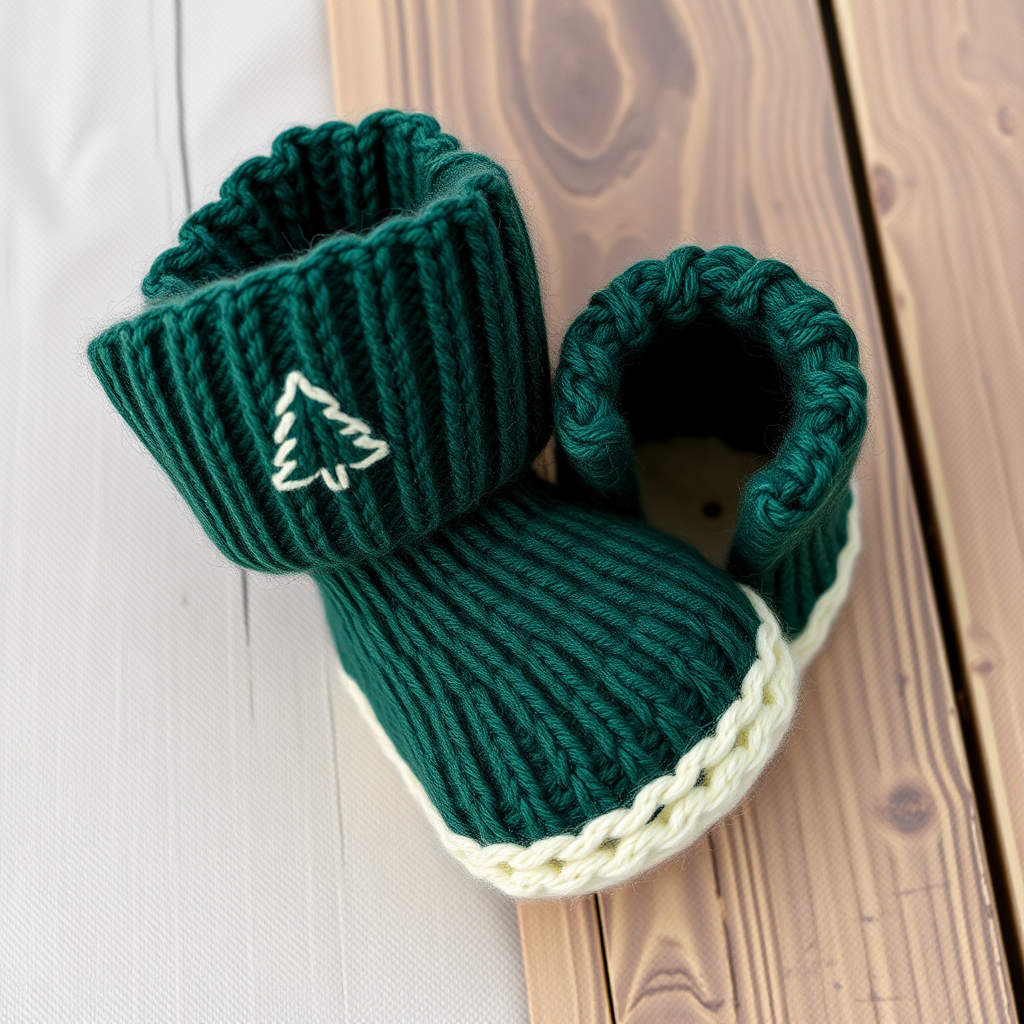
Sakura Bloom Kimono Baby Booties Free Pattern – Knit a Petal-Soft First Step

Sakura Bloom Kimono Baby Booties: A Petal-Soft First Step
Wrap tiny toes in the delicate charm of a Japanese-inspired kimono silhouette, knitted with a blooming cherry blossom motif. These Sakura Bloom booties are a heartfelt handmade treasure for spring newborns and a joy to create. Designed with a soft blush pink main color and cream accents, this pattern is beginner-friendly yet yields an heirloom-quality result. The unique kimono wrap, secured with a tiny button, adds a touch of traditional elegance while the garter-stitch sole ensures durability for those first wobbly steps (or adorable wiggles).
Whether you're a seasoned knitter looking for a quick gift or a novice eager to try something special, this pattern offers clear, step-by-step guidance. The finished booties are soft, feminine, and inspired by traditional Japanese textiles—a cozy, handmade treasure that will be cherished.
Materials Needed
Before you begin, gather the following supplies. The exact gauge is not critical, but maintaining consistent tension throughout will help your booties come out evenly sized.
- Yarn: Worsted weight cotton or bamboo blend (e.g., Lion Brand Coboo) in soft blush pink (MC) and cream (CC). Approximately 100 yards total (about 60 yards MC, 40 yards CC).
- Needles: US 6 (4.0 mm) knitting needles (straight or circular for flat knitting).
- Notions: Tapestry needle for seaming and weaving in ends, stitch markers (optional), one small button (approx. ½ inch) in cream or pink.
- Gauge: 20 stitches and 28 rows = 4 inches in stockinette stitch. Exact gauge is not critical, but consistent tension helps.
Step-by-Step Instructions
This pattern creates one bootie; repeat all steps for the second. The bootie is worked flat from the sole up, then seamed at the back and under the foot. The kimono wrap is knitted separately and attached.
Part 1: The Sole (Make 2 per bootie, or use as one layer)
The sole is worked in garter stitch (knit every row) for a sturdy, textured base. You can knit two soles and sandwich them together for extra padding, or use a single layer for a lighter bootie.
- With MC, cast on 6 stitches.
- Row 1 (RS): Knit all stitches.
- Row 2: K1, M1 (make one), knit to last stitch, M1, K1. (8 stitches)
- Row 3: Knit all stitches.
- Row 4: K1, M1, knit to last stitch, M1, K1. (10 stitches)
- Rows 5-12: Knit every row (8 rows of garter stitch). This creates the body of the sole.
- Row 13: K1, K2tog (knit two together), knit to last 3 stitches, K2tog, K1. (8 stitches)
- Row 14: Knit all stitches.
- Row 15: K1, K2tog, knit to last 3 stitches, K2tog, K1. (6 stitches)
- Bind off all stitches. Weave in ends. Set aside.
Part 2: The Upper Foot (Worked from toe to ankle)
This piece forms the top of the foot and the toe area. It is worked in stockinette stitch (knit on RS, purl on WS) for a smooth finish.
- With MC, cast on 12 stitches.
- Row 1 (RS): Knit all stitches.
- Row 2: K1, M1, knit to last stitch, M1, K1. (14 stitches)
- Row 3: Knit all stitches.
- Row 4: Repeat Row 2. (16 stitches)
- Rows 5-10: Work in stockinette stitch (knit RS, purl WS) for 6 rows.
- Row 11 (RS): K2, K2tog, knit to last 4 stitches, K2tog, K2. (14 stitches)
- Row 12: Purl all stitches.
- Row 13: K2, K2tog, knit to last 4 stitches, K2tog, K2. (12 stitches)
- Row 14: Purl all stitches.
- Bind off all stitches. This forms the top of the foot.
Part 3: The Ankle Cuff
The cuff is picked up directly from the bind-off edge of the upper foot and worked in garter stitch to create a snug, stretchy band around the ankle.
- With MC, pick up and knit 20 stitches along the top edge of the upper foot (the bind-off edge). Tip: Pick up stitches evenly—about 1 stitch per bind-off stitch.
- Work in garter stitch (knit every row) for 4 rows.
- Bind off loosely. Tip: Use a larger needle or a loose bind-off to ensure the cuff isn't too tight. This creates a cuff that will wrap around the ankle.
Part 4: The Kimono Wrap (Worked flat)
This is the signature piece—a cream-colored wrap that crosses over the front of the bootie. It's worked in stockinette with a slight flare at the top.
- With CC, cast on 30 stitches.
- Row 1 (RS): Knit all stitches.
- Row 2: K1, M1, knit to last stitch, M1, K1. (32 stitches)
- Row 3: Knit all stitches.
- Row 4: Repeat Row 2. (34 stitches)
- Rows 5-10: Work in stockinette stitch for 6 rows.
- Row 11 (RS): K2, K2tog, knit to last 4 stitches, K2tog, K2. (32 stitches)
- Row 12: Purl all stitches.
- Row 13: K2, K2tog, knit to last 4 stitches, K2tog, K2. (30 stitches)
- Row 14: Purl all stitches.
- Bind off all stitches. This is the kimono body.
Part 5: Assembly
Now it's time to bring all the pieces together. Take your time with the seaming to ensure a neat, professional finish.
- Attach the Sole: Sew the sole to the bottom of the upper foot, matching the toe and heel. Use a whip stitch with MC and the tapestry needle. Tip: Pin or use stitch markers to align the center of the toe and heel before sewing.
- Attach the Kimono Wrap: Fold the kimono wrap around the ankle cuff, overlapping the edges at the front (the left side should cross over the right, or vice versa, depending on your preference). Sew the wrap to the cuff along the top edge only, leaving the bottom edge free to create a flap. Tip: Use small, invisible stitches with CC yarn.
- Secure the Closure: Sew a small button at the front overlap to secure the kimono. Alternatively, you can tie a small yarn bow using a length of CC yarn.
Part 6: Finishing & Cherry Blossom Motif
The final touches bring the Sakura Bloom vision to life. The cherry blossom is embroidered directly onto the kimono wrap.
- Weave in all ends using the tapestry needle. Ensure all loose yarn is securely hidden.
- Embroider the Cherry Blossom: Using CC, make a French knot in the center of the flower. Then, make five small straight stitches radiating out from the center for the petals. Tip: For a more defined flower, use a contrasting yellow or gold for the French knot center. Repeat for a second flower if desired, placing it slightly offset.
- Block gently to shape. Lightly mist the booties with water and shape them by hand, allowing them to dry flat. This helps even out the stitches and gives a polished look.
Your Sakura Bloom Kimono Baby Booties are complete! These make a beautiful gift for a baby shower, a newborn photo shoot, or a special heirloom piece. The combination of the soft pink, cream wrap, and delicate cherry blossom creates a truly unique and heartfelt keepsake. Happy knitting!