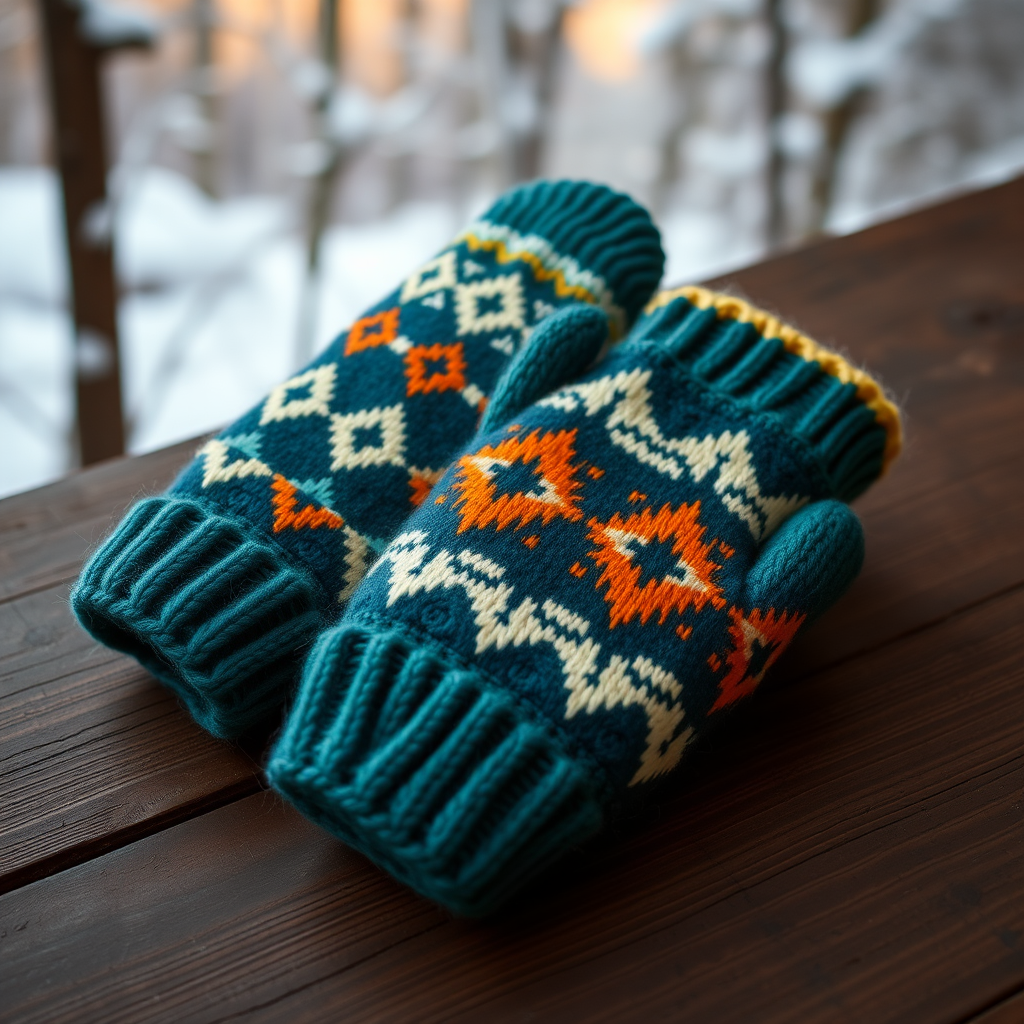
Frostline Double Seed Stitch Convertible Mittens Free Pattern – A Cozy Cabin Knit

Frostline Double Seed Stitch Convertible Mittens Free Pattern – A Cozy Cabin Knit
Wrap your hands in the timeless texture of double seed stitch with these convertible mittens that flip open for fingertip freedom. Knitted in a rich, heathered forest green, they bring a rustic, cabin-wood charm to any winter walk. Whether you're sipping cocoa by the fire or snapping photos on a snowy trail, these mittens combine classic knit texture with modern functionality. The double seed stitch creates a dense, warm fabric with beautiful depth, while the convertible flap lets you use your phone or tie a boot lace without removing your mitts. This free pattern is perfect for intermediate knitters ready to try a gusseted thumb and a clever flap construction—and the result is a pair of heirloom-quality accessories you'll reach for all season long.
Materials Needed
Before you cast on, gather these supplies to ensure a smooth knitting experience:
- Yarn: Worsted weight yarn (e.g., Cascade 220) in heather forest green – 200 yards (182 meters). This pattern uses approximately 100 yards per mitten, so one skein is plenty.
- Needles: US 6 (4.0 mm) double-pointed needles (or circular for magic loop). You'll need a set of 4 or 5 DPNs, or a 32" circular if you prefer the magic loop method.
- Notions: Stitch markers (at least 2), stitch holder or waste yarn, tapestry needle for weaving in ends, scissors.
- Optional: Two wooden toggle buttons (natural birch tone) and matching thread to sew them on after blocking.
Gauge: 20 stitches and 28 rows = 4 inches in double seed stitch (blocked). Gauge is critical for a proper fit—if your gauge is off, adjust needle size accordingly. A swatch in the round is ideal, but a flat swatch worked in pattern will work too.
Step-by-Step Instructions
Abbreviations
k = knit, p = purl, k2tog = knit two together, p2tog = purl two together, ssk = slip slip knit, pm = place marker, sm = slip marker, st(s) = stitch(es), rnd(s) = round(s), M1L = make one left (lift bar between stitches from front to back, knit through back loop), M1R = make one right (lift bar between stitches from back to front, knit through front loop).
Double Seed Stitch Pattern (worked in the round, even number of sts)
This pattern is the heart of the mitten—it creates a reversible, bumpy texture that's both warm and visually striking. Work these 4 rounds repeatedly:
- Rnd 1: *K1, p1; repeat from * to end.
- Rnd 2: *P1, k1; repeat from * to end.
- Rnd 3: Repeat Rnd 1.
- Rnd 4: Repeat Rnd 2.
Note: Because you're working in the round, you never turn your work—just keep knitting in the same direction. The pattern alternates each round, creating the classic seed stitch "bump" effect with a double twist.
Mitten (make 2)
Each mitten is worked identically, from the cuff up to the flap. Take your time with the thumb gusset—it's the trickiest part, but the result is a perfectly fitted thumb.
Cuff
- Cast on 40 stitches. Distribute evenly on 4 DPNs (10 sts per needle). If using magic loop, place 20 sts on each needle.
- Join in the round, being careful not to twist your cast-on edge. Place a marker at the beginning of the round to track your progress.
- Work in K1, P1 ribbing for 2 inches (approximately 12 rounds). This snug cuff will keep the mitten securely on your hand and provide a neat, finished edge.
Body
- Switch to the double seed stitch pattern. Work even for 2 inches (approximately 14 rounds). The fabric will begin to develop its lovely textured surface.
- At this point, your mitten should measure about 4 inches from the cast-on edge. If you have larger hands, you can add an extra inch here—just keep the pattern consistent.
Thumb Gusset
The gusset is a triangular increase section that creates room for your thumb. You'll work increases on either side of a single knit stitch, which becomes the center of the thumb opening.
- Rnd 1 (increase rnd): Work 20 sts in pattern, pm, M1L, k1, M1R, pm, work remaining 20 sts in pattern. (42 sts total)
- Rnd 2: Work even in pattern, slipping markers as you come to them. The knit stitch between markers will now be surrounded by your increases.
- Rnd 3: Work to marker, sm, M1L, knit to marker (this includes the center stitch and the increases), M1R, sm, work to end. (44 sts total)
- Repeat Rnds 2-3 until you have 13 stitches between the markers. This will take 6 increase rounds total (you start with 1 stitch between markers, and each increase round adds 2). Your total stitch count will be 52.
- Work even for 1 more round in pattern, without increases. This ensures the thumb opening is smooth and even.
Separate Thumb
- Work to the first marker, remove it, and place the next 13 stitches (the gusset stitches) onto a stitch holder or a piece of waste yarn. These will become the thumb later.
- Remove the second marker. Cast on 1 stitch (using the backward loop method or a knitted cast-on) to bridge the gap between the thumb and the hand.
- Work the remaining stitches in pattern to the end of the round. You now have 40 stitches on your needles (20 on each side of the thumb opening).
Hand
- Continue in double seed stitch pattern on these 40 stitches until the mitten measures 4 inches from the thumb separation, or until it covers your hand up to the base of your fingers. For a longer mitten, add up to an inch here—just remember the flap will add length on top.
- Knit 1 round plain (all knit stitches). This creates a clean transition line where the flap will fold, making the opening neat and defined.
Flap Opening
This is where the mitten becomes "convertible." You'll work the flap back and forth in rows on the first 20 stitches, leaving the other 20 on hold. The flap folds over the top of your hand, and the opening underneath lets your fingertips peek out.
- Work across the first 20 stitches in double seed stitch pattern, then turn your work. The remaining 20 stitches will sit on your needles, waiting.
- Row 1 (RS): Work in double seed stitch across 20 sts, turn.
- Row 2 (WS): Work in double seed stitch across 20 sts, turn.
- Repeat Rows 1-2 until the flap measures 2.5 inches from the opening. End with a WS row (so you're ready to work a RS row next).
Flap Shaping (decrease)
Now you'll shape the flap into a rounded point that folds over the hand. The decreases are worked at the edges, keeping the center pattern intact.
- Row 1 (RS): K2tog, work in pattern to last 2 sts, ssk. (18 sts)
- Row 2 (WS): Work even in pattern (no decreases).
- Repeat Rows 1-2 until 8 stitches remain. This will take 5 decrease rounds (you lose 2 stitches each time).
- Now work decreases every row: K2tog, work to last 2 sts, ssk (6 sts), then K2tog across (3 sts).
- Cut yarn, leaving a 6-inch tail. Thread the tail through a tapestry needle, pass it through the remaining 3 stitches, pull tight to close, and weave in the end securely.
Thumb
- Pick up the 13 stitches from the holder onto your DPNs. Pick up 1 stitch from the cast-on gap at the base of the thumb (the stitch you cast on when separating). You now have 14 stitches.
- Distribute these stitches on 3 DPNs (e.g., 5, 5, and 4). Join in the round, being careful not to twist.
- Work in double seed stitch pattern in the round for 2 inches, or until the thumb covers your thumb completely. Try it on to check the length—you want it to reach just past the tip.
- Decrease: *K2tog, k1; repeat from * around. (10 sts)
- Next round: K2tog around. (5 sts)
- Cut yarn, thread through remaining 5 stitches, pull tight, and weave in the end.
Finishing
- Weave in all loose ends using a tapestry needle. Be thorough—this ensures your mittens will last for years.
- Block lightly to even out stitches. Wet block by soaking in lukewarm water with a drop of wool wash, gently squeeze out excess (don't wring), and lay flat to dry, shaping as needed.
- Once dry, sew a wooden toggle button to the outside of the flap, near the tip. Position it so it aligns with the base of the flap when folded over—this creates a secure closure that keeps the flap in place when you need full hand coverage.
- Repeat the entire process for the second mitten, making sure to work the flap on the same side (for a right-handed knitter, this will be the same for both mittens—just keep your increases consistent).
Tips for Success
- Gauge matters: If your mittens come out too tight or too loose, adjust your needle size before starting over. A swatch is worth the 15 minutes it takes.
- Markers are your friends: Use different colored markers for the beginning of the round vs. the gusset markers—this prevents confusion.
- Try as you go: Slip the mitten on periodically to check length, especially for the hand and thumb sections. Everyone's hands are different, so trust your measurements over the pattern's approximations.
- Keep tension even: When working the flap back and forth, the transition rows can be looser. Give an extra tug on the yarn for the first stitch of each row to keep edges tidy.
These Frostline Convertible Mittens are more than just a knitting project—they're a cozy companion for cold days, a handmade gift that shows you care, and a beautiful showcase of double seed stitch. The rustic forest green pairs perfectly with wool coats, flannel shirts, and steaming mugs of cocoa. Once you've mastered the gusseted thumb and the clever flap, you'll want to make a pair for everyone on your list. Happy knitting!