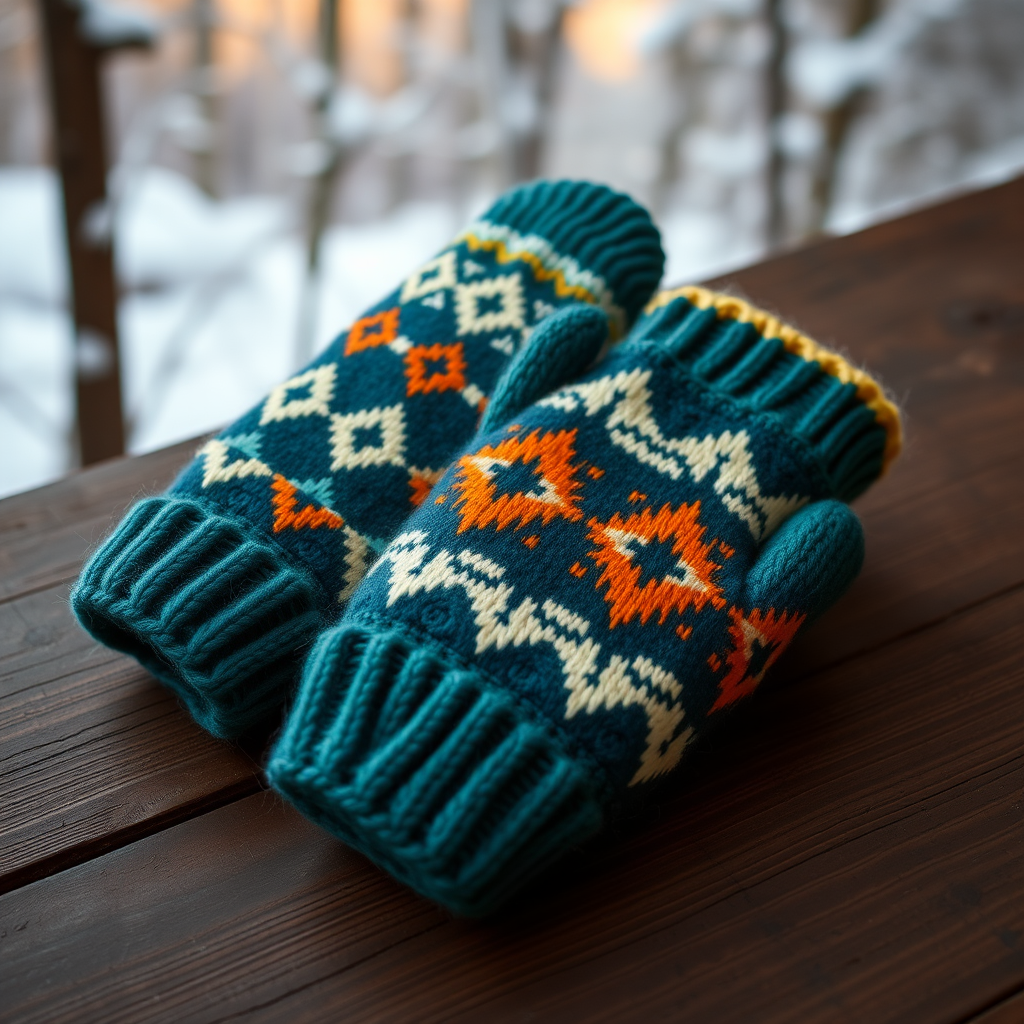
Frosted Bramble Berry Mittens Free Pattern – Knit Cozy Textured Hand Warmers

Cozy Up with the Frosted Bramble Berry Mittens: A Free Knitting Pattern
There's something truly magical about wrapping your hands in a fabric that feels as plush and dimensional as a fresh berry patch. The Frosted Bramble Berry Mittens are exactly that—a delightful knitting project that transforms simple worsted weight yarn into a richly textured, cozy pair of hand warmers. The unique bramble stitch creates a bumpy, berry-like surface that's not only visually stunning but also incredibly warm and snug. Perfect for crisp autumn walks or chilly winter commutes, these mittens are beginner-friendly and knit up quickly, making them a rewarding weekend project. Let's dive into this free pattern and create a pair of these textured beauties for yourself or a loved one.
Materials Needed for Your Bramble Berry Mittens
Before you cast on, gather your supplies. This project uses simple, readily available materials, making it an accessible knit for anyone ready to try something new.
- Yarn: Worsted weight yarn in two colors:
- Main Color (MC): Deep Plum (approx 150g) – This forms the main body of the mitten.
- Contrast Color (CC): Cream or Soft White (approx 50g) – This is used for the cuffs and thumbs, adding a beautiful frosty contrast.
- Needles: US 7 (4.5mm) knitting needles. You will need a set of double-pointed needles (DPNs) or a circular needle long enough for the magic loop method. Use the size needed to obtain the correct gauge.
- Gauge: 18 stitches and 24 rows = 4 inches in bramble stitch pattern (blocked). Always check your gauge to ensure your mittens fit perfectly!
- Notions: Stitch markers, a stitch holder or scrap yarn, a tapestry needle for weaving in ends.
Step-by-Step Instructions: Knitting Your Frosted Bramble Berry Mittens
These mittens are worked in the round from the cuff to the tip. The pattern is broken down into clear sections, so take your time and enjoy the process. The bramble stitch is a simple 8-round repeat that creates the gorgeous textured fabric.
Understanding the Bramble Stitch Pattern
This pattern is a multiple of 4 + 2 stitches. For our 36-stitch mitten, this works perfectly. Here is the 8-round repeat you will use for the body of the mitten:
- Round 1: *K2, p2* repeat to end.
- Round 2: *P2, k2* repeat to end.
- Round 3: *K2, p2* repeat to end.
- Round 4: *P2, k2* repeat to end.
- Round 5: *K1, p2, k1* repeat to end.
- Round 6: *P1, k2, p1* repeat to end.
- Round 7: *K1, p2, k1* repeat to end.
- Round 8: *P1, k2, p1* repeat to end.
Repeat these 8 rounds for the entire body of the mitten. The offset of the knits and purls creates the beautiful, bumpy "berry" texture.
Knitting the Mitten (Make 2)
Follow these steps to create each mitten. The process is identical for both, so you can easily knit them one after the other.
1. The Cuff
With your Contrast Color (CC) yarn, cast on 36 stitches. Distribute them evenly across your DPNs (12 stitches per needle) or set up for the magic loop method. Join in the round, being very careful not to twist your stitches.
Work in a K2, P2 ribbing pattern for 2 inches (approximately 12 rounds). This creates a snug, stretchy cuff that will keep the cold air out.
2. The Mitten Body
Switch to your Main Color (MC) yarn. Begin working the Bramble Stitch Pattern as established above. Continue working in this pattern until the piece measures 4 inches from the cast-on edge (approximately 24 rounds). This forms the main body of the mitten up to the thumb.
3. Creating the Thumb Gusset
Now we'll add stitches to create space for your thumb. This is called a gusset.
- Round 1 (Increase Round): Work in pattern to the last 4 stitches of the round. Place a marker, M1R (Make 1 Right), k2, M1L (Make 1 Left), place another marker, then work the remaining stitches in pattern. You have increased 2 stitches.
- Round 2: Work even in pattern, knitting the knit stitches and purling the purl stitches as they appear.
- Round 3 (Increase Round): Work in pattern to the first marker, slip the marker, M1R, knit to the second marker, M1L, slip the marker, work the remaining stitches in pattern. You have increased 2 stitches.
- Repeat Rounds 2 and 3 until you have 12 stitches between the markers. This means you will have completed the increase round 6 times in total.
Separating the Thumb: On the next round, work in pattern to the first marker. Remove the marker, and place the next 12 stitches (your thumb gusset) onto a stitch holder or a piece of scrap yarn. Remove the second marker. Now, cast on 2 new stitches using the backward loop method. Continue working in pattern to the end of the round. You should now have 36 stitches on your needles again.
4. Knitting the Hand
Continue working in the Bramble Stitch Pattern on all 36 stitches until the hand of the mitten measures 3 inches from the thumb separation (approximately 18 rounds). This will give you a comfortable length to cover your hand.
5. Shaping the Top (Decreases)
Now we will decrease stitches to shape the rounded top of the mitten. Follow these rounds carefully, maintaining the ribbed texture as you decrease.
- Round 1: *K2, p2, k2tog, p2* repeat to end. (30 stitches)
- Round 2: *K2, p2, k1, p2* repeat to end. (30 stitches)
- Round 3: *K2, p2tog, k1, p2* repeat to end. (24 stitches)
- Round 4: *K2, p1, k1, p2* repeat to end. (24 stitches)
- Round 5: *K2tog, p1, k1, p2* repeat to end. (18 stitches)
- Round 6: *K1, p1, k1, p2* repeat to end. (18 stitches)
- Round 7: *K1, p1, k1, p2tog* repeat to end. (12 stitches)
- Round 8: *K1, p1, k1, p1* repeat to end. (12 stitches)
Cut your yarn, leaving a long tail (about 8 inches). Thread the tail onto a tapestry needle and slide it through the remaining 12 stitches. Pull tight to close the top of the mitten, and secure the yarn with a knot on the inside.
6. Knitting the Thumb
Transfer the 12 stitches from your holder onto your DPNs. With the right side facing you, pick up and knit 2 stitches from the cast-on edge at the base of the thumb. You will now have 14 stitches total. Distribute them evenly on your needles.
Work in a K2, P2 ribbing pattern for 1 inch (approximately 6 rounds). This gives the thumb a snug, comfortable fit.
Shaping the Thumb Top:
- Next Round: *K2tog, p2* repeat to end. (10 stitches)
- Next Round: *K2tog* repeat to end. (5 stitches)
Cut your yarn, leaving a tail. Thread it through the remaining 5 stitches, pull tight, and secure.
7. Finishing Touches
Weave in all your loose ends carefully using a tapestry needle. Block your mitten gently to shape it and even out the stitches. Repeat the entire process to create the second mitten.
And there you have it—a beautiful pair of Frosted Bramble Berry Mittens! The rich plum color and the creamy contrast, combined with the incredible texture, make these a standout accessory. They're warm, cozy, and sure to become a favorite. Happy knitting!