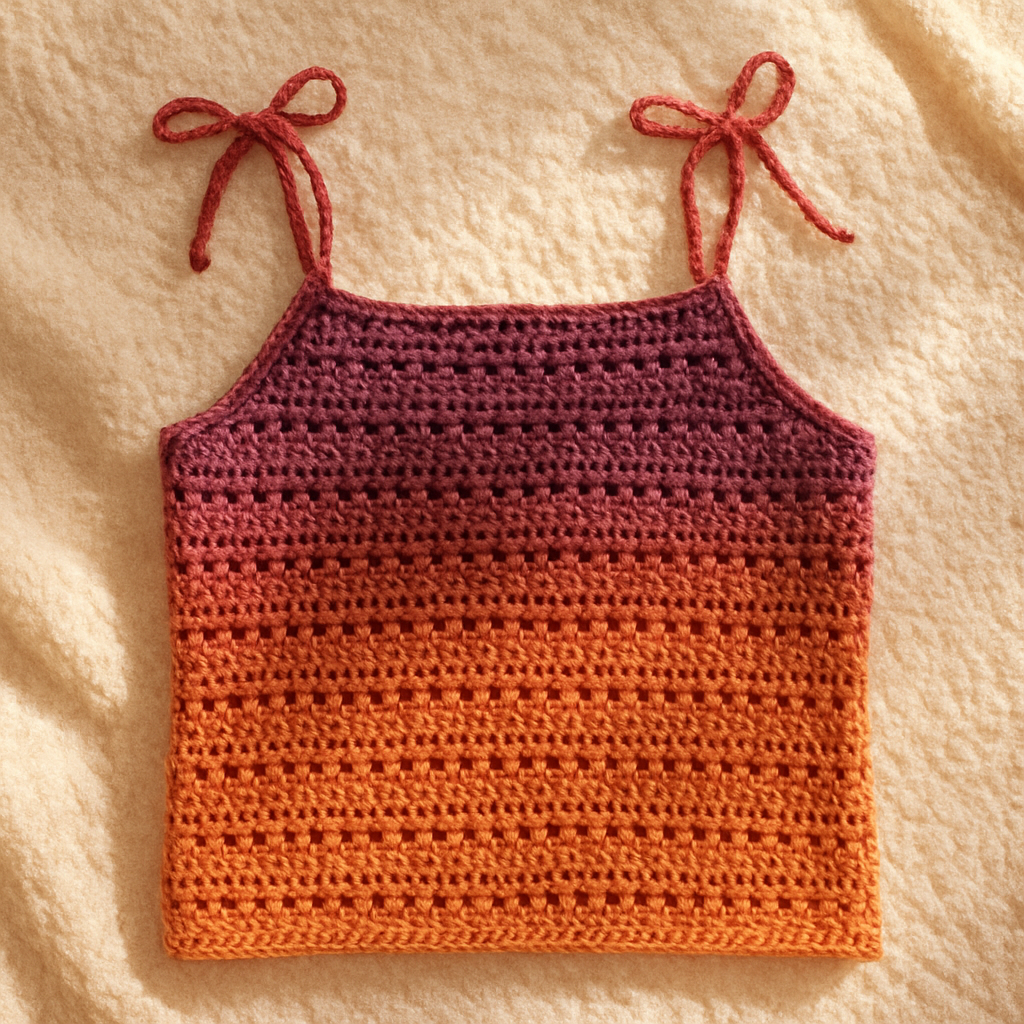
Emerald Halo Halterneck Crochet Crop Top Free Pattern

Emerald Halo Halterneck Crochet Crop Top
Introduction
Welcome to your very first wearable! The Emerald Halo Halterneck is a Japandi-inspired crop top built from just five solid granny squares — three in deep emerald and two in soft blush — fanned around a center square and finished with narrow crocheted neck ties. If you have never picked up a hook before, this is the perfect project for you: every square is identical, every stitch is a basic double crochet, and the whole top comes together with simple flat seams. The finished piece is clean, geometric, and quietly elegant, with a crisp lattice texture and a soft matte sheen from the bamboo cotton. It feels light and breathable against the skin, drapes gently, and has a gently pointed lower hem that makes it look far more complicated than it really is. You are going to be so proud to wear this.
Materials Needed
- Yarn: Bamboo cotton DK weight (approx. 50% bamboo, 50% cotton; 125 m / 137 yd per 50 g skein).
- Emerald: 2 skeins (approx. 90 g used)
- Blush: 1 skein (approx. 35 g used)
- Main hook: 4.0 mm (US G-6) crochet hook, or the size you need to match gauge.
- Small hook: 3.5 mm (US E-4) crochet hook, for the neck ties.
- Stitch markers: at least 8 (or use scrap yarn loops).
- Tapestry needle: a blunt-tipped yarn needle for seaming and weaving in ends.
- Scissors for cutting yarn.
- Measuring tape and rust-proof pins for blocking.
Finished size: Bust (flat, side seam to side seam) 44 cm (17.25 in) across the front panel, designed to fit a bust of 84–92 cm (33–36 in) with negative ease at the underbust. Front panel depth from top edge to lower corner: 27 cm (10.6 in). Halter neck ties: each 40 cm (15.75 in) long. Side seams: 9 cm (3.5 in) tall.
Abbreviations and Beginner Glossary
- ch – chain. Make a loop of yarn on your hook, wrap the yarn over the hook, and pull it through the loop. That is one chain.
- sl st – slip stitch. Insert your hook into the stitch, wrap yarn over, and pull it through both the stitch and the loop on your hook at once. It makes an almost invisible join.
- sc – single crochet. Insert hook into stitch, pull up a loop (2 loops on hook), wrap yarn over, pull through both loops. One loop remains.
- dc – double crochet. Wrap yarn over hook, insert hook into stitch, pull up a loop (3 loops on hook), wrap yarn over and pull through 2 loops, wrap yarn over and pull through the last 2 loops.
- sp – space. The gap created by a chain (for example, a "ch-2 sp" is the hole made by two chains).
- beg – beginning (as in "beg ch-3," the chain you make at the start of a round).
- rep – repeat. Do the instruction again the number of times stated.
- sts – stitches.
- magic ring – an adjustable loop of yarn you crochet into, then pull tight so there is no hole in the center. If you prefer, chain 4 and join with a sl st into a ring instead.
- whipstitch – a simple seaming stitch: bring the needle up through both pieces, over the edge, and back down, working small even stitches along the edge.
- back loops only – each stitch has two top loops (front and back). Working through the back loop only leaves a neat ridge and keeps seams flat.
- fasten off – cut the yarn, pull the tail all the way through the last loop, and tug gently to secure.
- blocking – dampening the finished piece and pinning it to shape so it dries flat and even.
Gauge
Gauge: One solid granny square worked to Round 5 = 9 x 9 cm (3.5 x 3.5 in) after light blocking. Each round adds approximately 1.8 cm (0.7 in) per side.
Why gauge matters: Gauge is how big your stitches come out. If your square is bigger than 9 cm, the whole top will be too large; if it is smaller, the top will be too tight. Because this top is made of five squares, even a small difference multiplies across the whole garment.
How to check it: Crochet one complete square exactly as written below. Lay it flat, mist it lightly with water, and let it dry. Measure straight across the middle from edge to edge. If it is larger than 9 cm, try a smaller hook (3.5 mm). If it is smaller, try a larger hook (4.5 mm). Always match the square size, not the hook number on the label.
Beginner Tips Before You Start
- Make all five squares before you seam anything. Lay them out on a table in the fan shape first so you can see the finished top before you commit to any seams.
- Use stitch markers in every ch-2 corner space. The corners are where the square grows, and it is very easy to lose them. Move the markers up each round.
- Do not pull your yarn too tight. Tension is the number one beginner issue. Your stitches should slide easily on the hook. If the hook squeaks or fights you, relax your grip.
- Count your stitches at the end of every round. Each round has a stitch count in parentheses — check it before moving on. Fixing one round is easy; fixing five is not.
- Keep your turning chains loose. A tight beginning ch-3 makes the corner pull in and the square will not lie flat.
- Weave in ends as you go. Five squares means ten yarn tails. Thread each one onto your tapestry needle and weave it through the back of the work right away so you are not faced with a pile at the end.
Step-by-Step Instructions
Part 1: The Solid Granny Square (make 3 in Emerald, 2 in Blush)
With the 4.0 mm hook and your chosen color, make a magic ring.
Round 1: Ch 3 (counts as first dc), 2 dc into ring, ch 2, [3 dc into ring, ch 2] 3 times, join with sl st to top of beg ch-3. (12 dc, 4 ch-2 sps)
Round 2: Sl st to next ch-2 sp, ch 3, (2 dc, ch 2, 3 dc) into same sp, ch 1, *(3 dc, ch 2, 3 dc) into next ch-2 sp, ch 1; rep from * around, join with sl st to top of beg ch-3. (24 dc, 4 ch-2 sps, 4 ch-1 sps)
Round 3: Sl st to next ch-2 sp, ch 3, (2 dc, ch 2, 3 dc) into same sp, ch 1, 3 dc into next ch-1 sp, ch 1, *(3 dc, ch 2, 3 dc) into next ch-2 sp, ch 1, 3 dc into next ch-1 sp, ch 1; rep from * around, join with sl st to top of beg ch-3. (36 dc, 4 ch-2 sps, 8 ch-1 sps)
Round 4: Sl st to next ch-2 sp, ch 3, (2 dc, ch 2, 3 dc) into same sp, ch 1, [3 dc into next ch-1 sp, ch 1] twice, *(3 dc, ch 2, 3 dc) into next ch-2 sp, ch 1, [3 dc into next ch-1 sp, ch 1] twice; rep from * around, join with sl st to top of beg ch-3. (48 dc, 4 ch-2 sps, 12 ch-1 sps)
Round 5: Sl st to next ch-2 sp, ch 3, (2 dc, ch 2, 3 dc) into same sp, ch 1, [3 dc into next ch-1 sp, ch 1] 3 times, *(3 dc, ch 2, 3 dc) into next ch-2 sp, ch 1, [3 dc into next ch-1 sp, ch 1] 3 times; rep from * around, join with sl st to top of beg ch-3. (60 dc, 4 ch-2 sps, 16 ch-1 sps)
Fasten off, leaving a 25 cm (10 in) tail for seaming. Square measures approx. 9 x 9 cm (3.5 x 3.5 in). Block lightly to open the corners.
Repeat the entire square five times in total — three squares in Emerald and two squares in Blush.
Part 2: Joining the Fan
Arrange the five squares on a flat surface: the Emerald center square at top center, the Emerald left square directly to its left, the Emerald right square directly to its right, the Blush left square directly below the Emerald left square, and the Blush right square directly below the Emerald right square.
Join with a whipstitch seam using the yarn tails, working through the back loops only of the edge stitches so the seam stays flat:
- Seam 1: Join the right edge of the Emerald left square to the left edge of the Emerald center square (9 cm seam).
- Seam 2: Join the right edge of the Emerald center square to the left edge of the Emerald right square (9 cm seam).
- Seam 3: Join the bottom edge of the Emerald left square to the top edge of the Blush left square (9 cm seam).
- Seam 4: Join the bottom edge of the Emerald right square to the top edge of the Blush right square (9 cm seam).
Do not join the bottom edge of the center square to anything — it remains open, forming the inverted V of the lower hem.
Part 3: Side Seams
Fold the fan in half vertically, right sides together, so the Emerald left and Emerald right squares meet and the Blush left and Blush right squares meet.
- Seam 5: Join the outer side edge of the Emerald left square to the outer side edge of the Emerald right square (9 cm seam).
- Seam 6: Join the outer side edge of the Blush left square to the outer side edge of the Blush right square (9 cm seam).
Use whipstitch through back loops only. This closes the top into a tube. The lower hem now forms a shallow V at front and back.
Part 4: Neck Ties (make 2)
With the 3.5 mm hook and Emerald, leave a 15 cm (6 in) starting tail. Ch 2.
Row 1: Sc in 2nd ch from hook, ch 1, turn. (1 sc)
Row 2: Sc in sc, ch 1, turn. (1 sc)
Repeat Row 2 until the cord measures 40 cm (15.75 in). Fasten off, leaving a 15 cm tail. Make a second cord identically.
Part 5: Attaching the Ties
The top edge of the fan is the top edge of the Emerald center square. Attach one cord to the top-left corner ch-2 sp of the center square and one cord to the top-right corner ch-2 sp, using the 15 cm tails and a yarn needle. Work a few securing stitches through the corner space and the cord end, then weave in the tail on the wrong side. The cords cross behind the neck and tie in a bow.
Assembly and Finishing
Weaving in ends: Thread each yarn tail onto your tapestry needle. Turn the top inside out and run the needle through the back of several stitches in one direction, then back through a few stitches in the other direction to lock it. Trim close to the fabric. Never knot your ends — knots create lumps that show through the open lattice.
Checking the seams: Turn the top right side out and lay it flat. Press the seams gently with your fingers so they lie flat. The side seams should be 9 cm (3.5 in) tall and the front panel should measure 44 cm (17.25 in) across the bust.
Blocking: Mist the finished top lightly with water. Pin it to measurements on a towel or blocking mat — front panel 44 cm wide across the bust and 27 cm deep from the top edge to the lower blush corner. Let it dry flat, away from direct heat. Do not press with an iron; bamboo cotton responds best to steam held just above the surface. Blocking opens the corners, evens the stitches, and gives the top its crisp geometric finish.
Pro Tips and Variations
- Change the colors: Swap the blush for cream, sand, or dusty lilac for a softer palette, or make all five squares emerald for a bold monochrome look. You can also work the final round of each square in a contrast color for a halo effect around every square.
- Adjust the size: To fit a larger bust, work a 6th round on all five squares (each square becomes approx. 10.8 cm; fan width approx. 32.4 cm). To fit a smaller bust, omit Round 5 (each square approx. 7.2 cm; fan width approx. 21.6 cm). Adjust the neck tie length by 5 cm per size step.
- Substitute the yarn: Any DK-weight cotton, cotton blend, or linen blend will work beautifully. Avoid fuzzy or hairy yarns — they hide the crisp granny square lattice that makes this top special. Always check your gauge square again if you change yarn.
- Add a border: For a more finished edge, work one round of sc evenly around the entire lower hem and neckline before blocking, working 1 sc in each stitch and 2 sc in each corner space. This adds about 0.5 cm and gives the edges a neat, polished line.