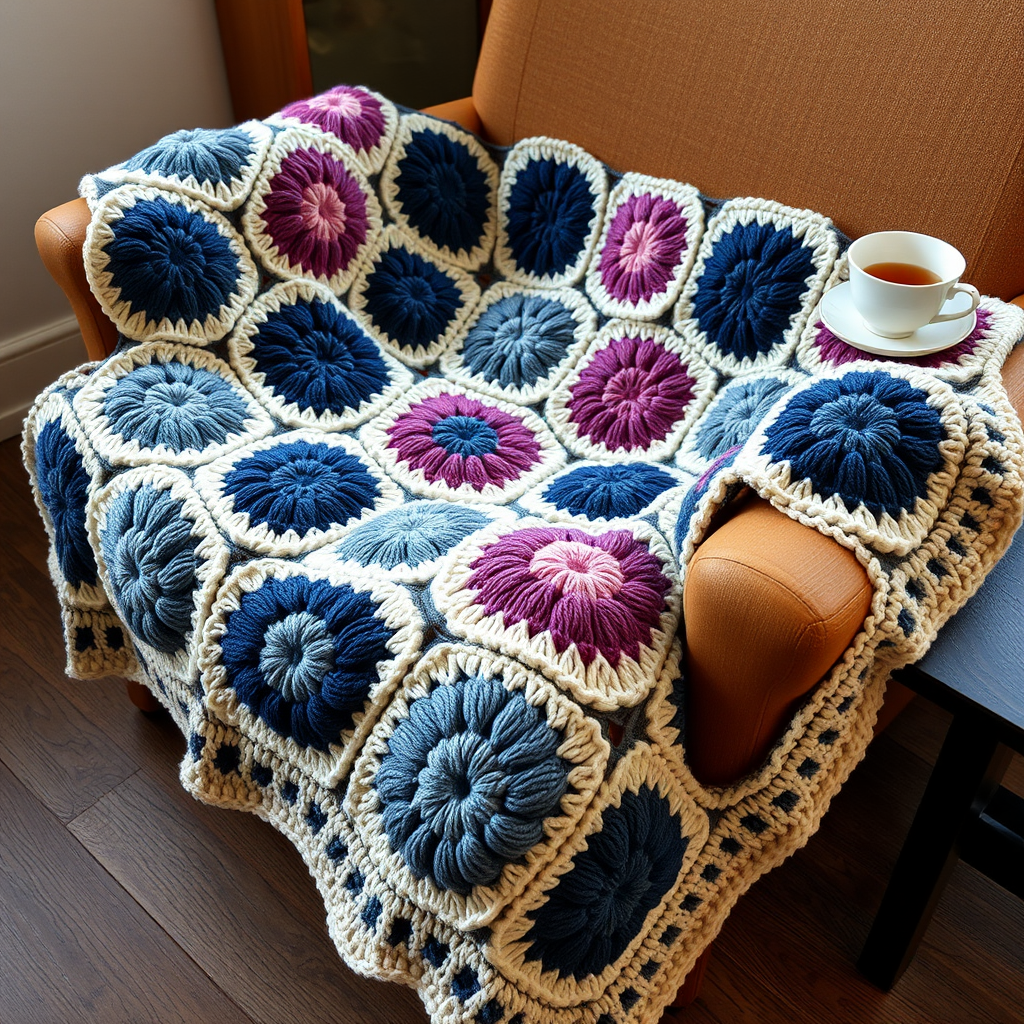
Ember Glow Mosaic Afghan Free Pattern – Sunset Stained Glass Throw

Ember Glow Mosaic Afghan Free Pattern – Sunset Stained Glass Throw
Wrap yourself in the warmth of a thousand tiny sunsets with this mosaic crochet throw, where interlocking geometric tiles mimic the glow of stained glass. Each square is a meditative journey through a palette of burnt sienna, amber, and deep plum, finished with a crisp charcoal border. This modern, textured afghan is the perfect weekend project for crocheters ready to explore the beautiful overlay mosaic technique—and the result is a cozy, sophisticated heirloom piece you'll be proud to drape over your favorite chair.
Materials Needed
Before you begin, gather the following supplies. This pattern uses worsted weight yarn and a standard hook, making it accessible and budget-friendly.
- Yarn: Worsted weight (#4) cotton or cotton-blend yarn in 5 colors:
- A (Charcoal) – approx. 500-600 yards
- B (Burnt Sienna) – approx. 400-500 yards
- C (Amber) – approx. 400-500 yards
- D (Deep Plum) – approx. 400-500 yards
- E (Cream) – approx. 200-300 yards
- Hook: 5.5 mm (I-9) crochet hook, or size needed to obtain gauge.
- Notions: Tapestry needle for weaving ends, scissors, blocking mats and pins (optional but recommended).
Gauge & Finished Size
Gauge: 14 dc x 8 rows = 4 inches in mosaic pattern (after blocking). Each square measures 12 inches x 12 inches. The finished afghan (4 squares across, 3 down) measures approximately 48 inches x 36 inches, plus border.
Step-by-Step Instructions
This afghan is constructed from 12 individual mosaic squares (4 across, 3 down), each worked in the overlay mosaic crochet technique. Each square uses two colors per row set, with a repeating geometric pattern. Work all squares, then join them with a whip stitch or single crochet seam, and finish with a border.
Mosaic Crochet Basics
Before you start, here are the essential techniques you'll use throughout this pattern:
- Worked in rows, with right side facing you always. You will cut yarn at the end of each row and rejoin for the next row, or carry the unused color loosely along the side (weave in ends later).
- The pattern uses double crochet (dc) and front loop only (FLO) stitches. When working a dc in the front loop only, you skip the back loop, creating a bar that the next color's dc will wrap around.
- Each row is worked with one color, and the next row uses the other color. The chart is read from bottom to top, right to left for right-handed crocheters.
Square Pattern (Make 12)
Each square follows the same repeating pattern. The only variation is the starting color for each square—this creates the balanced mosaic effect when the squares are joined.
Foundation: With color A (Charcoal), ch 61. (Multiple of 4 + 1, plus 2 for turning chain = 61).
Row 1 (RS): Dc in 3rd ch from hook and in each ch across. Turn. (60 dc)
Row 2 (WS): Ch 2 (counts as dc), dc in each dc across. Turn. Fasten off A.
Row 3 (RS): Join color B (Burnt Sienna) in first dc. Ch 2, dc in next 2 dc, *skip next dc, dc in next 3 dc* repeat from * to * across, ending with dc in last dc. Turn. Fasten off B.
Row 4 (RS): Join color C (Amber) in first dc. Ch 2, dc in next dc, *dc in next dc (working in front loop only of the dc from Row 3), skip the skipped dc from Row 3 (the one you skipped), dc in next 2 dc* repeat from * to * across, ending with dc in last dc. Turn. Fasten off C.
Row 5 (RS): Join color D (Deep Plum) in first dc. Ch 2, dc in next 2 dc, *skip next dc, dc in next 3 dc* repeat from * to * across, ending with dc in last dc. Turn. Fasten off D.
Row 6 (RS): Join color E (Cream) in first dc. Ch 2, dc in next dc, *dc in next dc (FLO of the dc from Row 5), skip the skipped dc from Row 5, dc in next 2 dc* repeat from * to * across, ending with dc in last dc. Turn. Fasten off E.
Row 7 (RS): Join color B (Burnt Sienna) in first dc. Ch 2, dc in next 2 dc, *skip next dc, dc in next 3 dc* repeat from * to * across, ending with dc in last dc. Turn. Fasten off B.
Row 8 (RS): Join color A (Charcoal) in first dc. Ch 2, dc in next dc, *dc in next dc (FLO of the dc from Row 7), skip the skipped dc from Row 7, dc in next 2 dc* repeat from * to * across, ending with dc in last dc. Turn. Fasten off A.
Rows 9-60: Repeat Rows 3-8 ten more times, always working the FLO dc over the previous row's dc of the same color. The pattern will create a series of interlocking diamonds and zigzags. After Row 60, fasten off.
Finishing the Square
Weave in all ends carefully using your tapestry needle. Block each square to 12 inches square. Blocking is essential for mosaic crochet—it helps even out the stitches and makes the geometric pattern crisp and defined.
Joining the Squares
Arrange squares in a 4x3 grid, alternating the starting color of each square (some start with B, some with C, some with D) to create a balanced mosaic. With color A (Charcoal), whip stitch the squares together through the back loops only, matching stitches. This creates a nearly invisible seam on the right side.
Border
Once all squares are joined, it's time to add the finishing touch—a clean, crisp charcoal border.
Round 1: With right side facing, join color A in any corner. Ch 2, dc evenly around the entire afghan, working 3 dc in each corner. Join with sl st to first dc.
Round 2: Ch 2, dc in each dc around, working 3 dc in each corner dc. Join.
Round 3: Ch 2, dc in each dc around, working 3 dc in each corner dc. Join. Fasten off. Weave in all ends.
Final Thoughts
Your Ember Glow Mosaic Afghan is now complete! This stunning throw is perfect for cozy evenings, as a thoughtful handmade gift, or as a statement piece in your living space. The overlay mosaic technique creates a richly textured fabric that looks far more complex than it actually is—once you get into the rhythm of the rows, you'll find it meditative and deeply satisfying.
Don't forget to share your finished project online with the hashtag #EmberGlowAfghan—we'd love to see your color choices and how your mosaic turned out. Happy crocheting!