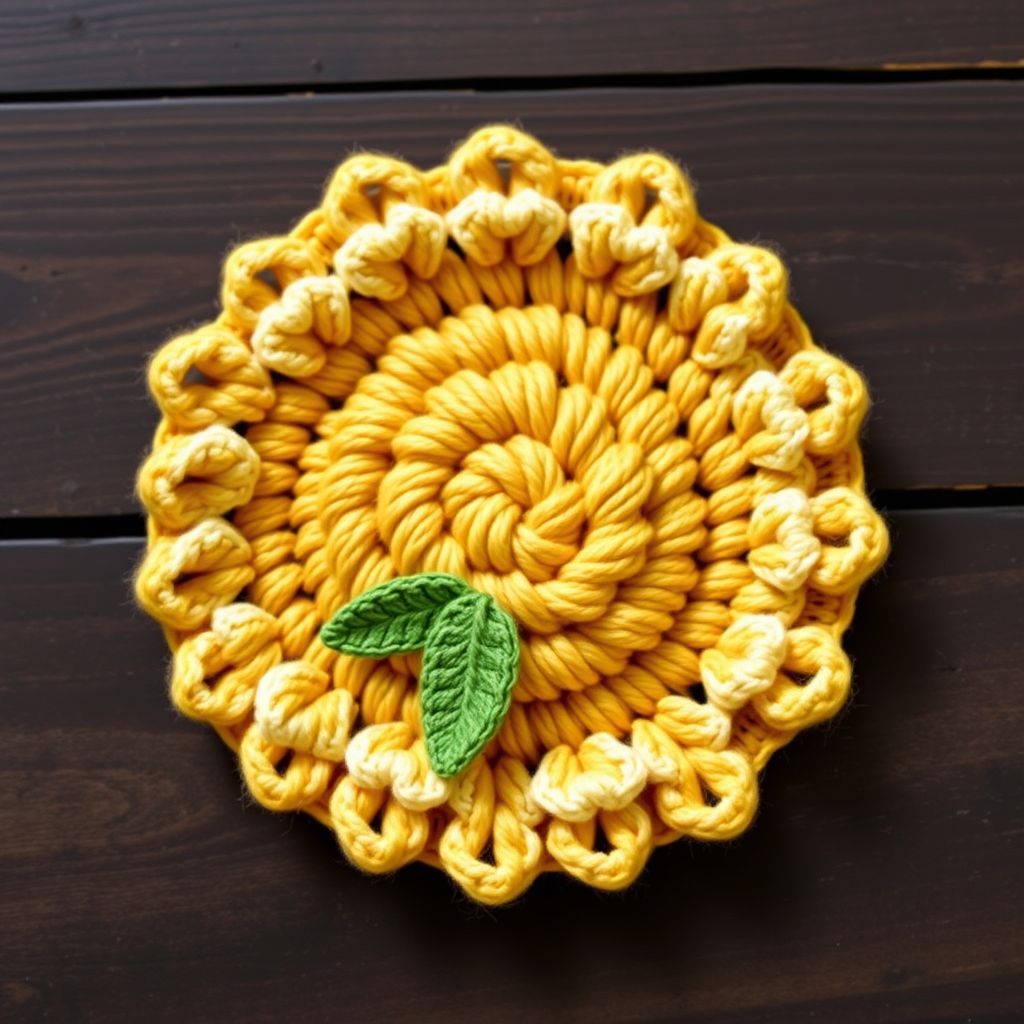
Coastal Back Loop Hot Pad Duo: Free Crochet Pattern

Coastal Back Loop Hot Pad Duo: A Free Crochet Pattern for Total Beginners
If you have never held a crochet hook before, this is the perfect first real project for you. These two circular hot pads are worked in simple, repetitive rounds, so you get lots of practice with the same two stitches over and over while you watch beautiful ocean-blue stripes grow outward from the center. The finished pads are about 7 inches across, thick and dense with a subtle ribbed texture, and each one has a little hanging loop so it can live on a hook by the stove. They feel sturdy and heat-friendly in your hand, and because they are small, you can finish one in an evening or two. Best of all, you will end up with a matching pair that looks like you bought it at a boutique, made entirely by you.
Materials Needed
- Yarn: Worsted weight (category 4) cotton yarn, approximately 90–100 yards total per hot pad (270–300 yards for the pair). Cotton is important because it does not melt near heat the way acrylic can. Sample uses Lily Sugar'n Cream or similar. Per pad: Color A (Deep Ocean Navy) 30 yards, Color B (Sea Glass Aqua) 30 yards, Color C (Foam White) 30 yards.
- Crochet hook: Size G/6, which is 4.0 mm.
- Stitch marker: At least one, to mark the first stitch of each round.
- Tapestry needle: A blunt, large-eyed needle for weaving in yarn ends.
- Scissors: Any sharp pair for cutting yarn.
- Finished size: Each hot pad measures approximately 7 inches (18 cm) in diameter, not counting the hanging loop. The hanging loop extends about 1.5 inches (4 cm) beyond the edge.
Abbreviations and Beginner Glossary
- ch – chain. Make a slip knot, then wrap yarn over the hook and pull it through the loop on your hook. That is one chain.
- sc – single crochet. Insert your hook into the stitch, yarn over, pull up a loop (2 loops on hook), yarn over again, pull through both loops. One loop remains.
- hdc – half double crochet. Yarn over first, insert hook into the stitch, yarn over, pull up a loop (3 loops on hook), yarn over, pull through all 3 loops at once. One loop remains.
- sl st – slip stitch. Insert hook into the stitch, yarn over, pull the yarn through both the stitch and the loop on your hook at the same time. It makes a nearly invisible joining stitch.
- st / sts – stitch / stitches. One completed loop or "V" in your fabric.
- back loop only (BLO) – Every stitch has two top loops, a front one (closer to you) and a back one. Working "in the back loop only" means you insert your hook under just the back loop, leaving the front loop free. This creates a ridge and a thicker fabric.
- magic ring – An adjustable loop of yarn you crochet into, then pull closed so there is no hole in the center. If you prefer, you can chain 4 and join with a slip stitch to make a ring instead.
- 2 hdc in next st – Work two half double crochets into the same stitch. This is an "increase" and makes the circle grow.
- [ ] around – The brackets tell you to repeat everything inside them all the way around the round.
- join – Connect the last stitch to the first stitch with a slip stitch so the round closes into a circle.
- fasten off – Cut the yarn leaving a tail, then pull the tail all the way through the last loop to lock it.
- weave in ends – Thread a yarn tail onto a tapestry needle and sew it back and forth through the fabric so it disappears and will not come undone.
Gauge
Gauge: 16 hdc x 14 rounds = 4 inches (10 cm) in back-loop-only half double crochet, worked in the round.
Gauge means how many stitches and rounds fit into 4 inches. It matters here more than in most projects, because a hot pad must be dense enough to protect your hands and your table. If your stitches are too loose, heat can pass through. To check your gauge, work a small practice circle of back-loop hdc for about 4 inches, lay it flat, and measure. If you get more than 16 stitches in 4 inches, your stitches are tight (try a slightly larger hook). If you get fewer than 16, your stitches are loose (try a smaller hook, or simply crochet more firmly). Always make a swatch before starting, and remember: for this pattern, working tightly is a good thing.
Beginner Tips Before You Start
- Use a stitch marker. Because you work in continuous rounds (a spiral), the first stitch of each round can get lost. Place a marker in the very first stitch of Round 1 and move it up each round.
- Do not pull your yarn too tight. Tension should be firm but even. If your hook squeaks or your hand aches, you are pulling too hard.
- Count out loud. Every round ends with a stitch count in parentheses. Count your stitches at the end of each round before moving on. Fixing a mistake now is far easier than later.
- Find the back loop. Look at the top of each stitch: you will see two loops like a little "V." The loop farther from you is the back loop. Insert your hook under only that one.
- Change colors on the last stitch. To change color, work the final yarn-over of the last stitch of the round with the new color. This hides the change neatly.
- Keep your work flat. Lay your circle on the table every few rounds. If it cups up like a bowl, your stitches are too tight; if it ripples like a wave, they are too loose.
Step-by-Step Instructions
Color Sequence (per hot pad)
Rounds 1–3: Color A (Deep Ocean Navy). Rounds 4–6: Color B (Sea Glass Aqua). Rounds 7–9: Color C (Foam White). Rounds 10–12: Color B (Sea Glass Aqua). Round 13: Color A (Deep Ocean Navy).
Body (make 2)
With Color A, make a magic ring.
Round 1: Work 8 hdc into the magic ring. Pull the ring closed. (8 sts)
Round 2: 2 hdc in each st around, working in back loops only. (16 sts)
Round 3: [2 hdc in next st, 1 hdc in next st] around in back loops only. (24 sts) Change to Color B.
Round 4: [2 hdc in next st, 1 hdc in each of next 2 sts] around in back loops only. (32 sts)
Round 5: [2 hdc in next st, 1 hdc in each of next 3 sts] around in back loops only. (40 sts)
Round 6: [2 hdc in next st, 1 hdc in each of next 4 sts] around in back loops only. (48 sts) Change to Color C.
Round 7: [2 hdc in next st, 1 hdc in each of next 5 sts] around in back loops only. (56 sts)
Round 8: [2 hdc in next st, 1 hdc in each of next 6 sts] around in back loops only. (64 sts)
Round 9: [2 hdc in next st, 1 hdc in each of next 7 sts] around in back loops only. (72 sts) Change to Color B.
Round 10: [2 hdc in next st, 1 hdc in each of next 8 sts] around in back loops only. (80 sts)
Round 11: [2 hdc in next st, 1 hdc in each of next 9 sts] around in back loops only. (88 sts)
Round 12: [2 hdc in next st, 1 hdc in each of next 10 sts] around in back loops only. (96 sts) Change to Color A.
Round 13 (edging): Work 1 sc in each st around in back loops only, then join with a slip stitch to the first sc. (96 sts) Fasten off, leaving a 6-inch tail. Weave in ends securely on the wrong side.
Hanging Loop
With Color A, join yarn with a slip stitch to the edge of the hot pad at any point on Round 13.
Loop: Chain 12. Slip stitch into the same stitch at the base of the chain to form a loop. Work 1 sc in each chain back to the base (12 sc). Slip stitch into the starting stitch. Fasten off and weave in ends.
Assembly and Finishing
Blocking: Lightly mist each pad with water and press it flat under a heavy book for a few hours until dry. Do not iron directly, as cotton can scorch and flatten the ribbed texture.
Weaving in ends: Thread each yarn tail onto your tapestry needle. Sew it back and forth through several stitches on the wrong side, changing direction once or twice so it cannot pull loose. Trim close to the fabric.
Making it double-thick (optional but recommended): Place two finished circles wrong sides together (the "wrong side" is the side where your color changes and tails are hidden). Thread Color A on your tapestry needle and whipstitch around the outer edge, catching both layers: bring the needle up through both edges, over the top, and back up through both edges again, about every quarter inch, all the way around. Knot securely and weave in the end.
Safety check: Test heat resistance before first use, and always place a barrier between the hot pad and delicate surfaces.
Pro Tips and Variations
- Change the colors: Swap in any three worsted cotton colors you love. Try sunset oranges, farmhouse neutrals, or a single solid color for a minimalist look. Just keep the same round-by-round color changes so the stripes stay even.
- Adjust the size: To make a smaller coaster-sized pad, stop after Round 9 and work the sc edging. To make a larger trivet, continue the increase pattern (each round adds 8 stitches) for a few more rounds, then edge.
- Substitute yarn: Any worsted weight (category 4) cotton works. Avoid acrylic or polyester near heat. If you use a thinner cotton, go down a hook size and check your gauge again.
- Make a matching set: Work the color sequence in reverse on the second pad (navy, aqua, white, aqua, navy becomes navy, white, aqua, white, navy) for a subtle coordinating pair.