Free Patterns
Chunky Crochet Ear Warmer with Braided Detail
Anonymous
•
June 20, 2026
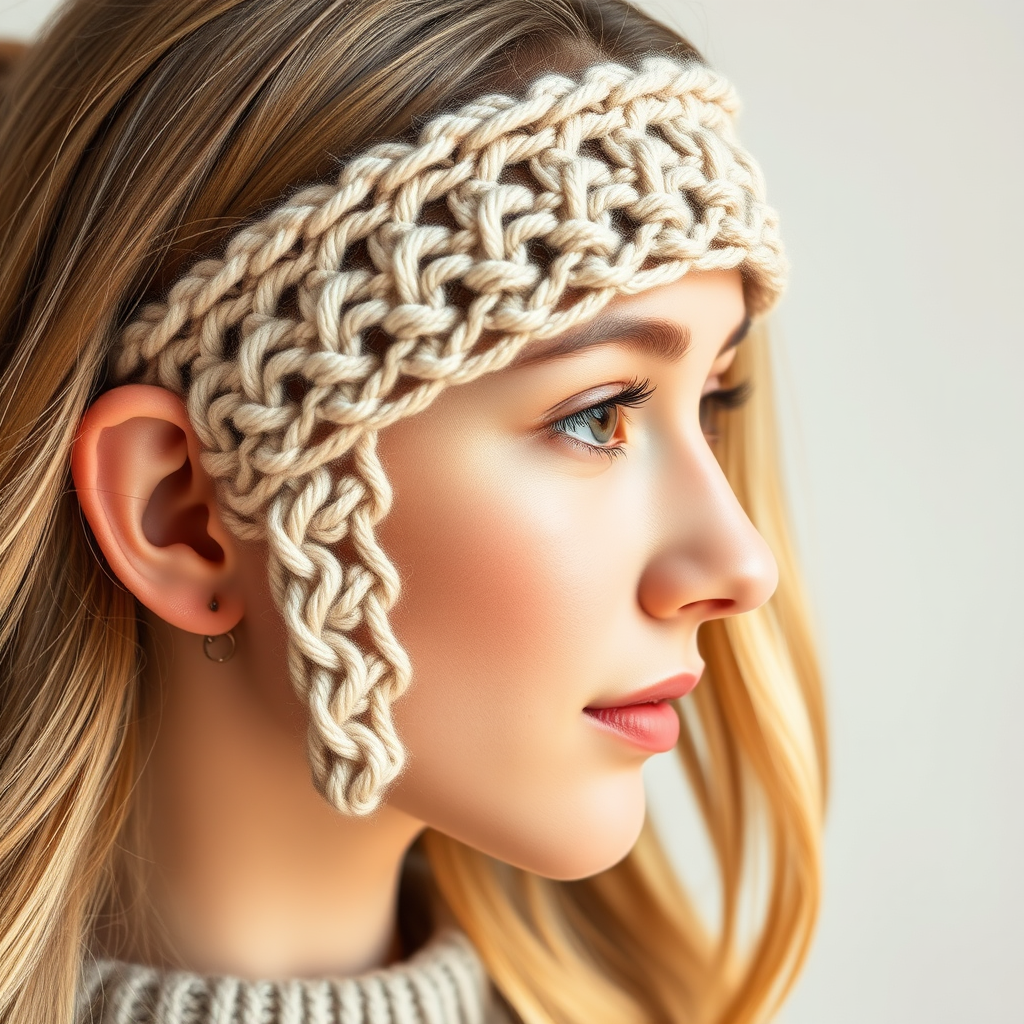
Chunky Crochet Ear Warmer with Braided Detail
Stay cozy and stylish with this chunky crochet ear warmer featuring a beautiful braided texture. Perfect for chilly days, this handmade accessory adds a touch of elegance to any outfit. Whether you're heading out for a winter walk or just want to keep warm at home, this ear warmer is the perfect project for beginners and experienced crocheters alike.
Materials Needed
- Yarn: Super bulky yarn
- Hook: Size N/P (10 mm) crochet hook
- Scissors: For cutting yarn
- Tapestry needle: For weaving in ends and sewing
Step-by-Step Instructions
- Foundation Chain: Start by making a foundation chain of 8 stitches. To do this, make a slip knot on your hook, then yarn over and pull through to create the first chain. Repeat this until you have a total of 8 chains.
- Row 1: In the third chain from the hook, work 1 double crochet (dc). Continue to work 1 dc in each of the remaining chains across. You should have 6 dc at the end of this row. Turn your work to start the next row.
- Row 2: Chain 2 (this counts as your first dc for the next row). Work 1 dc in each stitch across the row. You will have a total of 6 dc again. Turn your work.
- Repeat Rows: Continue repeating Row 2 until your piece measures approximately 20 inches in length, or until it fits comfortably around your head. Make sure to measure as you go to ensure a good fit.
- Fasten Off: Once your piece is the desired length, fasten off by cutting the yarn, leaving a long tail (about 12 inches) for sewing. Pull the tail through the last loop on your hook to secure it.
- Forming the Loop: Take the short ends of your crocheted piece and align them together. Using the long tail you left, sew the ends together to form a loop. You can use a whip stitch or a slip stitch for this. Make sure it is secure.
- Creating the Braid: For the braided detail, create a chain of 40 stitches. Make a slip knot on your hook, yarn over, and pull through to create the first chain. Repeat until you have a total of 40 chains.
- Attaching the Braid: Slip stitch the chain to the top edge of the ear warmer. To create a braided effect, weave the chain in a braided pattern across the top. You can do this by folding the chain over itself and securing it at intervals with slip stitches.
- Finishing Touches: Once you have secured the braid, make sure to secure the ends of the braid as well. Weave in all loose ends using a tapestry needle to ensure a clean finish.
Congratulations! You have now completed your Chunky Crochet Ear Warmer with Braided Detail. Enjoy wearing your new cozy accessory or gift it to someone special!
Also Check Out: We think you'd love this beautiful pattern on our sister site: Knitting Cozy Chunky Sweater Free Pattern
Also Check Out: We think you'd love this beautiful pattern on our sister site: Crochet Woodland Accessories
Also Check Out: We think you'd love this beautiful pattern on our sister site: Charming Crochet Baby Bonnet with Ruffled Brim
Also Check Out: We think you'd love this beautiful pattern on our sister site: Chunky Cozy Crochet Scarf Pattern


