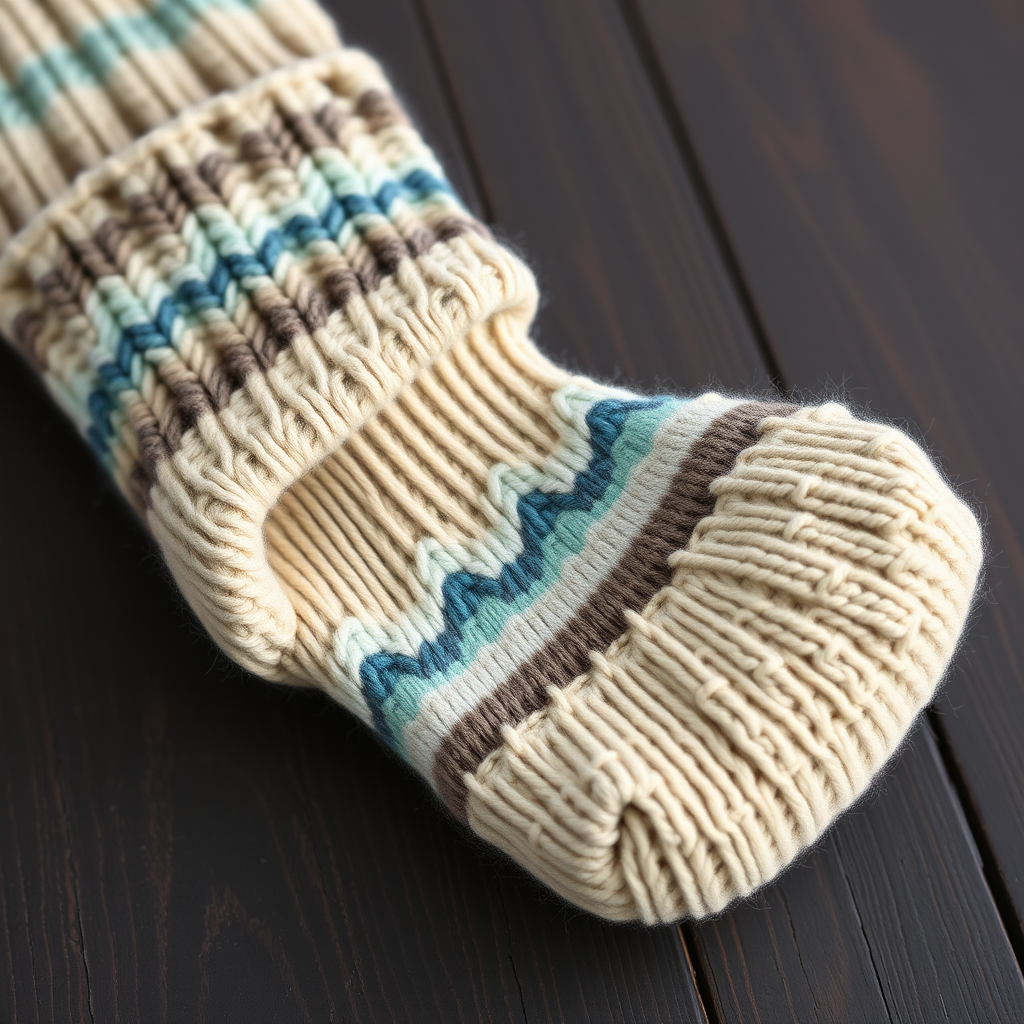
Alpine Echo Socks Free Pattern – A Knitted Mountain Trail Adventure

Alpine Echo Socks Free Pattern – A Knitted Mountain Trail Adventure
Lace up your knitting needles and embark on a cozy journey to the peaks with the Alpine Echo Socks! This free pattern is designed for adventurous makers who love texture, tradition, and a touch of alpine charm. Knitted from the cuff down with a unique cable-and-lace motif, these socks echo the rugged beauty of mountain trails, making them the perfect companion for chilly evenings by the fire or a thoughtful handmade gift.
Whether you're a seasoned sock knitter or looking to level up your skills, this pattern offers a rewarding challenge with stunning results. The combination of deep evergreen and soft cream yarns creates a classic, heirloom-quality look that will have you reaching for these socks all winter long. Let’s dive into the details and get those needles clicking!
Materials Needed
Before you begin your alpine adventure, gather the following materials. Having everything ready will make your knitting experience smooth and enjoyable.
Yarn
- Fingering weight yarn (approx. 400-450 yards total)
- Main Color (MC): Deep Evergreen – for the cuff, leg, and heel
- Contrast Color (CC): Soft Cream – for the toe and subtle accents
Needles & Notions
- US Size 1.5 (2.5 mm) double-pointed needles (DPNs) or a circular needle for the magic loop method
- Cable needle (for C4F and C4B maneuvers)
- Stitch markers (at least 4)
- Tapestry needle for weaving in ends
- Scissors
Gauge
32 stitches and 44 rows = 4 inches in stockinette stitch, after blocking. Achieving the correct gauge is crucial for a proper fit, so be sure to knit a swatch first!
Step-by-Step Instructions
This pattern is for a Women's Medium (US shoe size 7-8.5). To adjust for smaller or larger sizes, you can change your needle size or modify the stitch count, keeping the pattern multiples in mind.
Abbreviations
- k = knit
- p = purl
- k2tog = knit two stitches together (right-leaning decrease)
- ssk = slip, slip, knit (left-leaning decrease)
- yo = yarn over
- C4F = slip 2 stitches to cable needle, hold in front, knit next 2 stitches, then knit 2 from cable needle
- C4B = slip 2 stitches to cable needle, hold in back, knit next 2 stitches, then knit 2 from cable needle
- pm = place marker
- sm = slip marker
Getting Started: The Cuff
With your Main Color (MC), cast on 64 stitches. Distribute them evenly over 4 double-pointed needles (16 stitches on each needle). If you're using the magic loop method, divide them equally on your circular needle. Join in the round, being very careful not to twist your stitches.
Work in a k2, p2 ribbing for 1.5 inches. This creates a snug, stretchy cuff that will keep your socks in place.
The Leg Pattern: Cable & Lace Motif
Now for the fun part! The leg features a stunning 12-round repeat that combines cables and lace. This pattern is worked over 64 stitches, with the motif repeating 4 times around the leg. Follow the rounds below carefully.
Round 1: *C4F, p2, k2, p2, C4B, p2, k2, p2* – repeat from * to * around (4 repeats total).
Round 2: *k4, p2, k2, p2, k4, p2, k2, p2* – repeat around.
Round 3: *k4, p2, k2, p2, k4, p2, k2, p2* – repeat around.
Round 4: *k4, p2, yo, ssk, p2, k4, p2, yo, ssk, p2* – repeat around. (Note: the yo and ssk create the lace eyelet)
Round 5: *k4, p2, k2, p2, k4, p2, k2, p2* – repeat around.
Round 6: *k4, p2, k2, p2, k4, p2, k2, p2* – repeat around.
Round 7: *C4B, p2, k2, p2, C4F, p2, k2, p2* – repeat around. (This mirrors the cables from Round 1)
Round 8: *k4, p2, k2, p2, k4, p2, k2, p2* – repeat around.
Round 9: *k4, p2, k2, p2, k4, p2, k2, p2* – repeat around.
Round 10: *k4, p2, k2tog, yo, p2, k4, p2, k2tog, yo, p2* – repeat around. (This creates the opposite slant of the lace)
Rounds 11-12: *k4, p2, k2, p2, k4, p2, k2, p2* – repeat around.
Repeat Rounds 1-12 until your leg measures 7 inches from the cast-on edge, ending with Round 12 to ensure your pattern is aligned for the heel.
Heel Flap
Now we'll shape the heel. You will work back and forth over the first 32 stitches (needles 1 and 2). Leave the remaining 32 stitches on hold for the instep (these will be worked later).
Row 1 (RS): *sl1, k1* – repeat across all 32 stitches.
Row 2 (WS): sl1, purl across all 32 stitches.
Repeat these 2 rows until the heel flap measures 2.5 inches, ending with a wrong-side row. This creates a sturdy, slip-stitch heel that wears well.
Turning the Heel
This is where the magic happens! Turning the heel creates the cup shape for your foot. Follow these short rows carefully.
Row 1 (RS): k18, ssk, k1, turn.
Row 2 (WS): sl1, p5, p2tog, p1, turn.
Row 3: sl1, k6, ssk, k1, turn.
Row 4: sl1, p7, p2tog, p1, turn.
Continue in this manner, working one more stitch before the decrease each time, until all stitches are worked. You should have 18 stitches remaining on your needle.
Picking Up the Gusset
Now we'll rejoin the instep stitches and shape the gusset to fit the widest part of your foot.
- Needle 1: With a new needle, pick up and knit 16 stitches along the left side of the heel flap.
- Needle 2: Knit across the 32 instep stitches in pattern. (Continue the leg pattern as established, but only over the instep. You may need to adjust the pattern to fit 32 stitches – e.g., repeat the 8-stitch motif 4 times)
- Needle 3: Pick up and knit 16 stitches along the right side of the heel flap, then knit 9 stitches from the heel (to reach the center).
You now have 18 stitches on needle 1, 32 on needle 2, and 25 on needle 3. (Adjust as needed to balance the stitch count.)
Decrease Rounds
We'll now decrease to bring the sole back to the original 64 stitches.
Decrease Round:
- Needle 1: Knit to last 3 stitches, k2tog, k1.
- Needle 2: Work in pattern (knit the instep stitches).
- Needle 3: k1, ssk, knit to end.
Even Round: Knit all stitches on needles 1 and 3, work in pattern on needle 2.
Repeat these two rounds until needles 1 and 3 each have 16 stitches. You're now back to 64 total stitches.
The Foot
Continue working in pattern on the instep (needle 2) and in stockinette stitch on the sole (needles 1 and 3) until the foot measures 2 inches less than your desired total foot length. This ensures the toe shaping will be perfectly placed.
Shaping the Toe
Time to switch to your Contrast Color (CC) – the soft cream – for a beautiful two-tone finish.
Round 1 (Decrease):
- Needle 1: Knit to last 3 stitches, k2tog, k1.
- Needle 2: k1, ssk, knit to last 3 stitches, k2tog, k1.
- Needle 3: k1, ssk, knit to end.
Round 2: Knit all stitches.
Repeat these two rounds until you have 8 stitches remaining on each needle (32 total). Then, decrease every round until only 8 stitches remain in total. Cut the yarn, leaving a long tail. Thread the tail through the remaining stitches, pull tight to close the toe, and weave in the end securely.
Finishing Touches
Congratulations! You've completed your first Alpine Echo Sock. Repeat the entire process for the second sock. If you prefer, you can mirror the heel flap for a more symmetrical look, but it's not necessary for the fit.
Once both socks are complete, weave in all loose ends with your tapestry needle. Finally, block your socks gently to open up the lace and cable patterns – this step truly makes the stitch definition pop and gives your socks that professional, polished look.
Enjoy your cozy, handcrafted Alpine Echo Socks! They're sure to become a treasured part of your winter wardrobe.