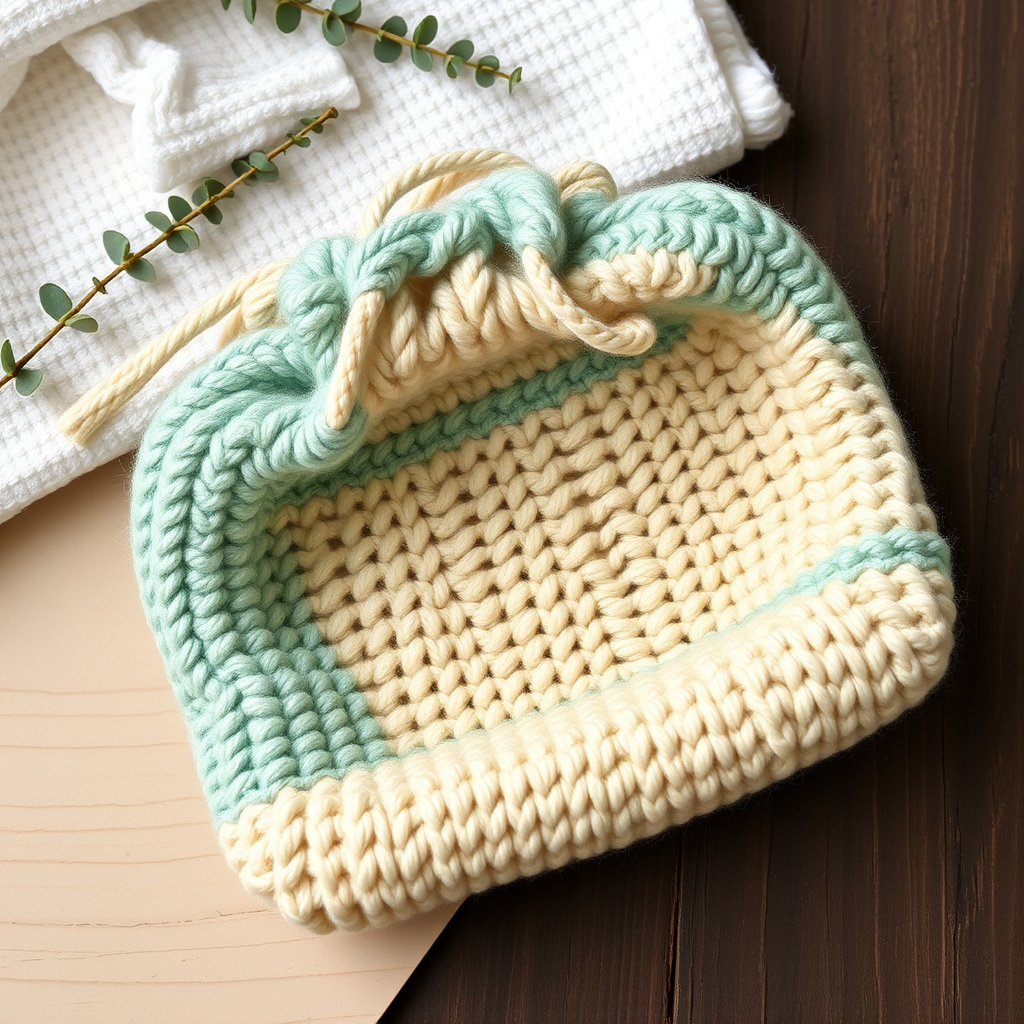
Whispering Willow Soap Saver Free Pattern – A Spa-Inspired Knit Pouch
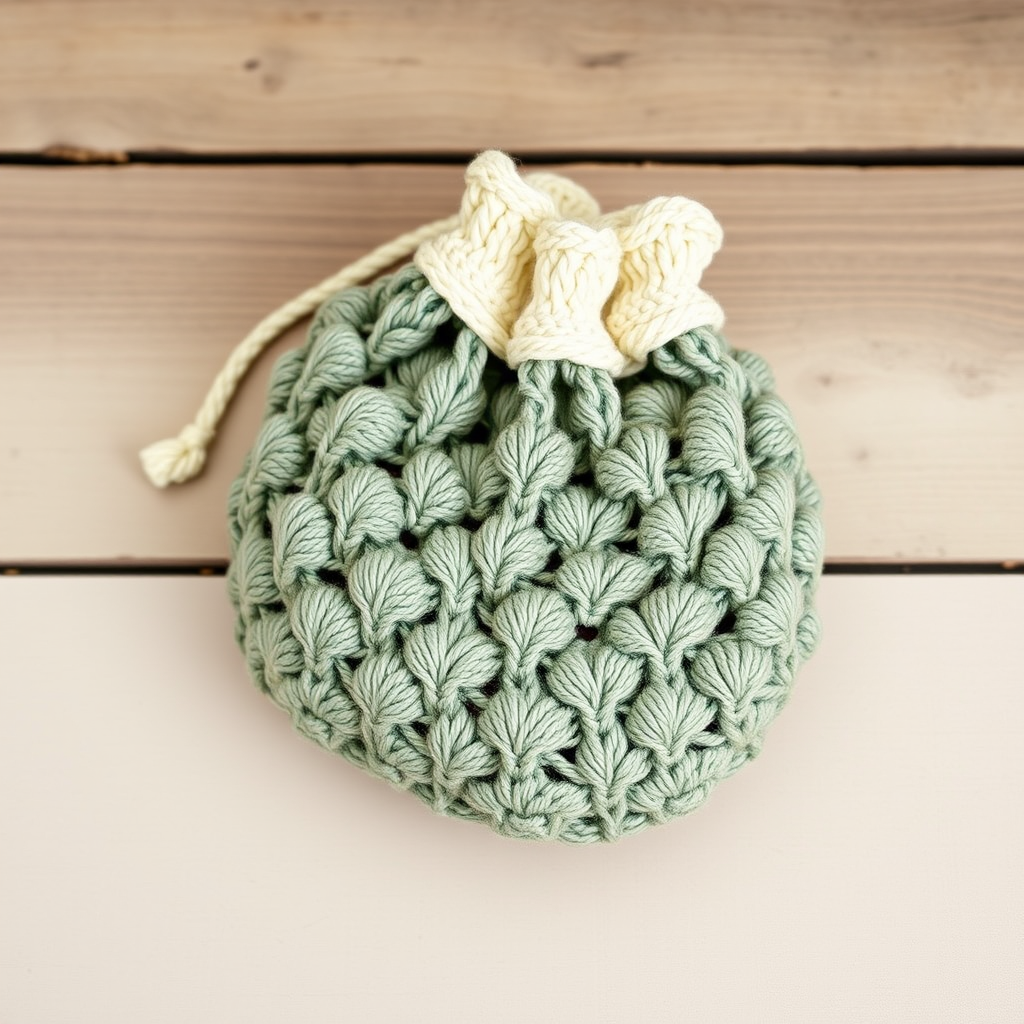
Whispering Willow Soap Saver Free Pattern – A Spa-Inspired Knit Pouch
Wrap your favorite bar soap in this luxuriously textured knit pouch, featuring a delicate leaf motif and a drawstring closure. It's a naturally beautiful way to elevate your daily cleanse and make a thoughtful, handmade gift. This eco-friendly alternative to plastic soap dishes is perfect for your bathroom, guest bath, or as a zero-waste gift for a friend who loves spa-inspired self-care.
The Whispering Willow Soap Saver is worked flat from the bottom up, then seamed and finished with a twisted cord drawstring. The openwork leaf lace pattern creates a gentle exfoliating texture while allowing water to drain and air to circulate, helping your soap last longer. With just two colors of worsted weight cotton yarn and a simple lace repeat, this project is accessible to confident beginners and enjoyable for seasoned knitters alike.
Materials Needed
Before you begin, gather the following supplies:
- Yarn: Worsted weight cotton yarn (e.g., Lion Brand 24/7 Cotton) in two colors:
- Main Color (MC) – Sage Green: approximately 60 yards
- Contrast Color (CC) – Cream: approximately 20 yards
- Needles: US Size 6 (4.0 mm) knitting needles
- Notions: Tapestry needle for weaving in ends and seaming, stitch markers (optional), scissors
Gauge: 20 stitches and 28 rows = 4 inches in stockinette stitch. Gauge is important for achieving the correct finished size, but since this is a pouch, a slight variation won't ruin the project.
Finished Size: Approximately 6 inches wide by 5 inches tall (before cinching), perfect for a standard bar of soap.
Step-by-Step Instructions
This pattern is worked flat from the bottom up, then seamed and finished with a drawstring. Take your time with the lace pattern – once you see the leaf shapes emerge, it becomes very intuitive.
Abbreviations
- CO: Cast on
- K: Knit
- P: Purl
- K2tog: Knit two stitches together (decrease)
- SSK: Slip, slip, knit (slip two stitches knitwise, then knit them together through the back loop – a left-leaning decrease)
- YO: Yarn over (creates a hole/increase)
- St(s): Stitch(es)
- Rep: Repeat
- RS: Right side
- WS: Wrong side
Bottom of Pouch
With MC, CO 30 sts.
Row 1 (RS): Knit all sts.
Row 2 (WS): Purl all sts.
Repeat Rows 1-2 until piece measures 3 inches from cast-on edge, ending with a WS row. This creates a solid stockinette base for the pouch bottom. If you prefer a garter stitch bottom, you can knit all rows instead – the choice is yours, but stockinette gives a smoother finish.
Body of Pouch (Leaf Lace Pattern)
Now you'll begin the beautiful leaf lace pattern. The pattern repeat is 8 stitches wide, and the edge stitches frame the motif. Work each row carefully, counting your stitches at the end of each row to ensure accuracy.
Row 1 (RS): K3, *YO, SSK, K1, K2tog, YO, K3; rep from * to last 3 sts, K3.
Explanation: Knit 3 edge stitches, then work the 8-stitch repeat (YO, SSK, K1, K2tog, YO, K3) across the middle, ending with 3 edge stitches. The YOs create the leaf openings, and the decreases shape the leaf points.
Row 2 (WS): Purl all sts.
Row 3 (RS): K2, *YO, SSK, K3, K2tog, YO, K1; rep from * to last 2 sts, K2.
Explanation: Notice how the pattern shifts – you now knit 2 edge stitches, work the repeat, and end with 2 edge stitches. The leaf motif is growing taller.
Row 4 (WS): Purl all sts.
Row 5 (RS): K1, *YO, SSK, K5, K2tog, YO; rep from * to last st, K1.
Explanation: Now you have 1 edge stitch on each side. The leaf is at its widest point with 5 knit stitches between the decreases.
Row 6 (WS): Purl all sts.
Row 7 (RS): K2, *K2tog, YO, K1, YO, SSK, K3; rep from * to last 2 sts, K2.
Explanation: The leaf begins to narrow. The decreases now come first, followed by YOs that create the leaf's inner veins.
Row 8 (WS): Purl all sts.
Row 9 (RS): K3, *K2tog, YO, K3, YO, SSK, K1; rep from * to last 3 sts, K3.
Row 10 (WS): Purl all sts.
Row 11 (RS): K4, *K2tog, YO, K5, YO, SSK; rep from * to last 4 sts, K4.
Explanation: The leaf is now closing to a point. You have 4 edge stitches on each side.
Row 12 (WS): Purl all sts.
Repeat Rows 1-12 once more, then repeat Rows 1-6 once. Your piece should measure about 6 inches from the cast-on edge. This gives you two full leaf motifs stacked vertically, plus the beginning of a third for a lovely, balanced design.
Eyelet Row for Drawstring
This row creates the holes through which you'll thread the drawstring.
Next Row (RS): K2, *K2tog, YO; rep from * to last 2 sts, K2.
Explanation: This creates a series of small eyelets across the row. The K2tog decreases are balanced by the YO increases, so you'll maintain 30 stitches. If you end with a different number, don't worry – just make sure the last 2 stitches are knit.
Next Row (WS): Purl all sts.
Top Border
Switch to CC (Cream).
Knit 4 rows (garter stitch). This creates a sturdy, non-curling border that contrasts beautifully with the sage green body.
Bind off all sts knitwise. Cut yarn, leaving a 6-inch tail for weaving in.
Finishing
Fold the piece in half with RS together, matching the cast-on edge. The side edges should align perfectly.
Using the tapestry needle and a length of MC yarn, sew the side seams from the bottom up to the eyelet row, leaving the top open. Use a mattress stitch or whip stitch – either works well for cotton yarn. Be careful not to sew through the eyelet holes, as you'll need them open for the drawstring.
Turn the pouch RS out. Gently shape it with your hands, making sure the leaf pattern is centered on both sides.
Drawstring
With CC, make a twisted cord or crochet a chain about 20 inches long. For a twisted cord: cut 3 strands of CC yarn, each about 60 inches long. Hold them together, fold in half, and twist until tight. Fold the twisted cord in half and let it twist back on itself. Tie knots at each end.
Thread the drawstring through the eyelet holes, starting and ending at the front center. Use a tapestry needle or a safety pin to help guide the cord through. Tie the ends in a bow.
Weave in All Ends
Using the tapestry needle, weave in all loose ends on the inside of the pouch. Trim any excess yarn.
Your Whispering Willow Soap Saver is complete! Slip a bar of your favorite soap inside, cinch the drawstring, and enjoy a spa-like experience every time you wash your hands. This makes a wonderful gift – pair it with a bar of artisanal soap for a thoughtful, handmade present.
Care Instructions: To refresh your soap saver, simply toss it in a mesh laundry bag and wash on a gentle cycle with cold water. Lay flat to dry. The cotton yarn will soften with each wash, making the pouch even more luxurious over time.